Bridge to Blender
Send a model from the Meshy web app straight into your open Blender scene, without downloading and importing the file by hand.
Before you begin
-
You need a Pro plan or higher. On the Free and Starter plans, clicking Send to Blender opens the upgrade options.
-
Install the Meshy plugin in Blender. For the steps, see Meshy for Blender.
Start the bridge
To start the bridge in Blender, follow these steps:
-
In the 3D viewport, press
Nto open the sidebar. -
Click the Meshy tab.
-
In the Meshy Bridge panel, click Run Bridge. The button changes to Bridge ON, and the plugin waits for models from Meshy on port
5324.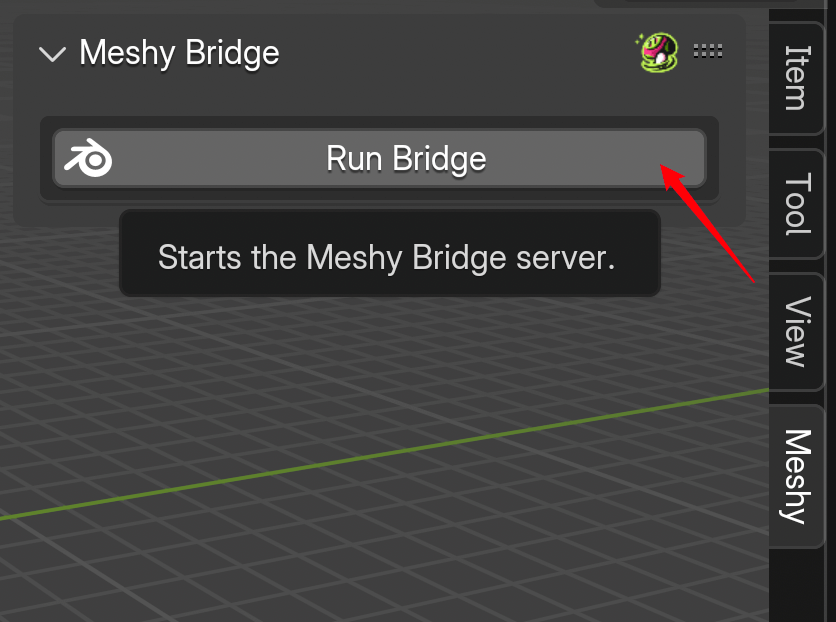
Start the bridge each time you open Blender. To stop it, click Bridge ON.
Send a model
To send a model to Blender, follow these steps:
-
In the Meshy web app on a computer, open the model in the viewer. DCC Bridge isn't available on mobile.
-
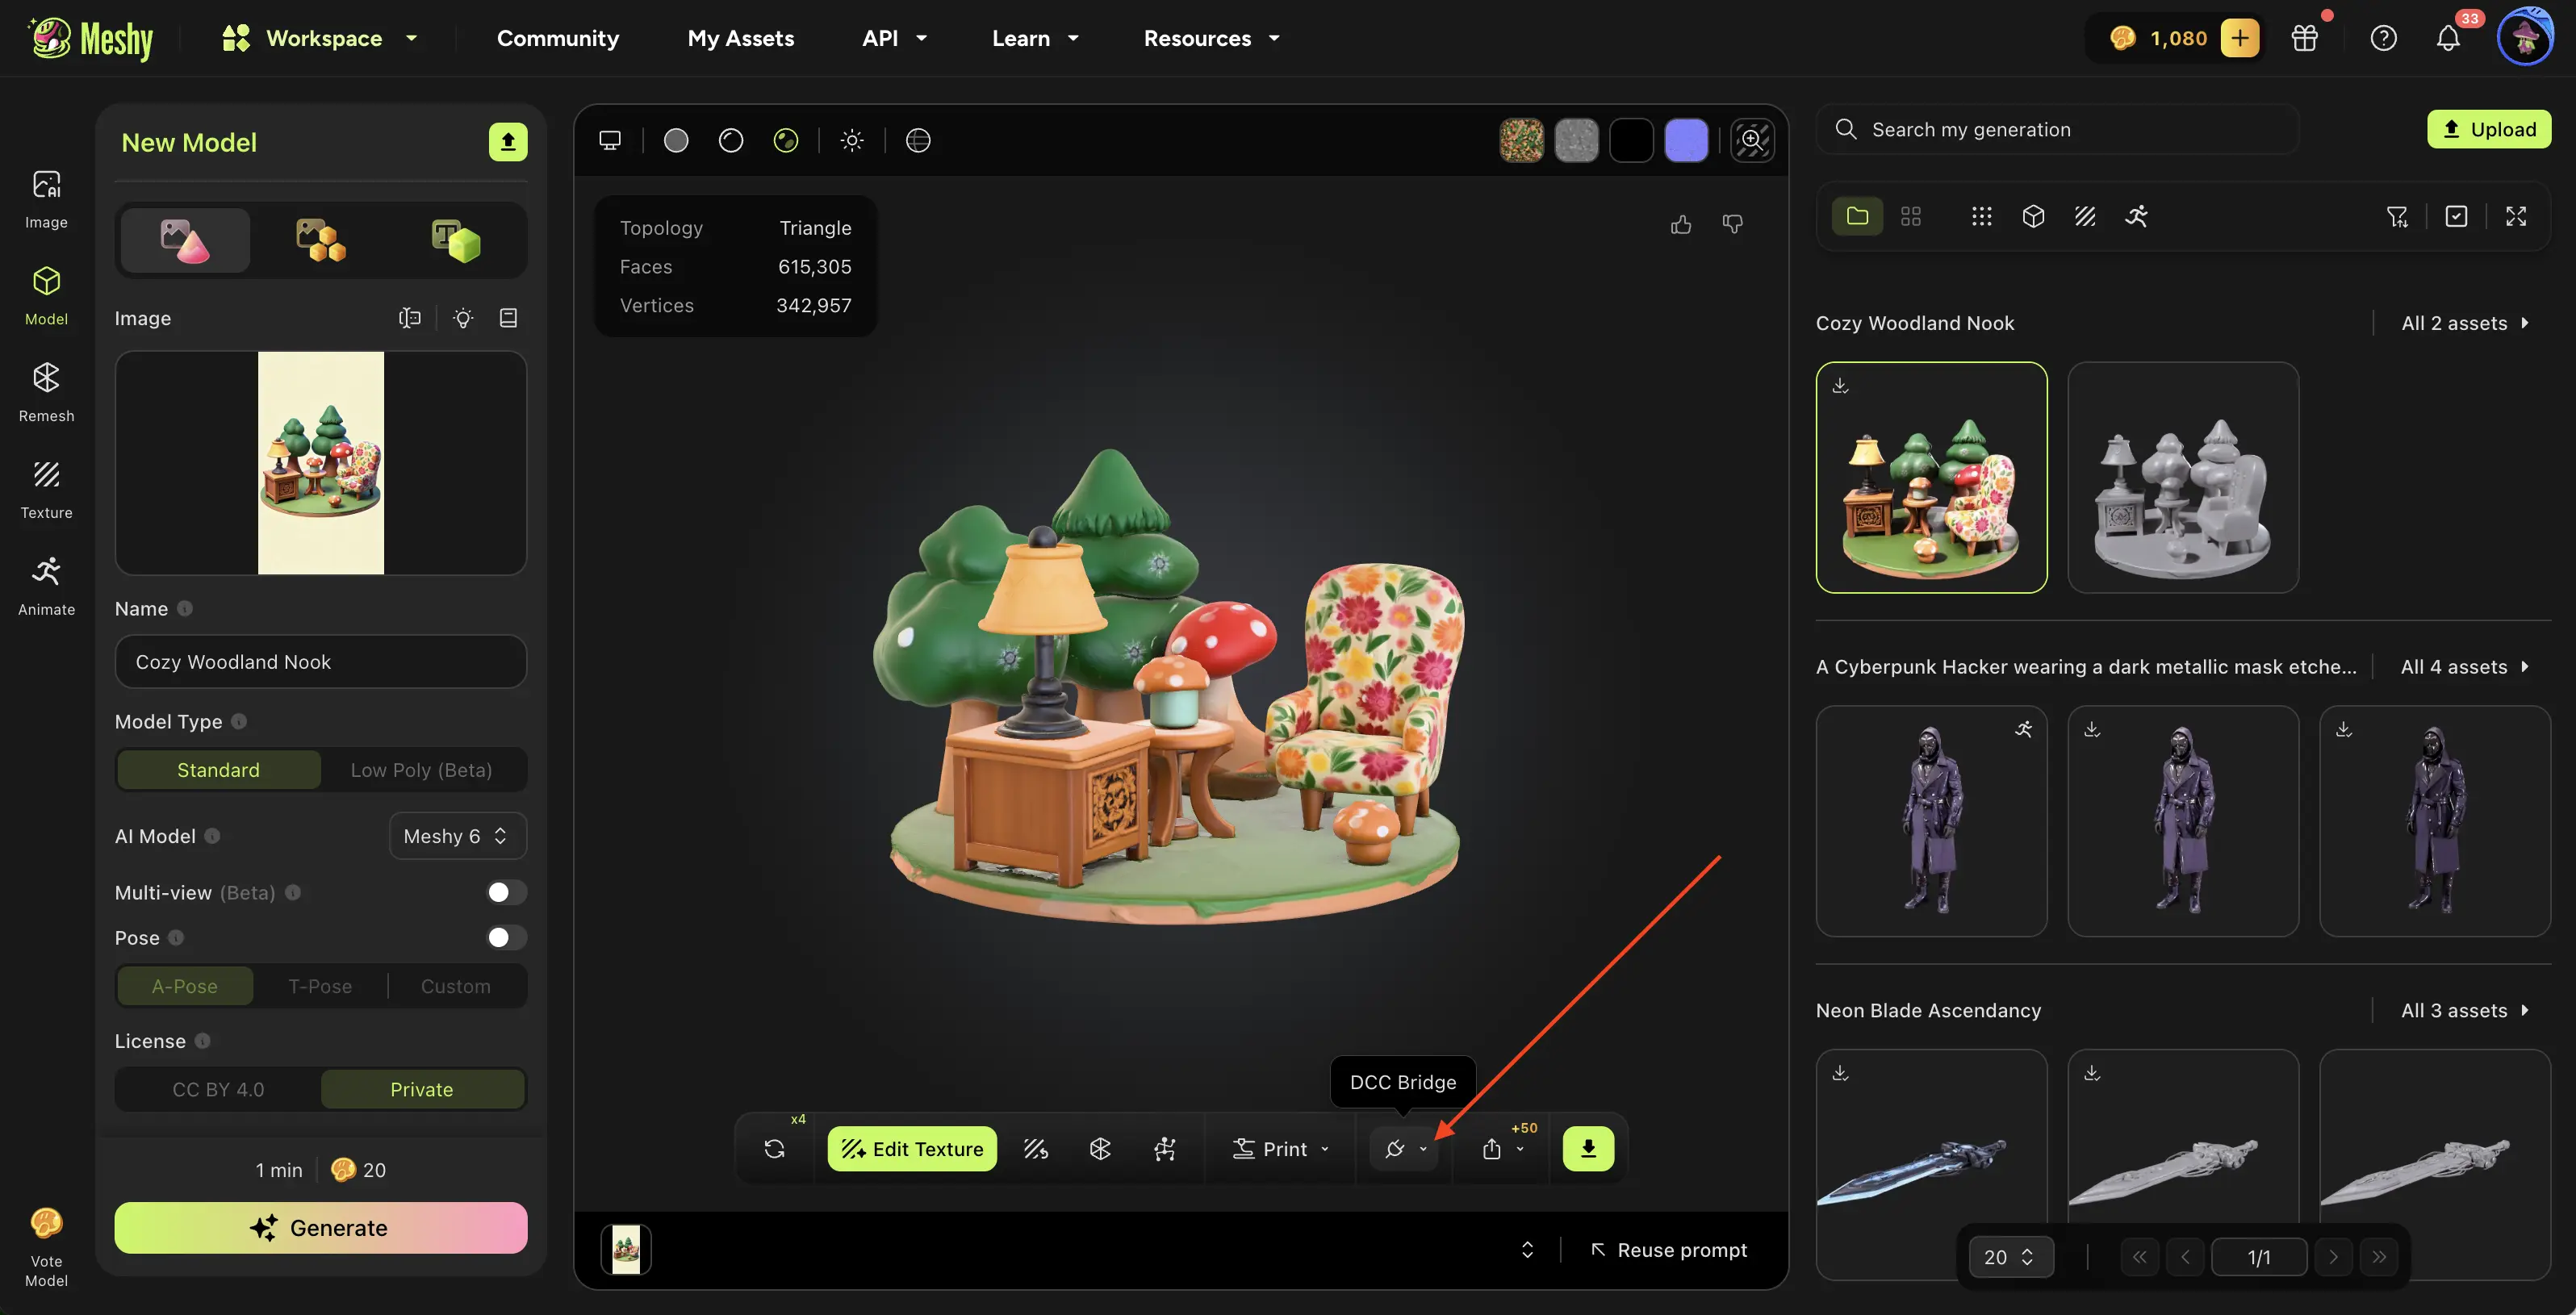
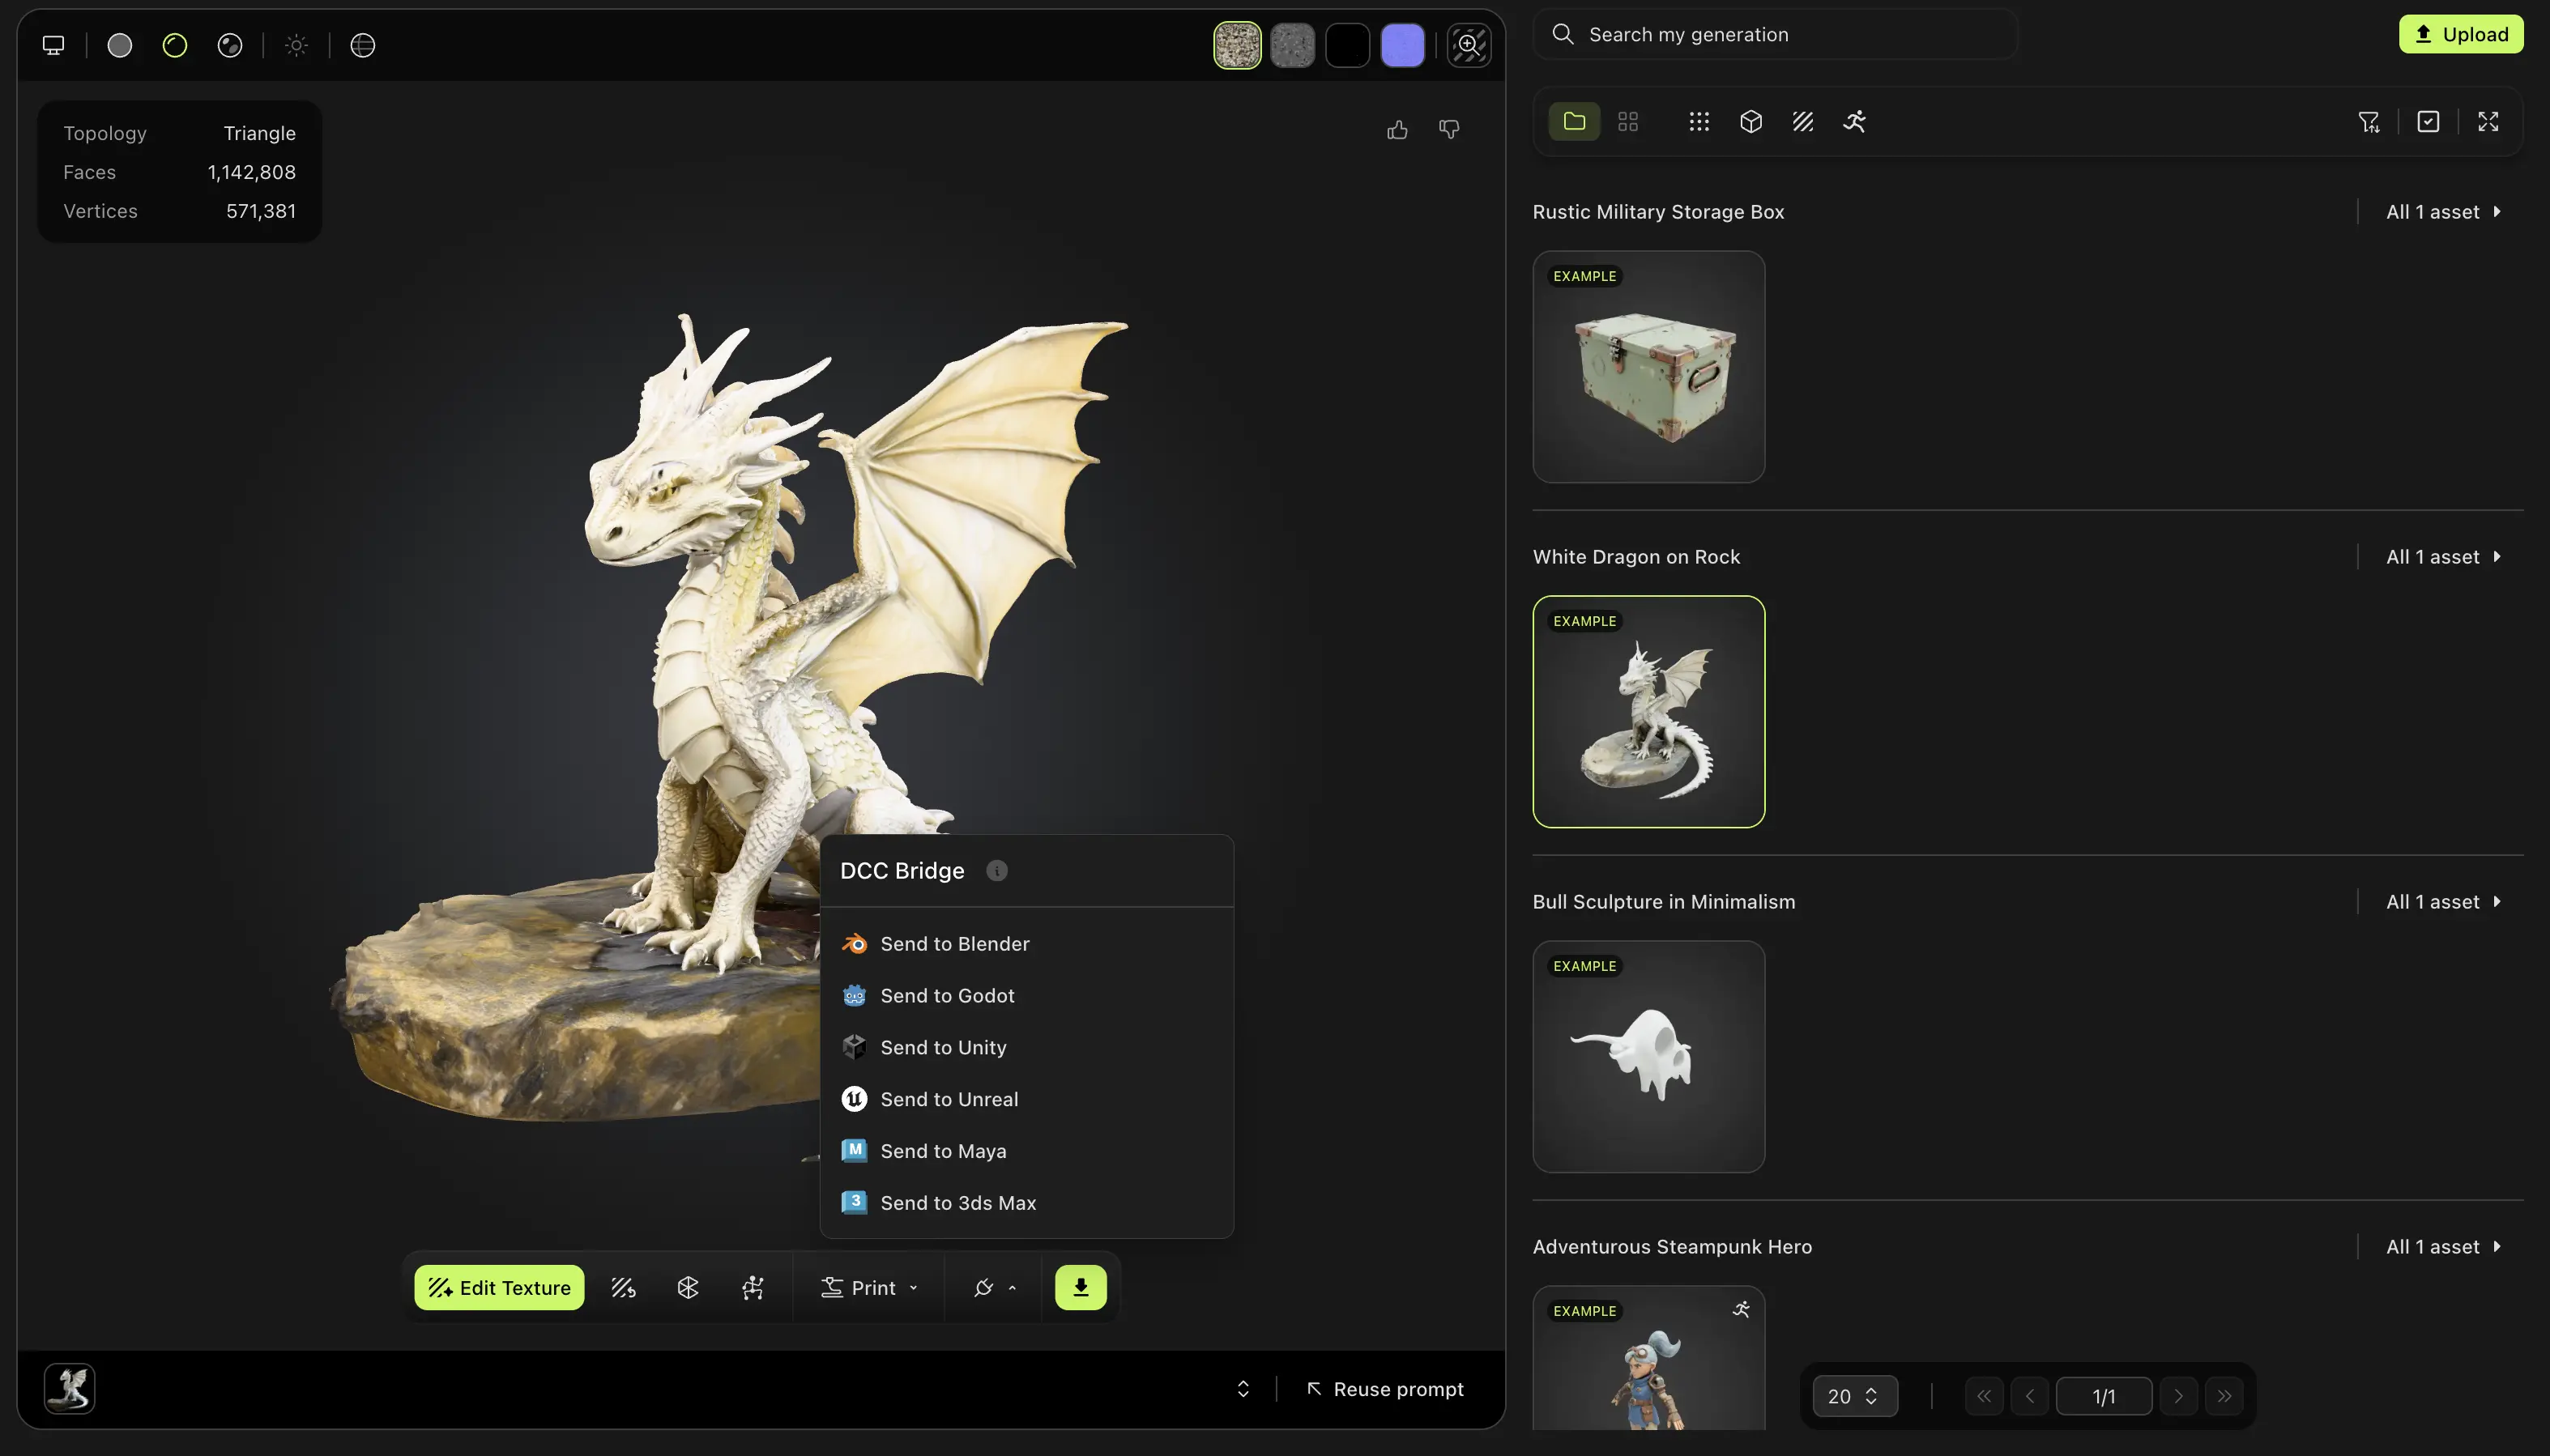
In the viewer toolbar, click DCC Bridge (the plug icon).
-
Click Send to Blender.
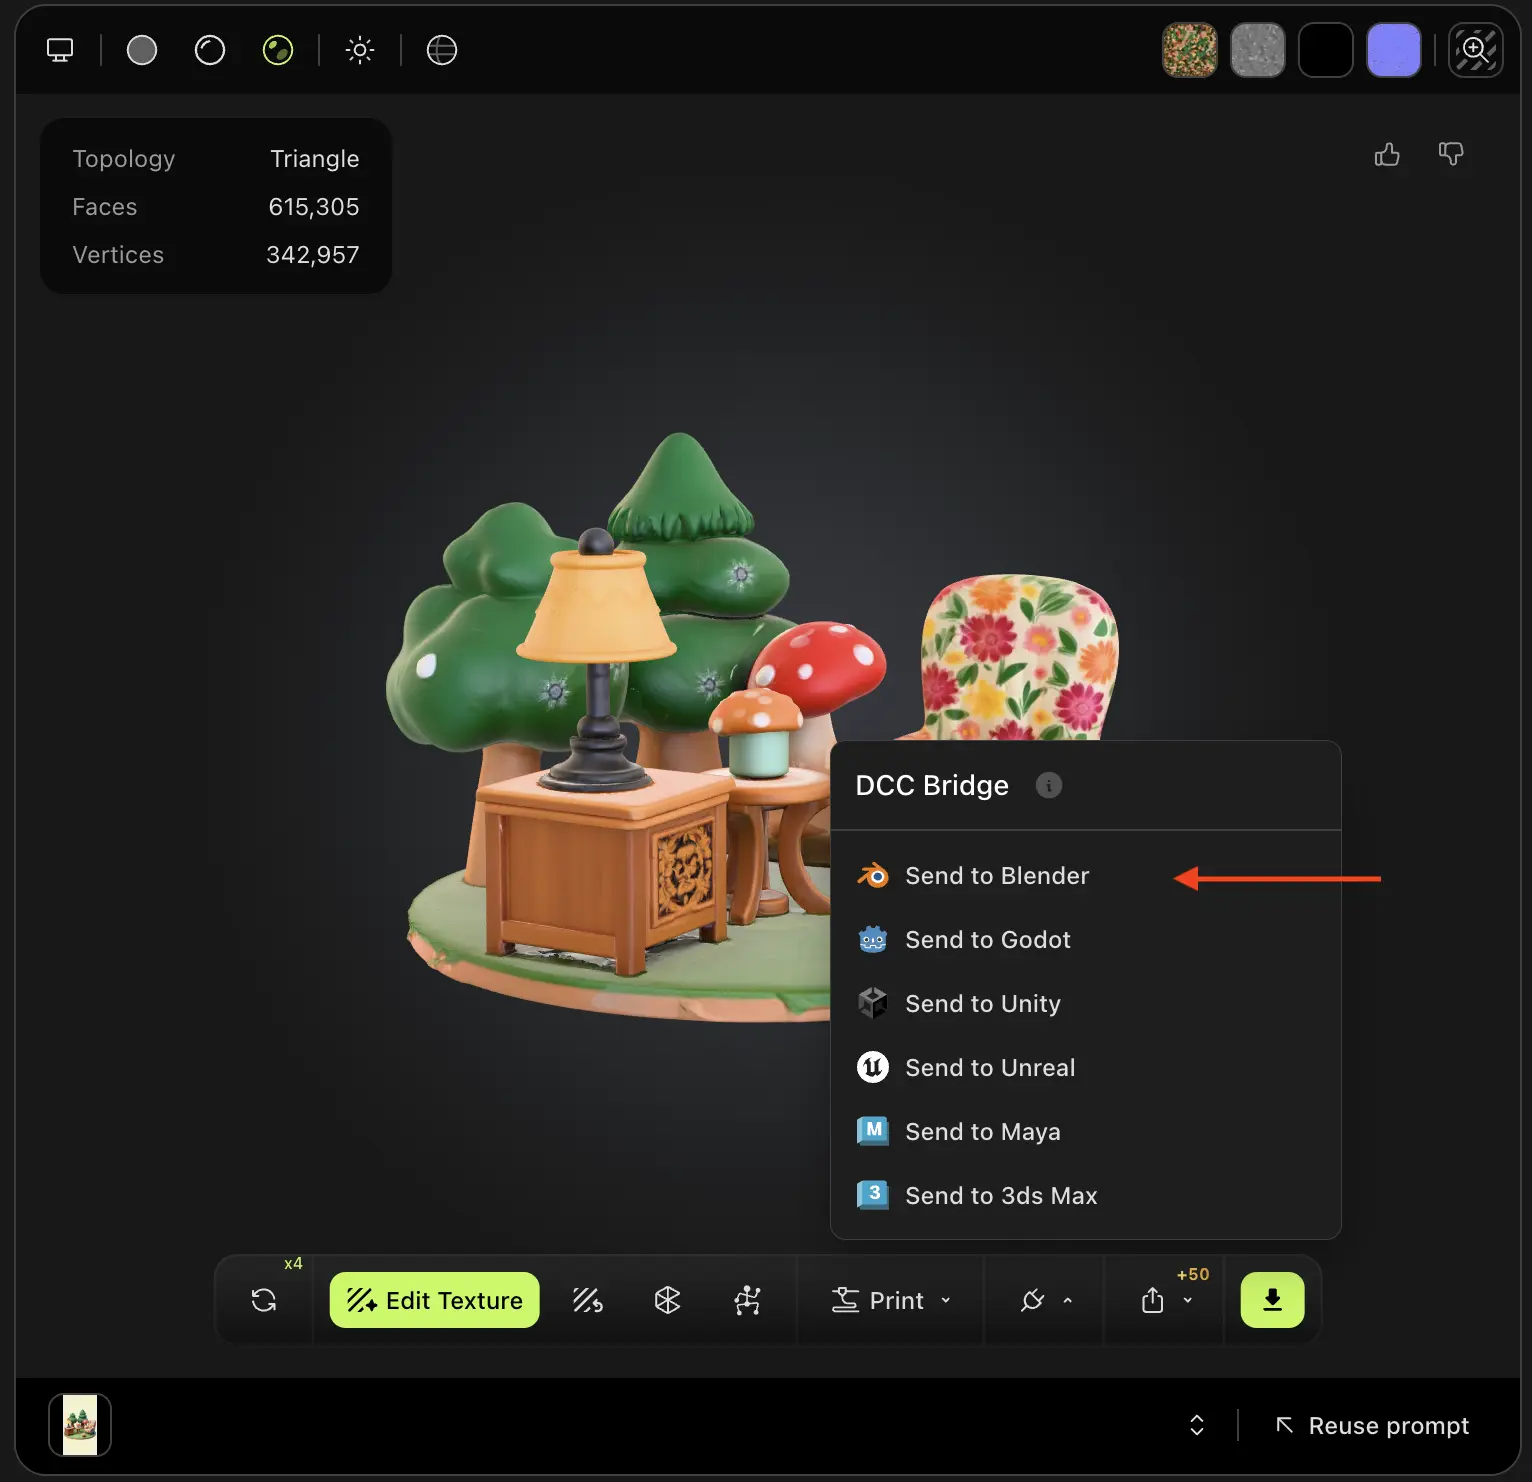
Meshy sends the model as a GLB file, and the plugin imports it into the open scene.
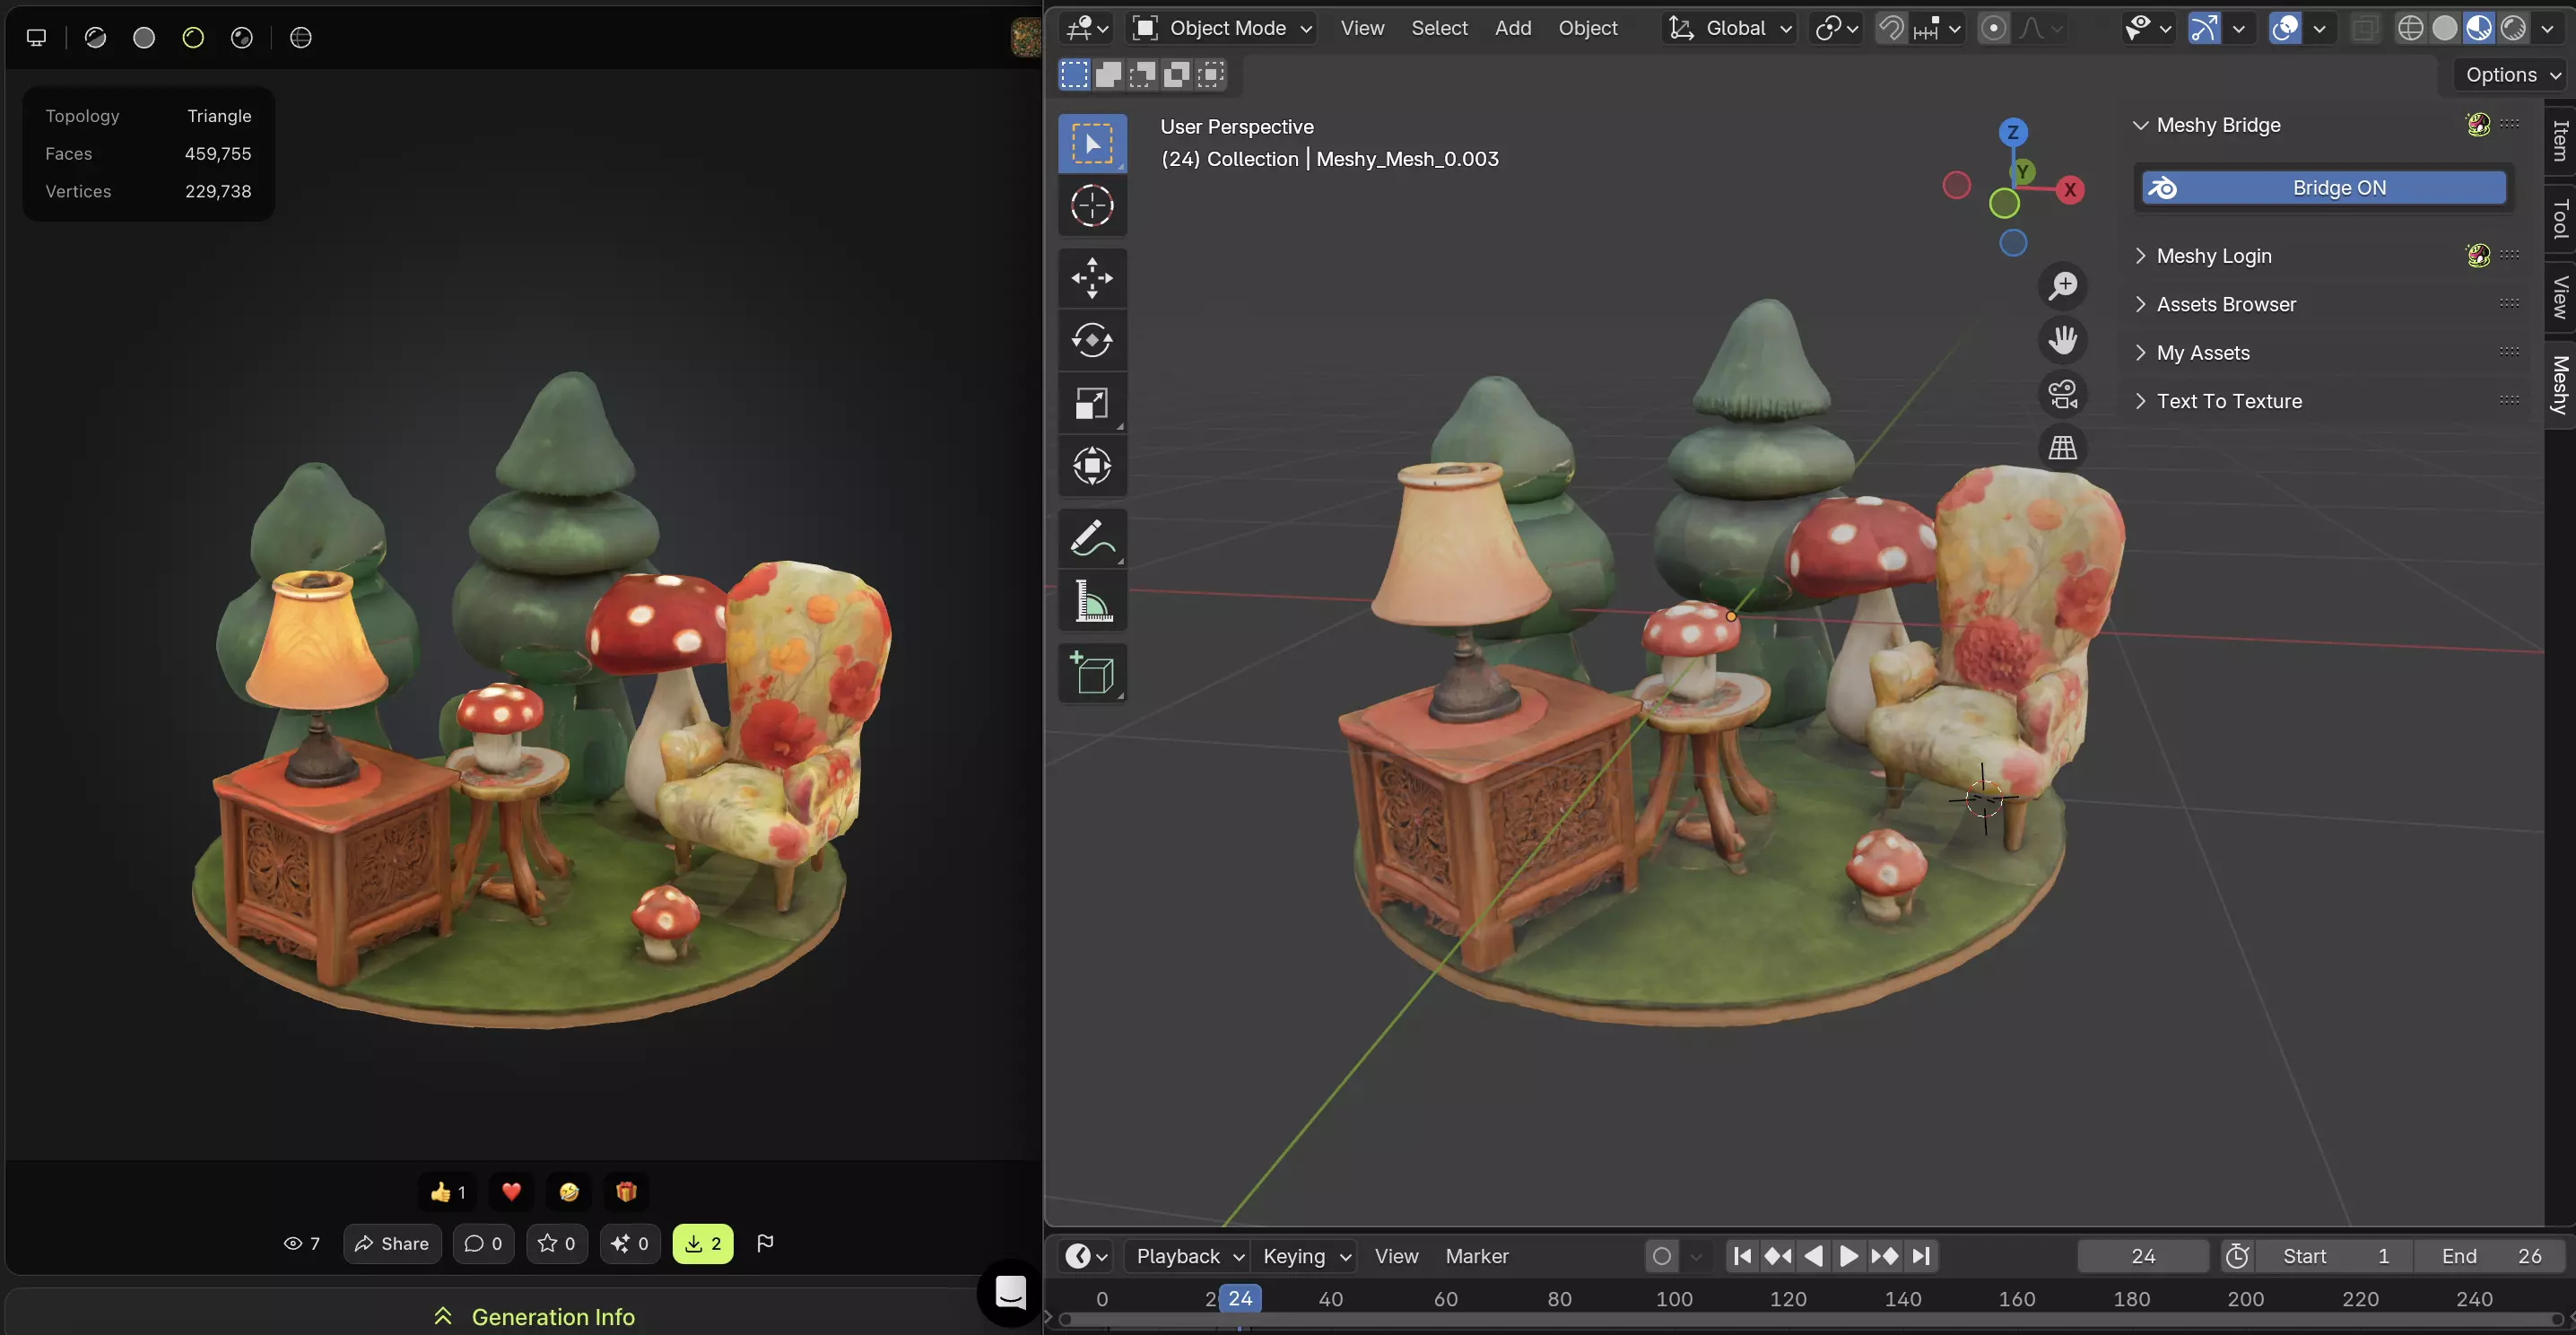
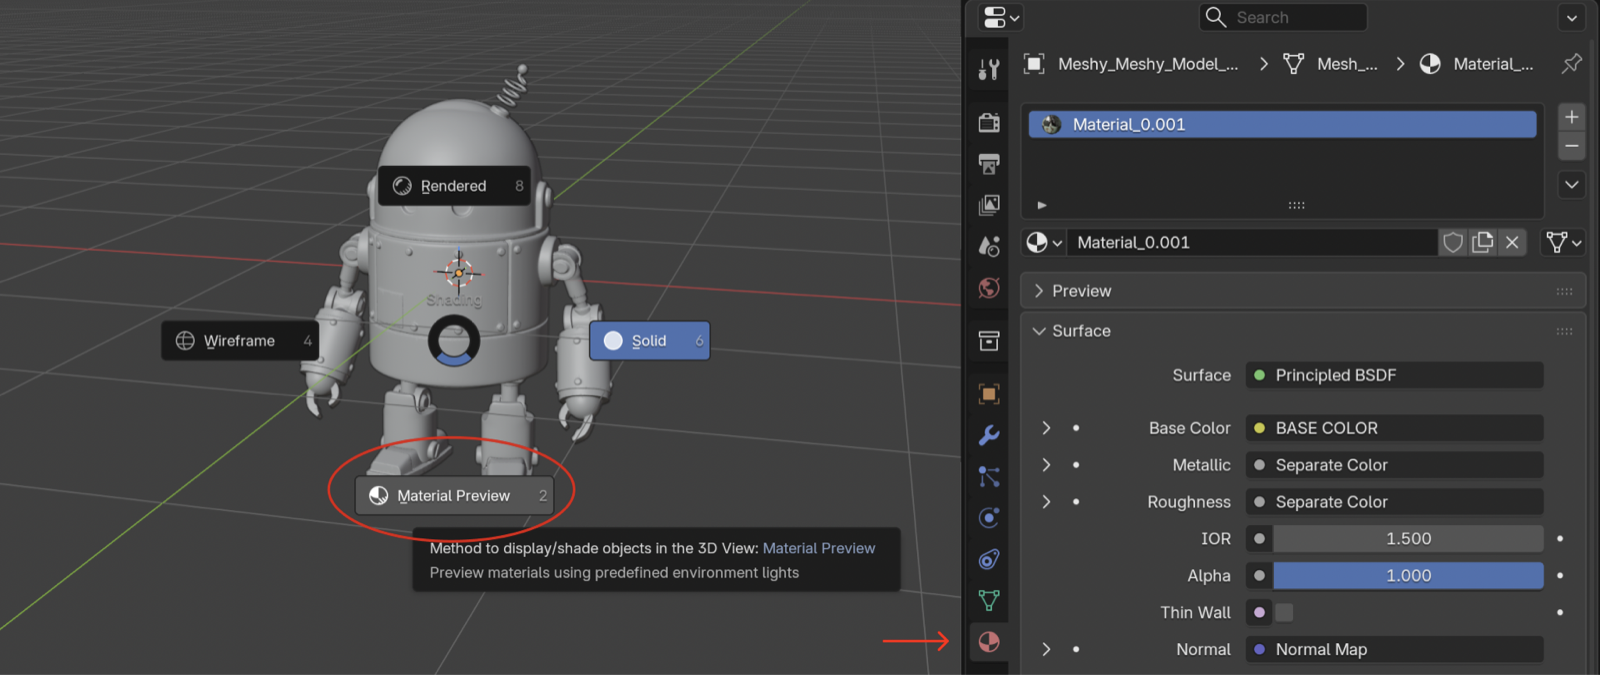
If the imported model looks plain gray, the viewport is in Solid shading, which doesn't show textures. The import still worked. To see the materials, hover over the 3D viewport, press Z, and select Material Preview. You can also use the shading buttons in the viewport header.
You can send any model in your generations, whichever tool made it, except a Smart Rig result or an Ultra 4K model.
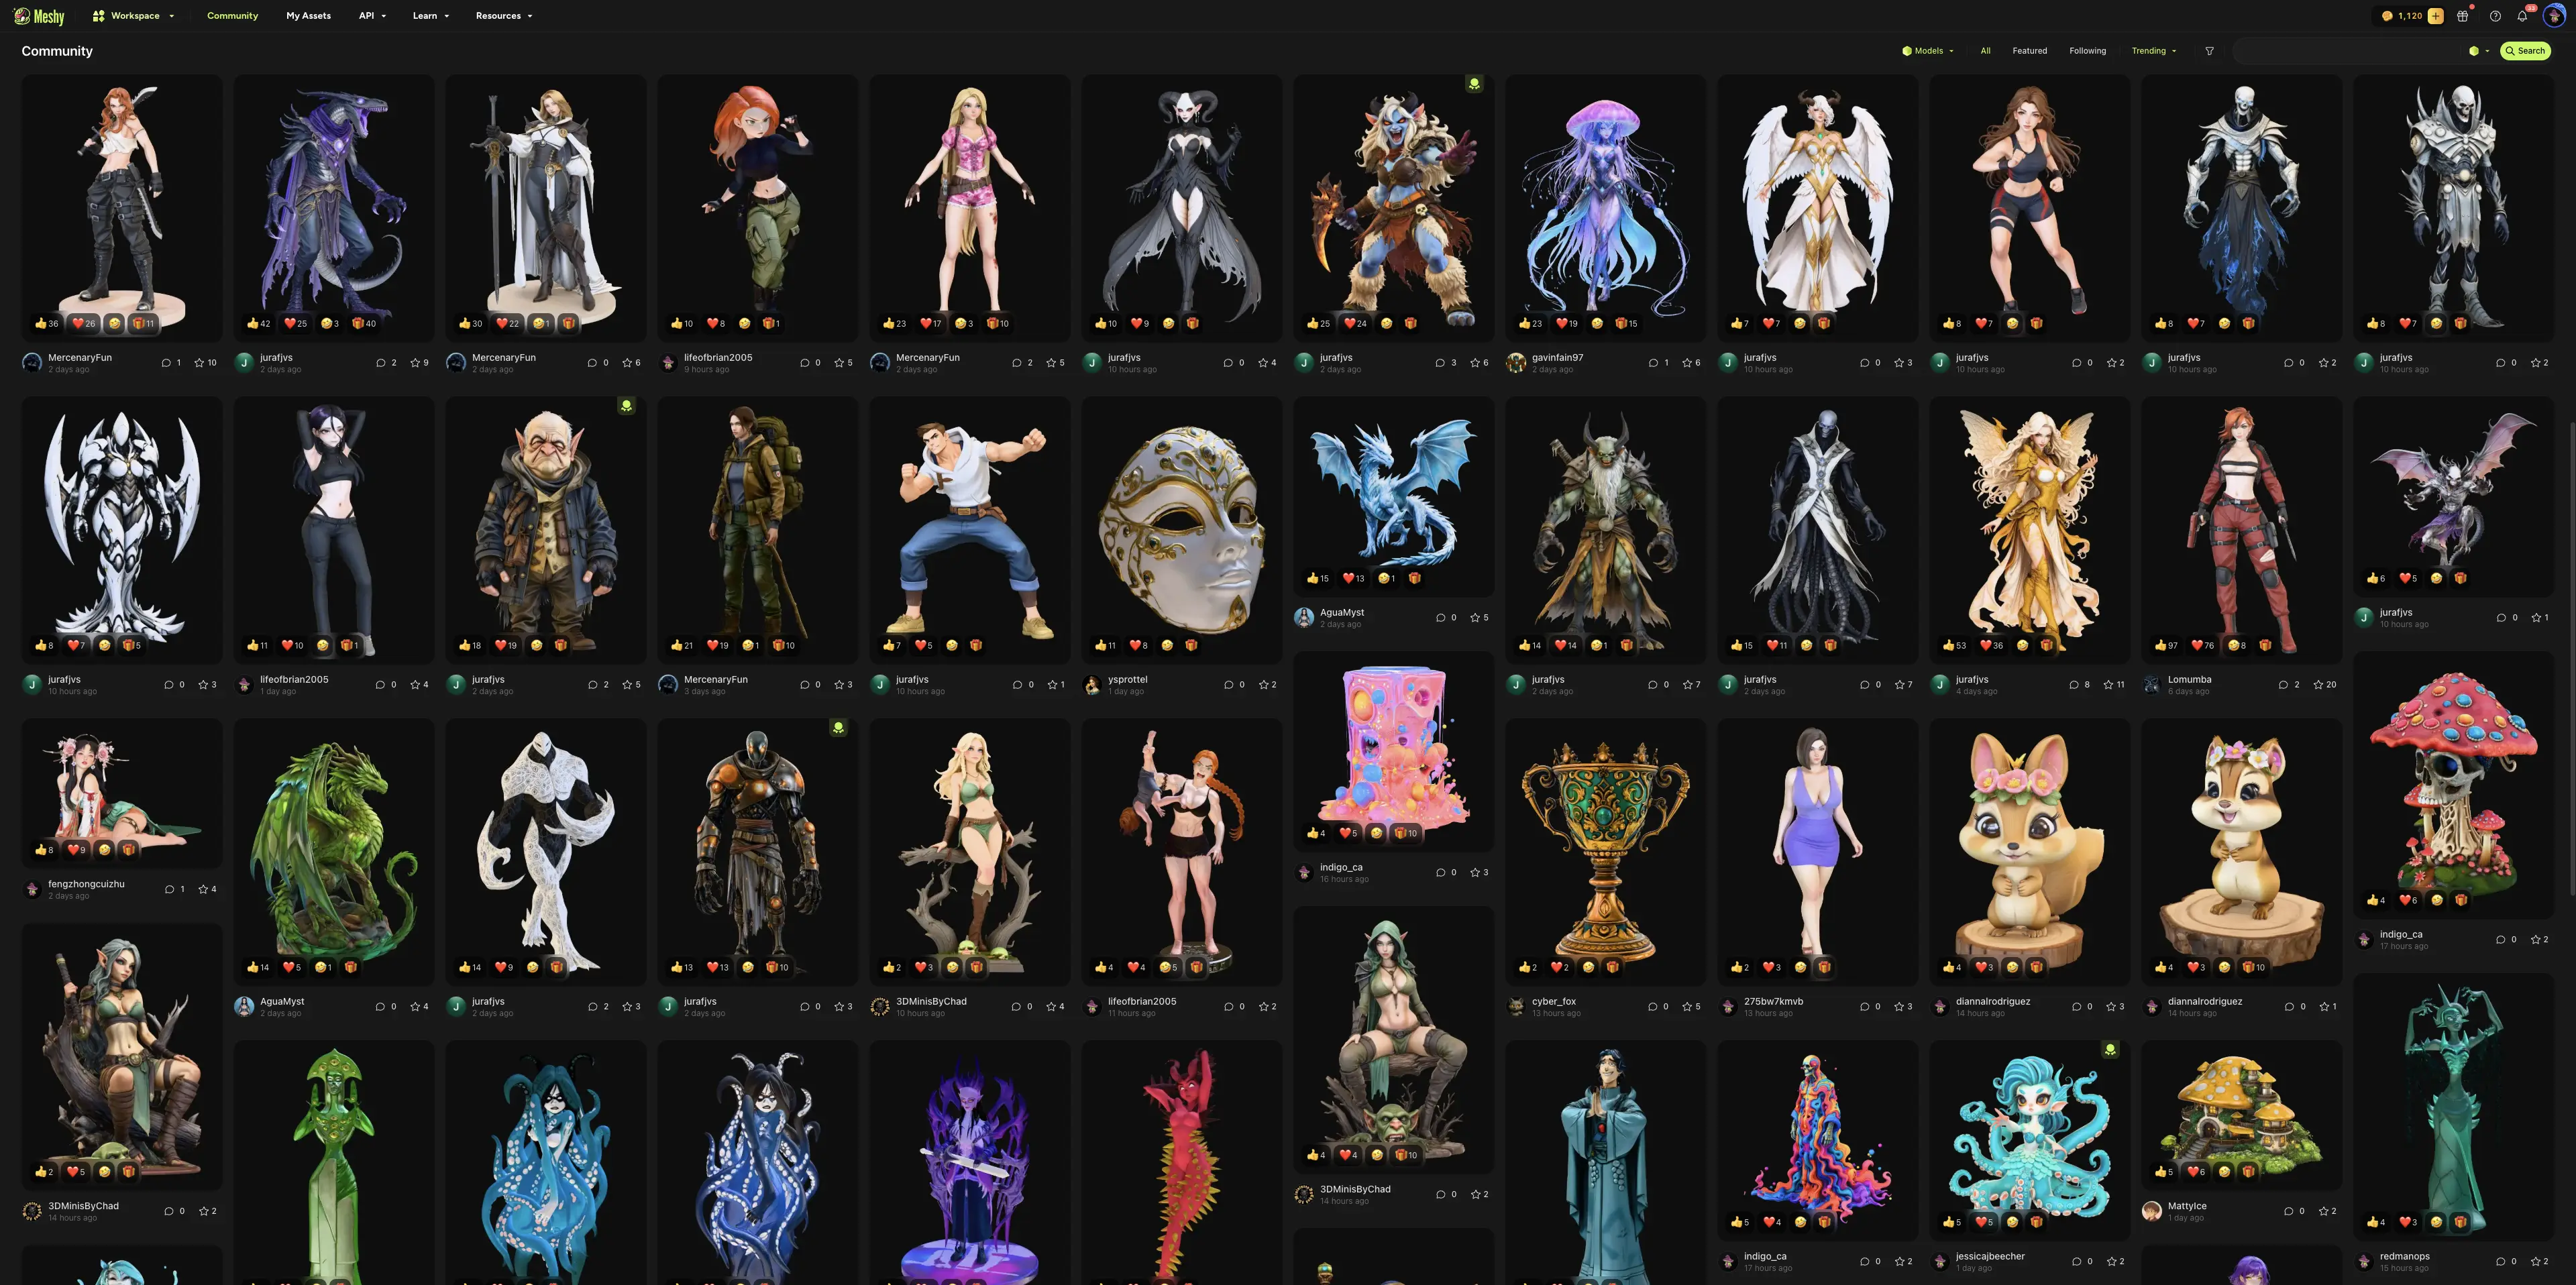
You can also send a model that another user shared in Community. Open the model, click DCC Bridge, and then click Send to Blender.
How the bridge works
The bridge is a local server that the plugin runs inside Blender. When you click Send to Blender, the following happens:
-
The web app checks that the bridge is running at
http://localhost:5324/status, and then sends the model's download URL tohttp://localhost:5324/import. -
The plugin downloads the file to a temporary folder. You can keep working in Blender while it downloads.
-
The plugin checks whether the file is a GLB file or a ZIP file.
-
The plugin imports the model with the Blender glTF importer, and merges duplicate vertices.
-
The plugin renames the imported object to
Meshy_, then the model name, then the object's original name. If the mesh has no material, the plugin adds one that shows its vertex colors. -
The plugin deletes the temporary files.
Supported file formats
The bridge imports these file types:
-
GLB: Meshy sends a static model as a GLB file.
-
ZIP: Meshy sends an animated model as a ZIP file. The plugin extracts it and imports the first GLB file inside.
The glTF importer brings in the model's materials, textures, and vertex colors, and the armature and animation of an animated model.
Troubleshooting
The following table lists common problems, their causes, and how to fix them.
| Problem | Cause | Fix |
|---|---|---|
| Meshy shows "Failed to send model to blender" | Blender isn't open, the bridge isn't running, another app uses port 5324, or your browser blocks access to your local network. | Open Blender. In the Meshy Bridge panel, click Run Bridge, and then send the model again. If your browser asks for local network access, allow it for Meshy. If the send still fails, close any other app that uses port 5324. |
| The panel shows Bridge ON, but Meshy shows "Failed to send model to blender" | Pressing Esc in Blender stops the bridge, and the button keeps showing Bridge ON. | Click Bridge ON, click Run Bridge, and then send the model again. |
Next steps
-
To bring a rigged character and its animation into Blender, see Animated models.
-
To check an imported model for 3D printing problems, see Model analysis.