Bridge to ZBrush
Learn how to quickly send assets from the Meshy web application directly to ZBrush using our bridge feature.
Meshy supports ZBrush bridging directly from the workspace. Pro members and above can send models to ZBrush following the steps below. Requires ZBrush 2025.1+ with the Meshy plugin installed — see Introduction.
Run the Bridge
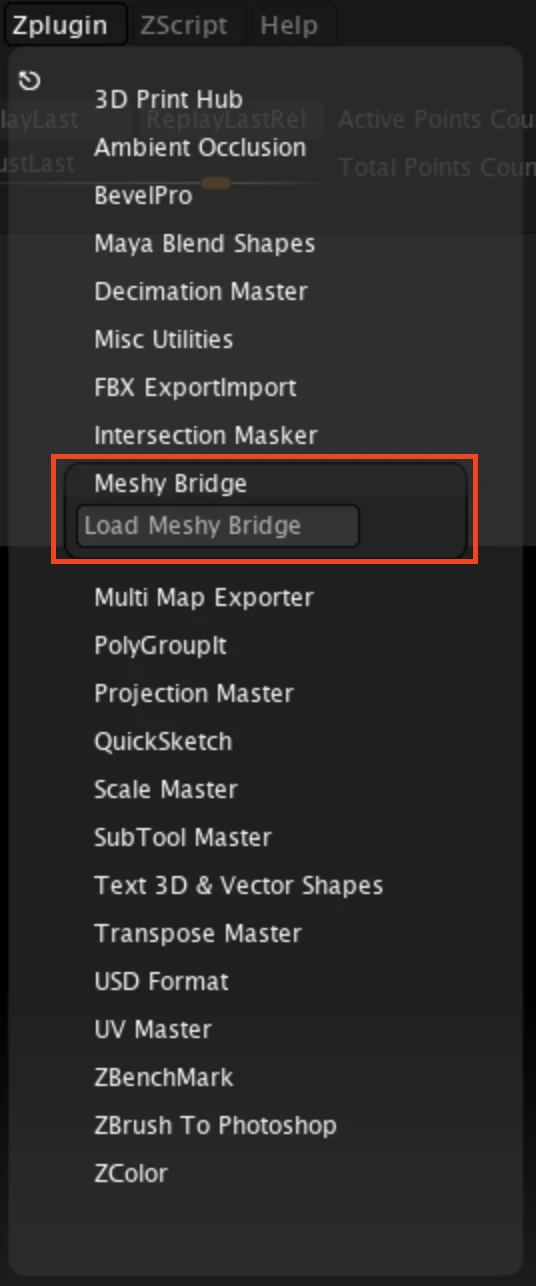
In ZBrush, open ZPlugin → Meshy Bridge and click Load Meshy Bridge.
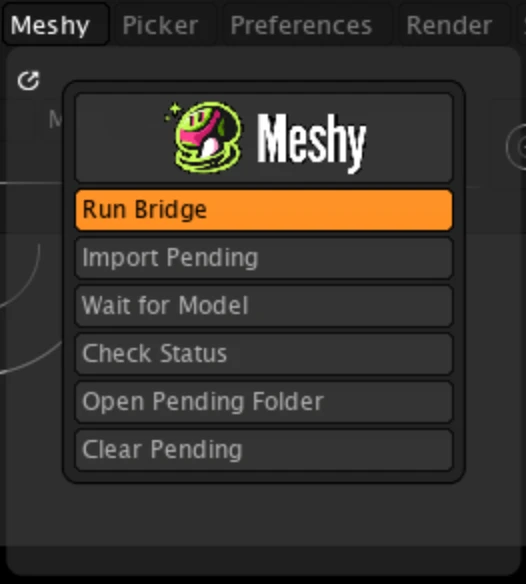
In the Meshy palette, confirm that Run Bridge is highlighted orange — that means the bridge is enabled and listening for models sent from Meshy.
Sending Models to ZBrush
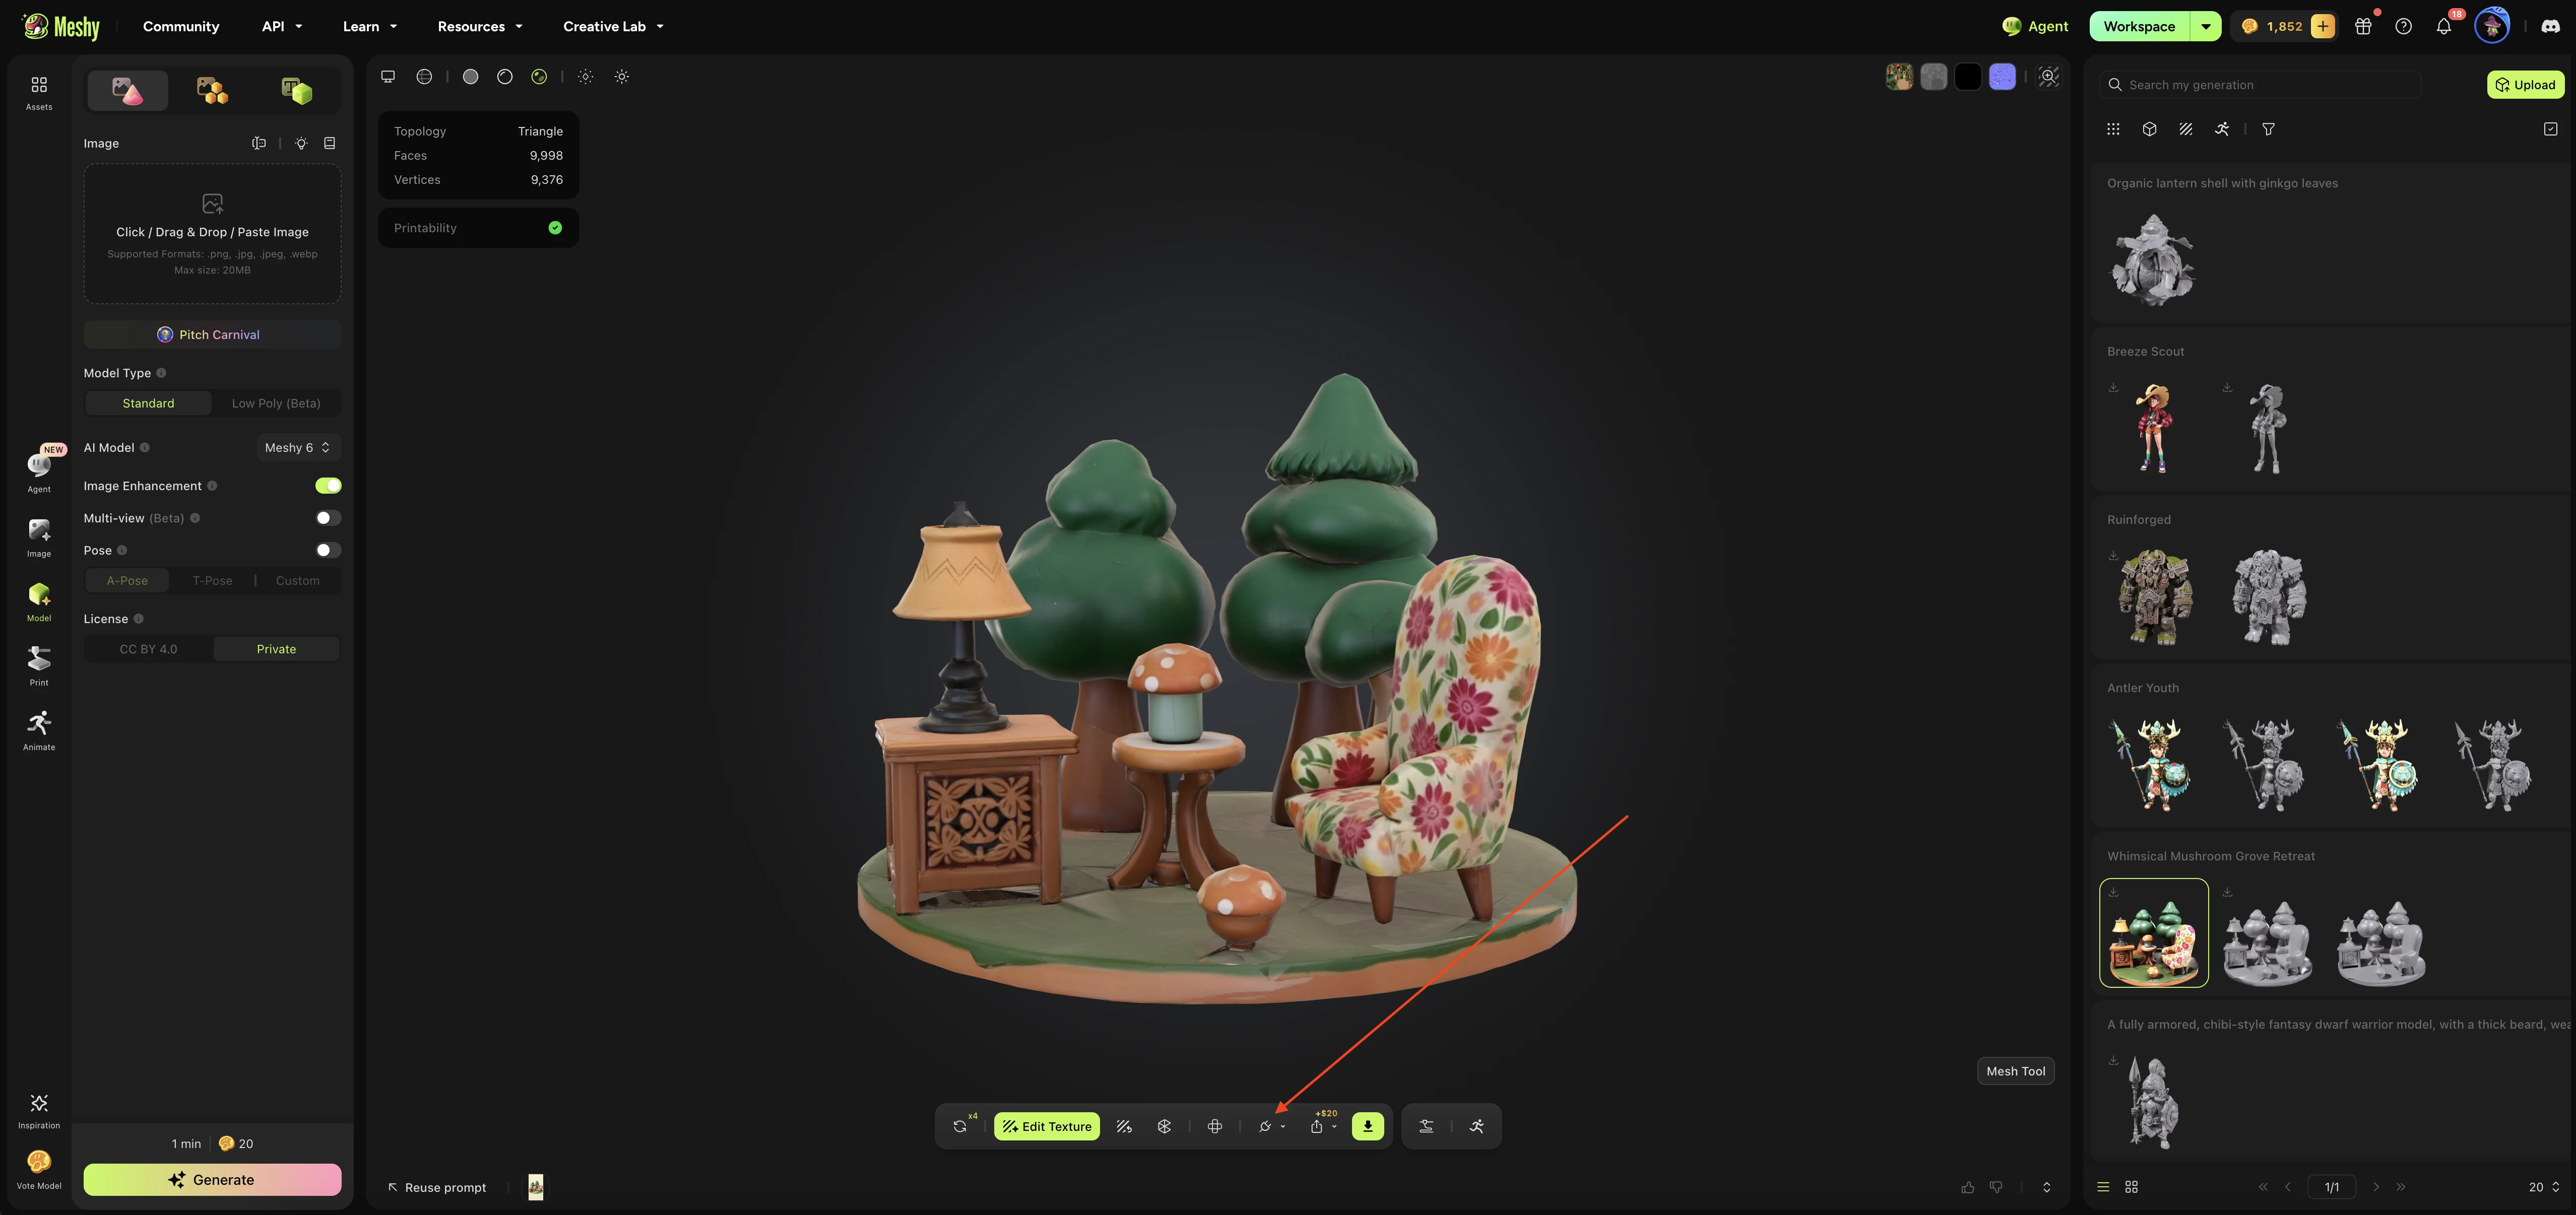
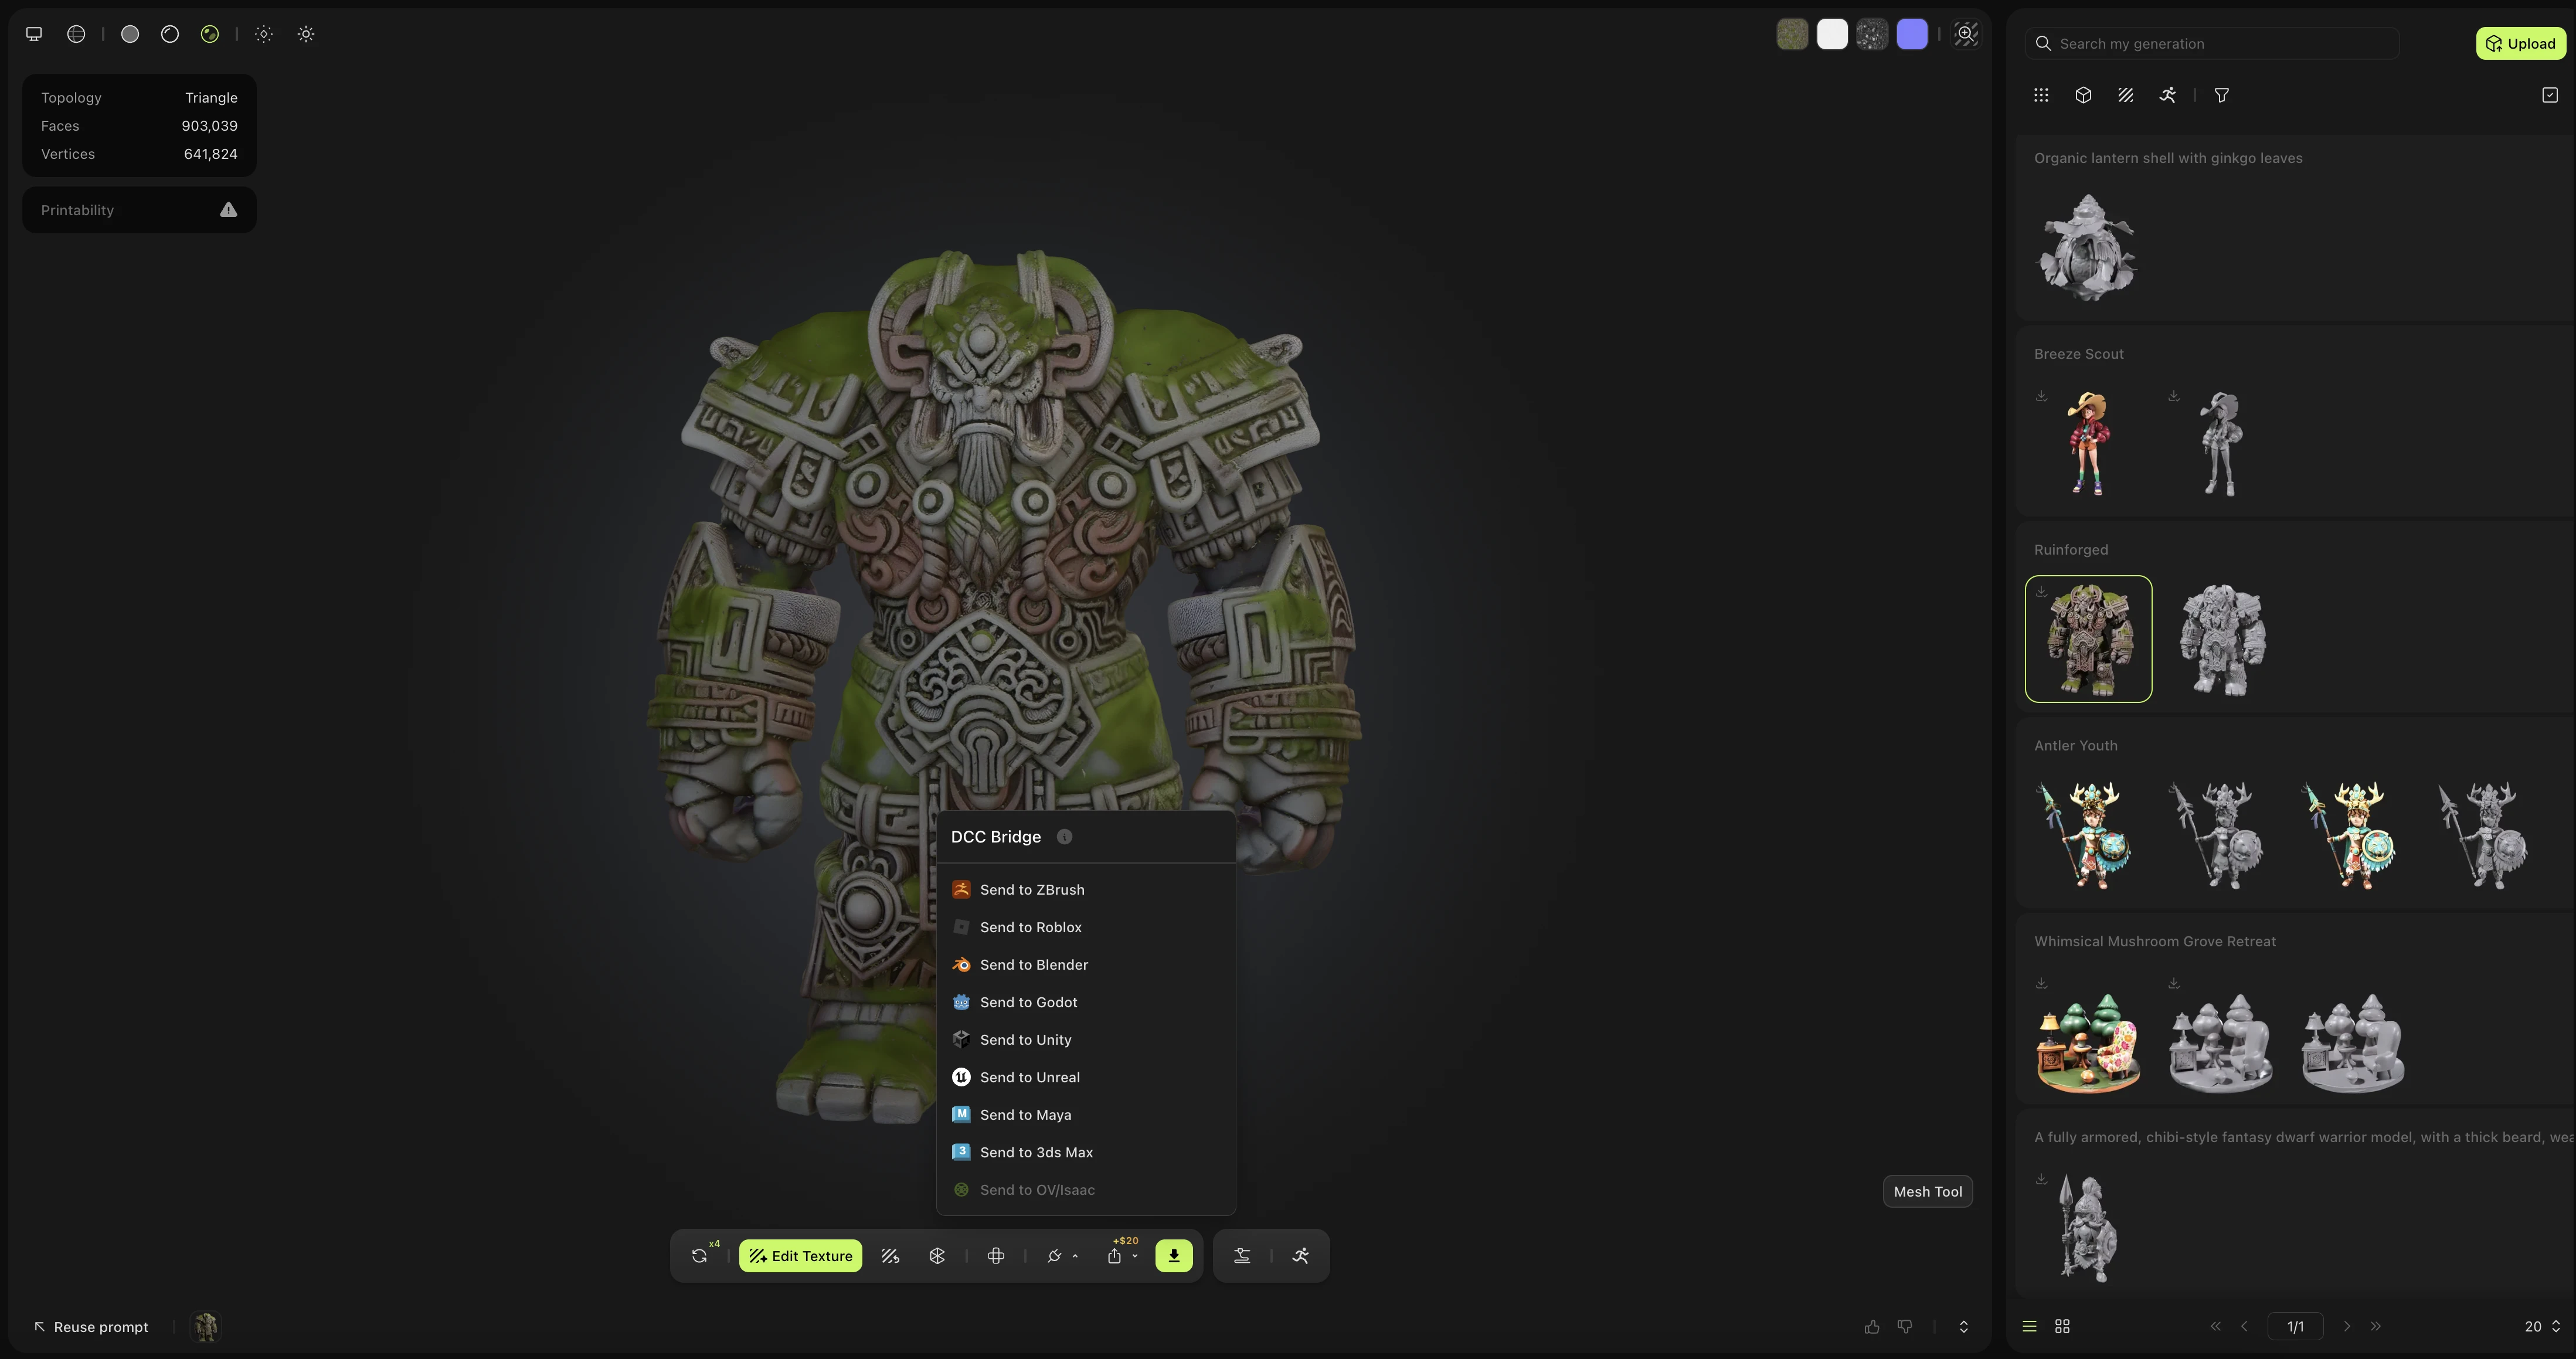
Navigate to the model you want in your MeshyAI workspace, click the DCC Bridge menu, and select Send to ZBrush.
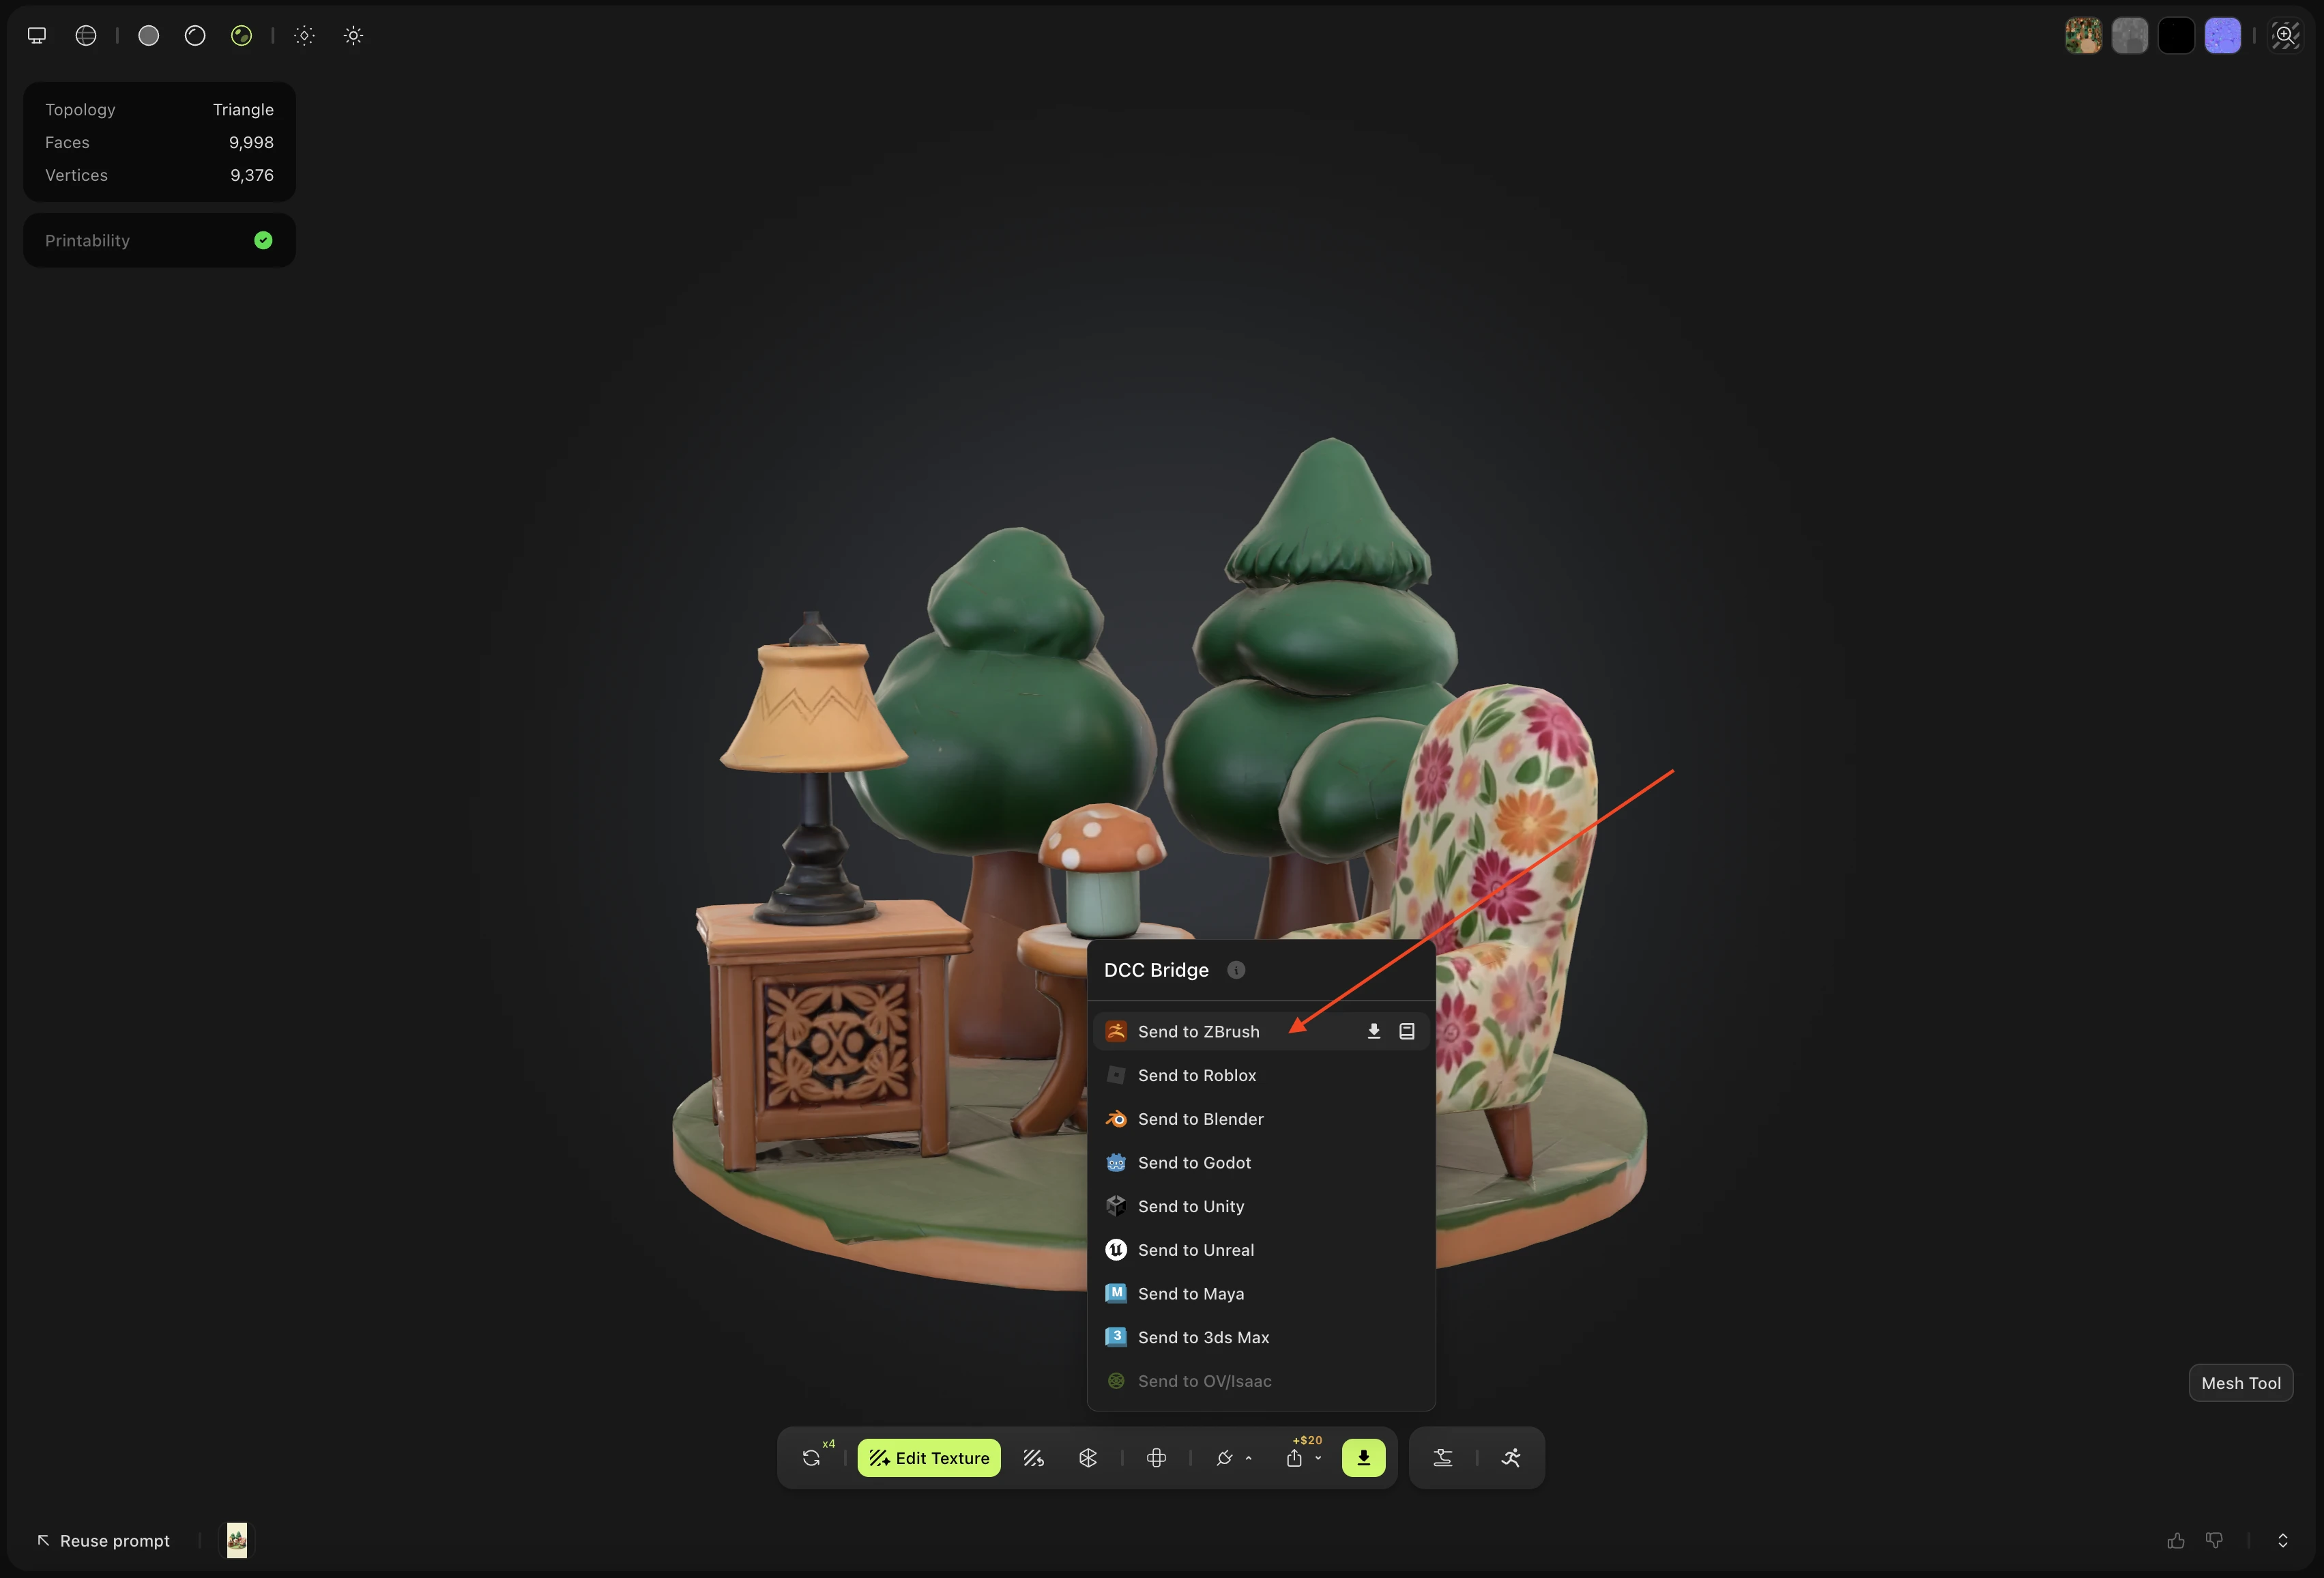
The model is downloaded in the background and queued for import.
Importing Pending Models
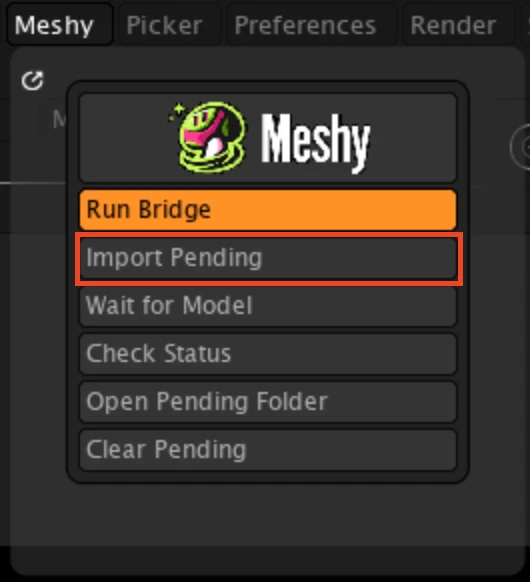
Because of a ZBrush plugin limitation, the model is not imported the moment it arrives — you import it manually. In the Meshy palette, click Import Pending.
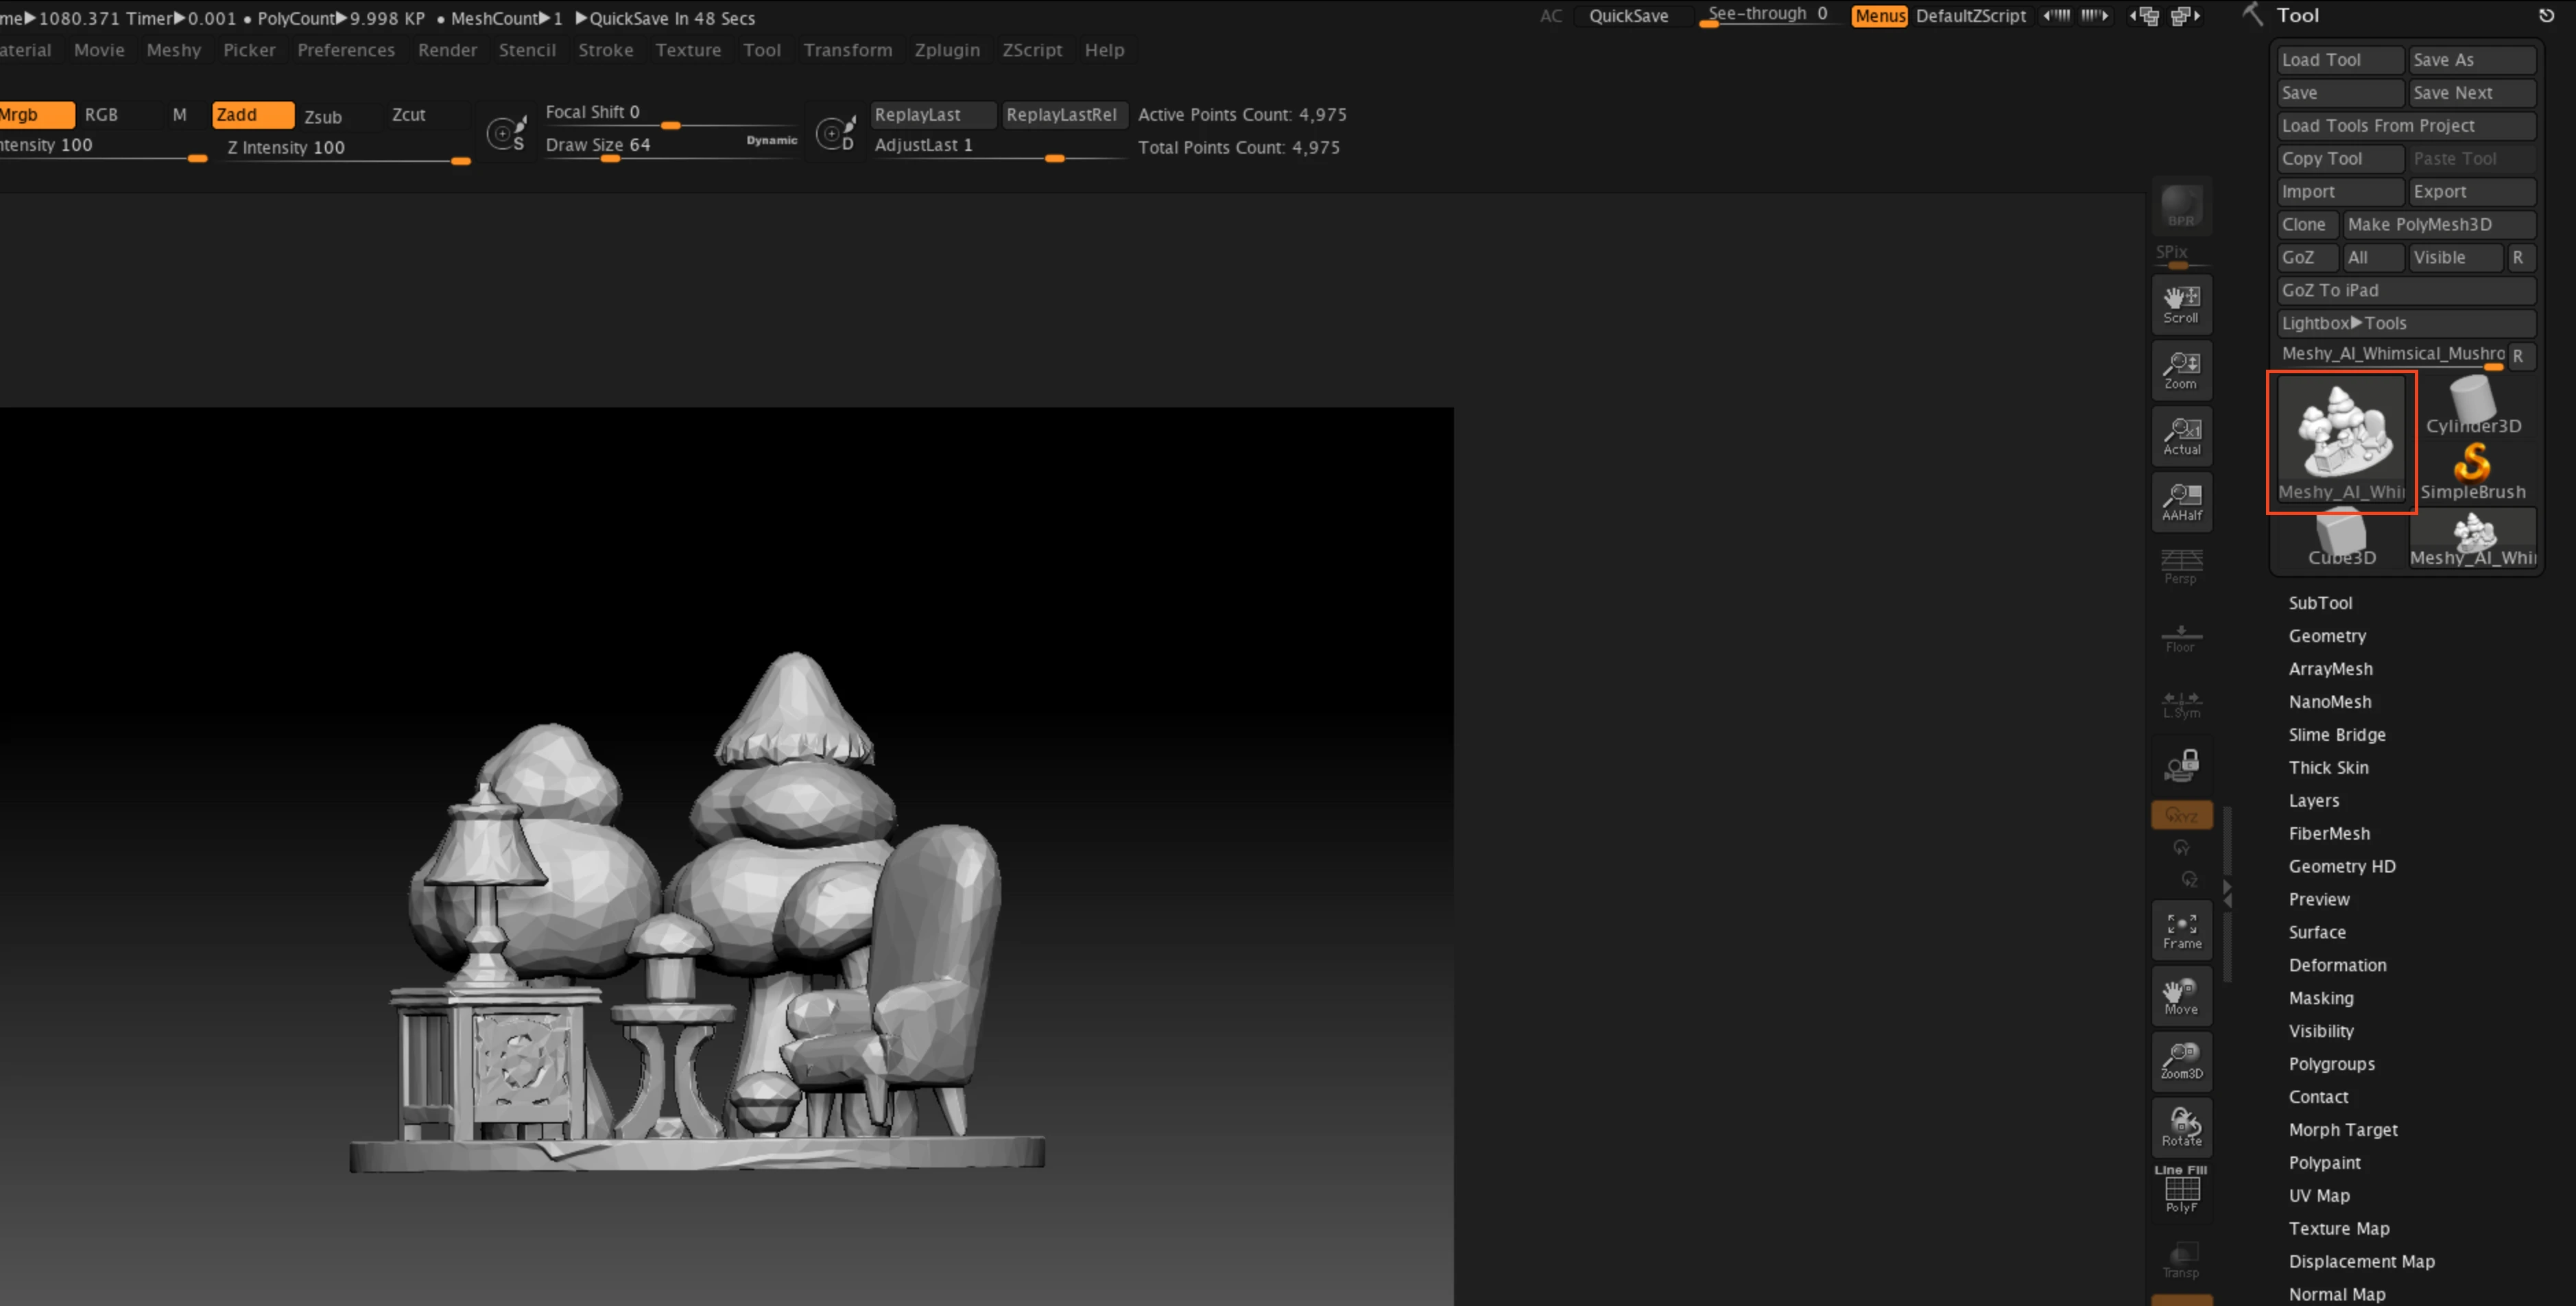
The model goes straight into the Tool panel as a white model with BasicMaterial applied by default.
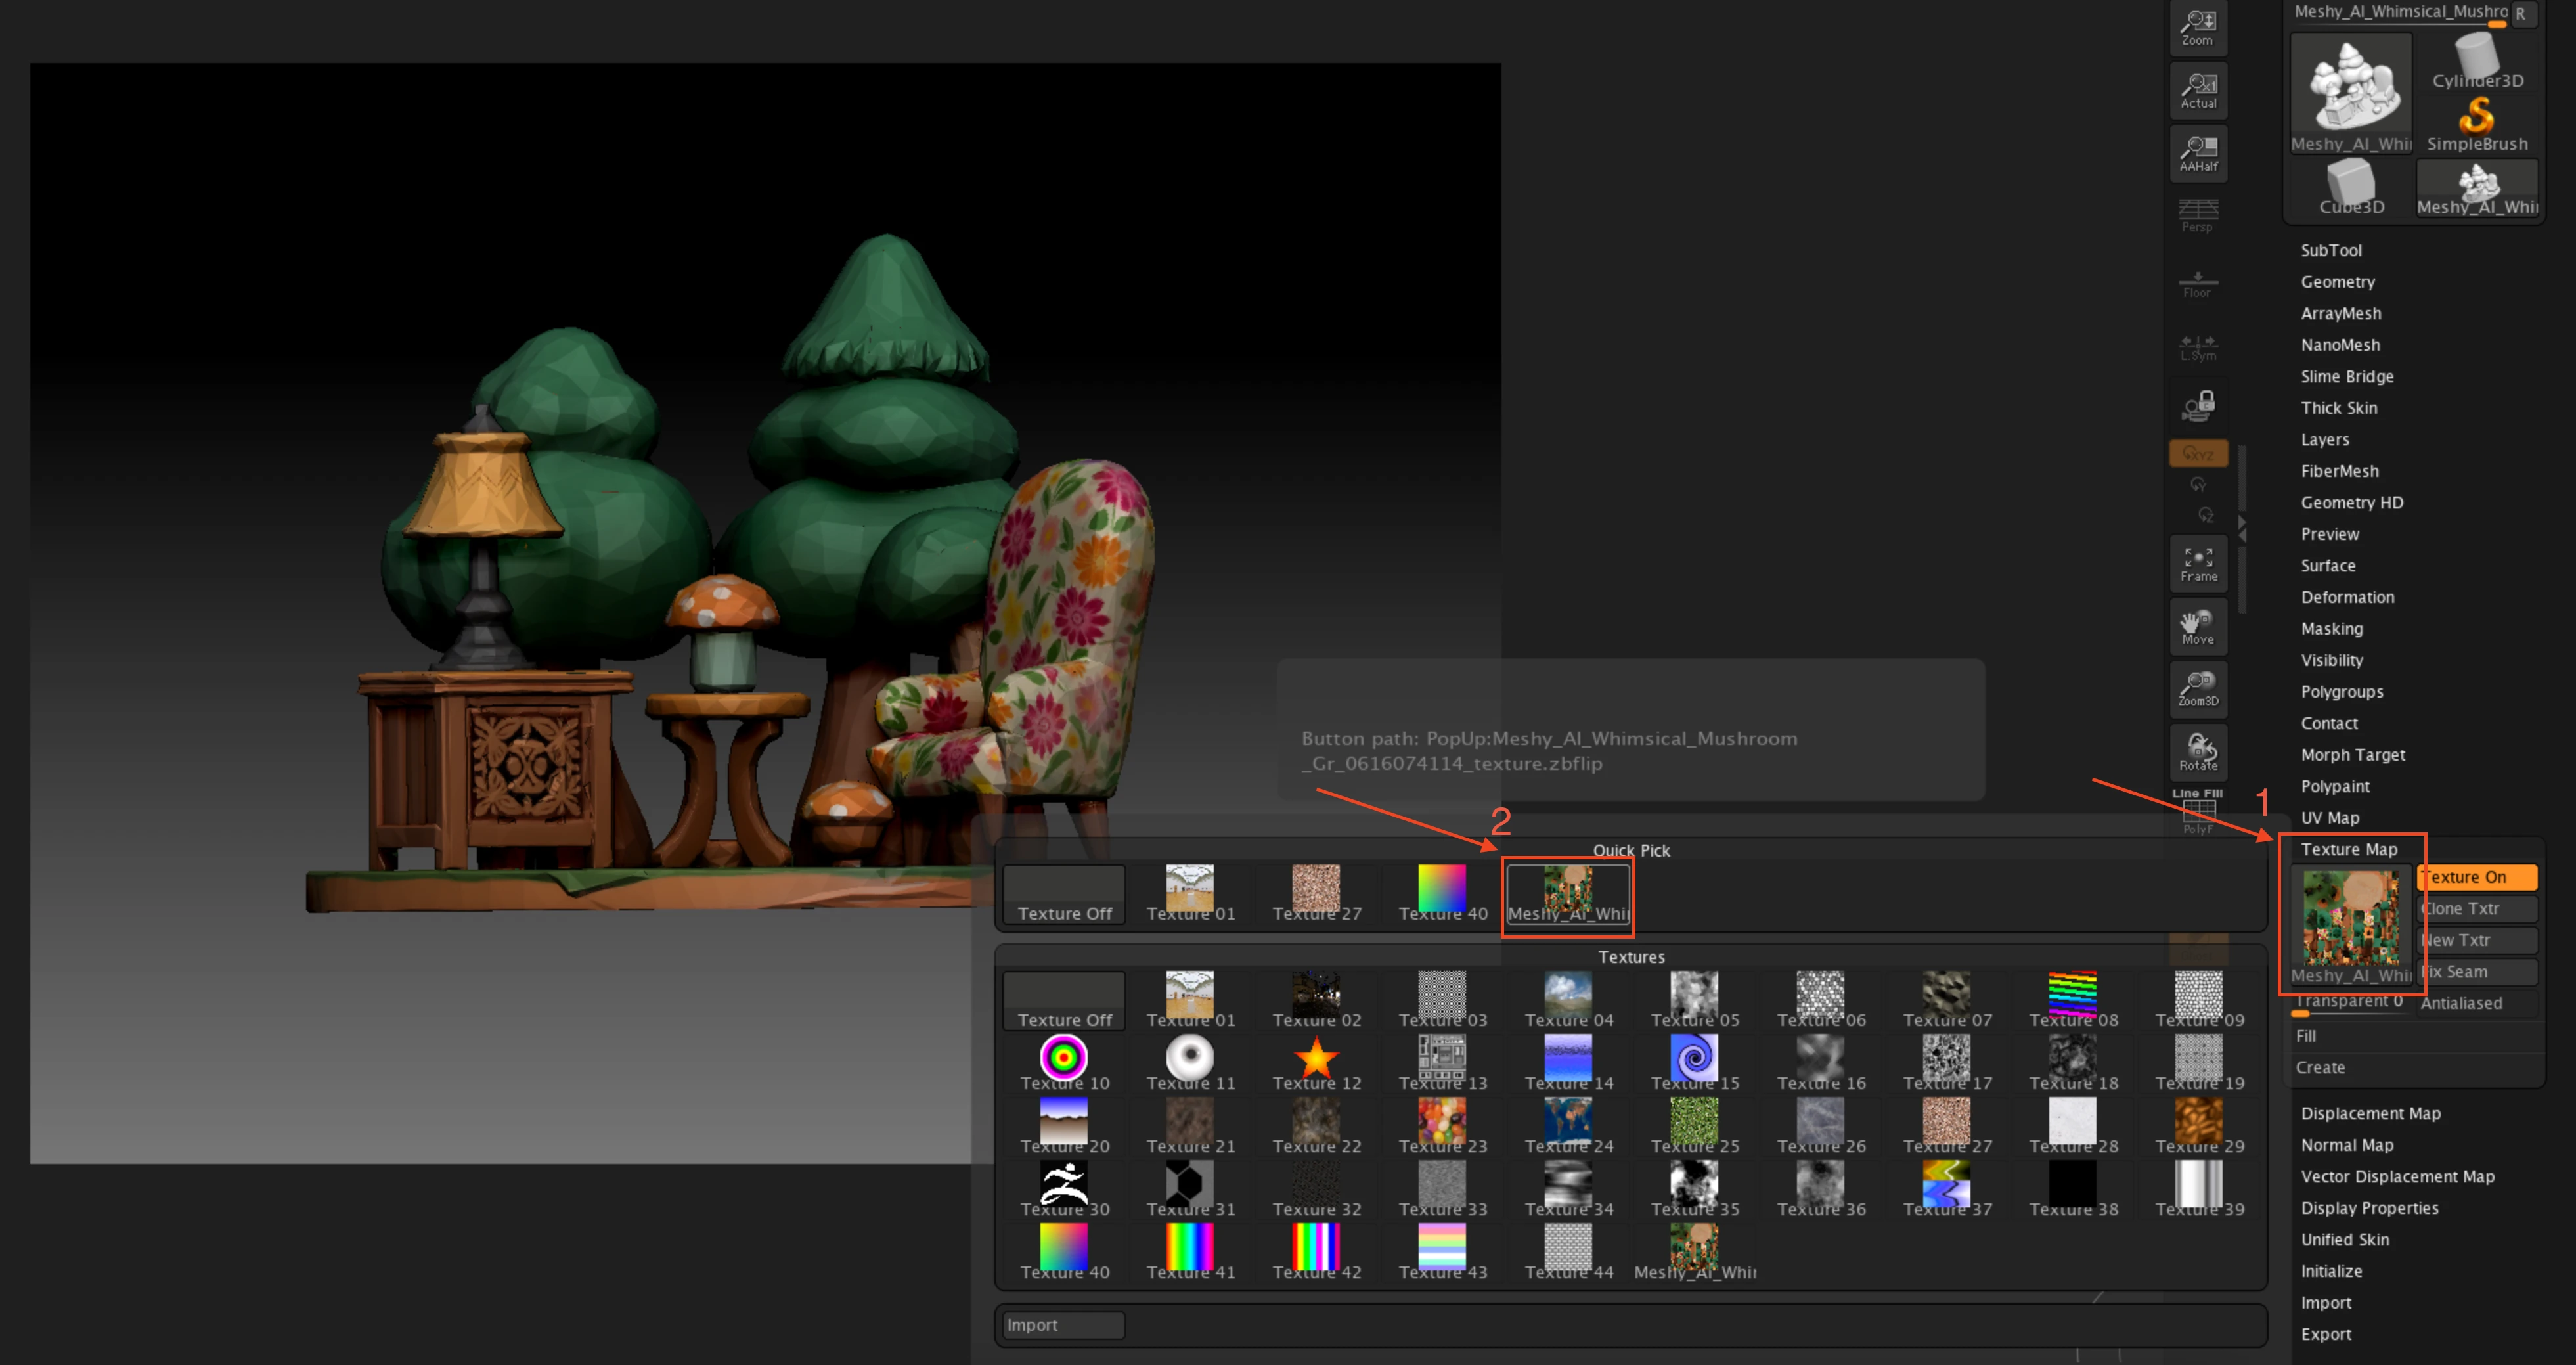
For models that carry a Base Color texture, go to Tool → Texture Map and pick the map whose name matches your model to turn it on. The bridge has already imported the corresponding texture file and applied Flip V for you, so no extra setup is needed.
If you'd rather the bridge import for you, click Wait for Model. For the next 90 seconds ZBrush waits for a model-send task from Meshy and imports it automatically as soon as it arrives.

While Wait for Model is active, ZBrush is blocked from other operations until a model arrives or the 90-second window ends.
More Ways to Send
Any 3D model you generate in your workspace — regardless of how it was created — can be sent to ZBrush via the DCC Bridge, from the workspace toolbar or a model's overview page.
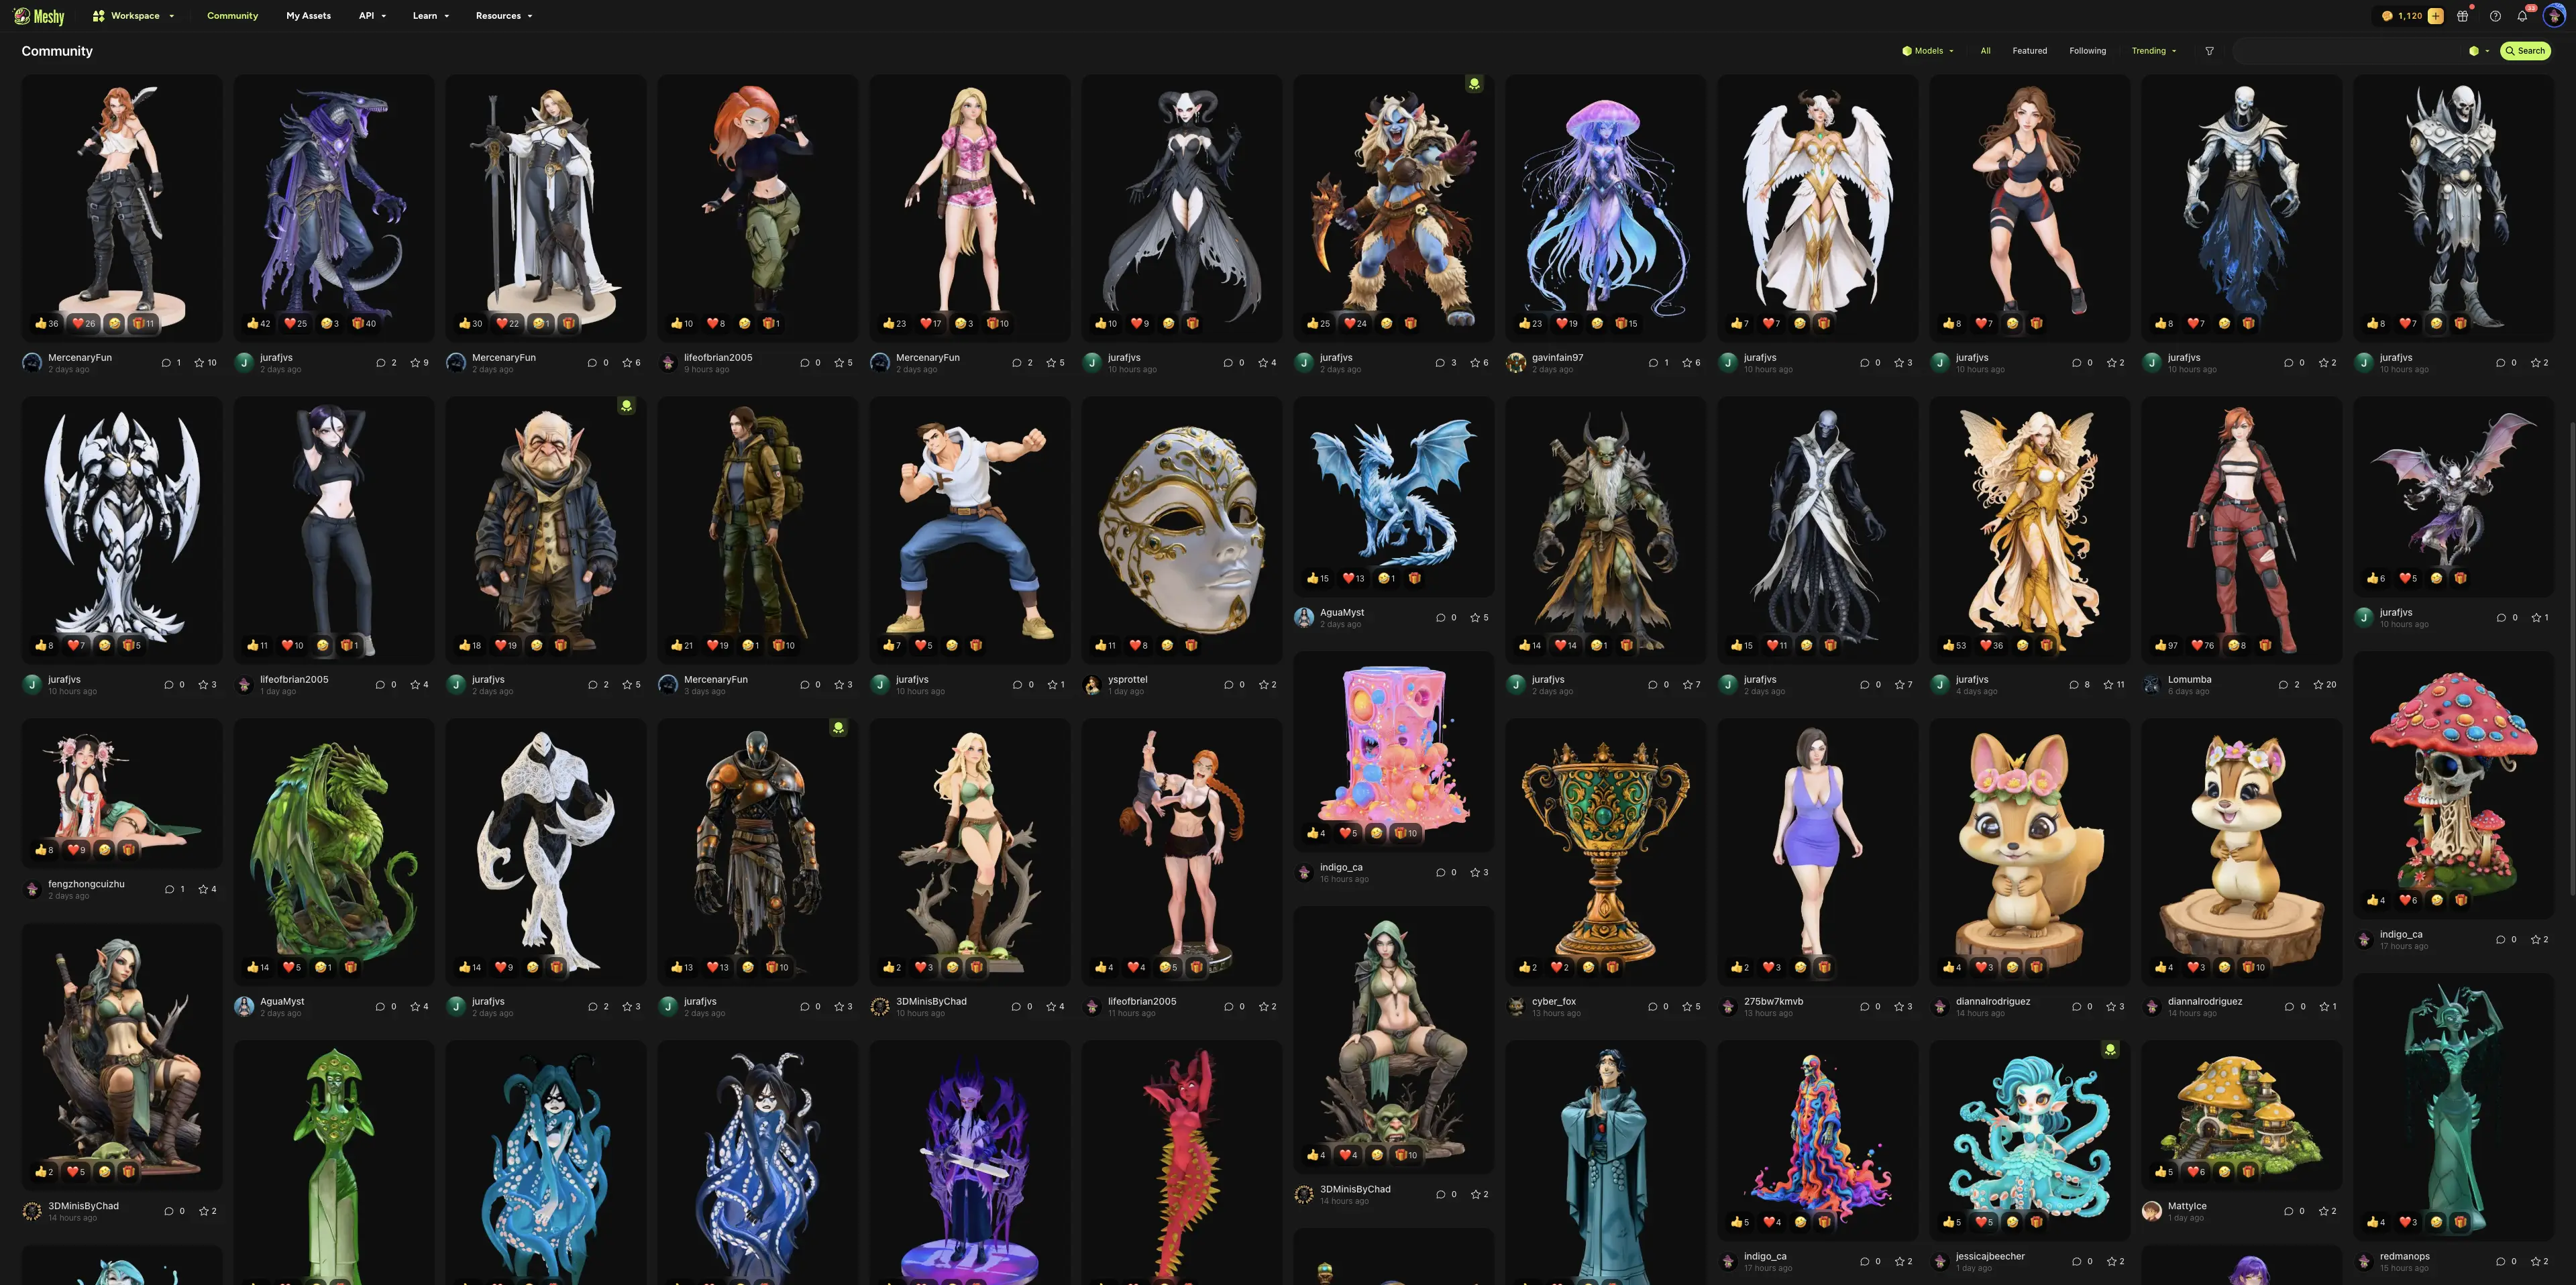
Likewise, models published by other users in the MeshyAI community are fully supported and can also be seamlessly sent to ZBrush.