Bridge to Blender
This guide shows you how to use the Bridge to Blender feature to automatically import Meshy assets into your Blender workspace. The Bridge creates a seamless connection between MeshyAI and Blender, allowing you to transfer 3D models with a single click.
Before you begin, make sure you have downloaded and installed the Meshy for Blender plugin. For detailed instructions, please refer to the Introduction section.
Meshy now supports Blender bridging directly from the workspace. Pro members and above can send models to Blender following the steps below.
Run Bridge in Meshy-Blender Plugin
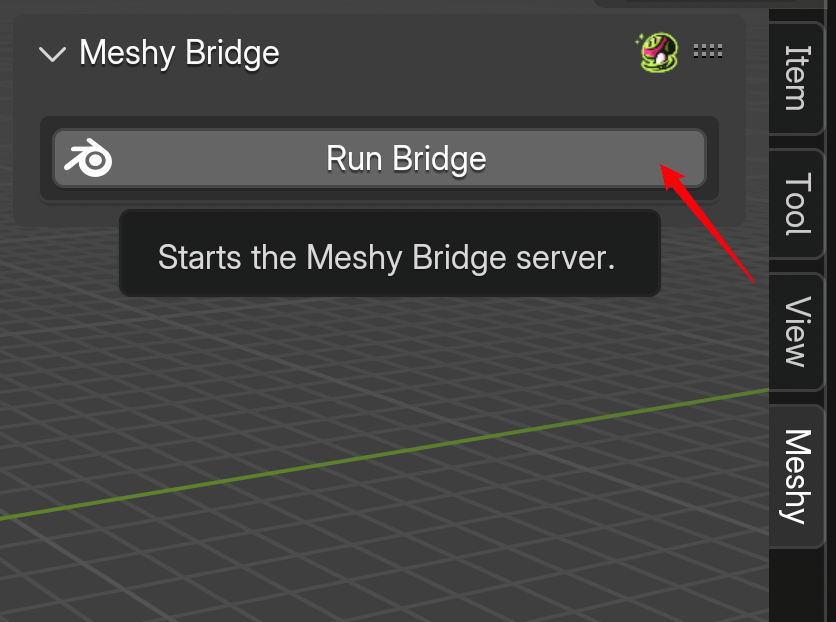
Open the Meshy Blender Plugin within Blender. The first feature listed is Meshy Bridge. Click Run Bridge to initialize and start the bridge connection.
When the bridge is running, the button will change to Bridge ON and remain highlighted, indicating that the local server is active and ready to receive model transfers from MeshyAI.
The Bridge runs a local HTTP server on port 5324. Make sure this port is not blocked by your firewall or used by another application. When the bridge is active, it will automatically process incoming model transfers and import them into your current Blender scene.
Sending Models to Blender
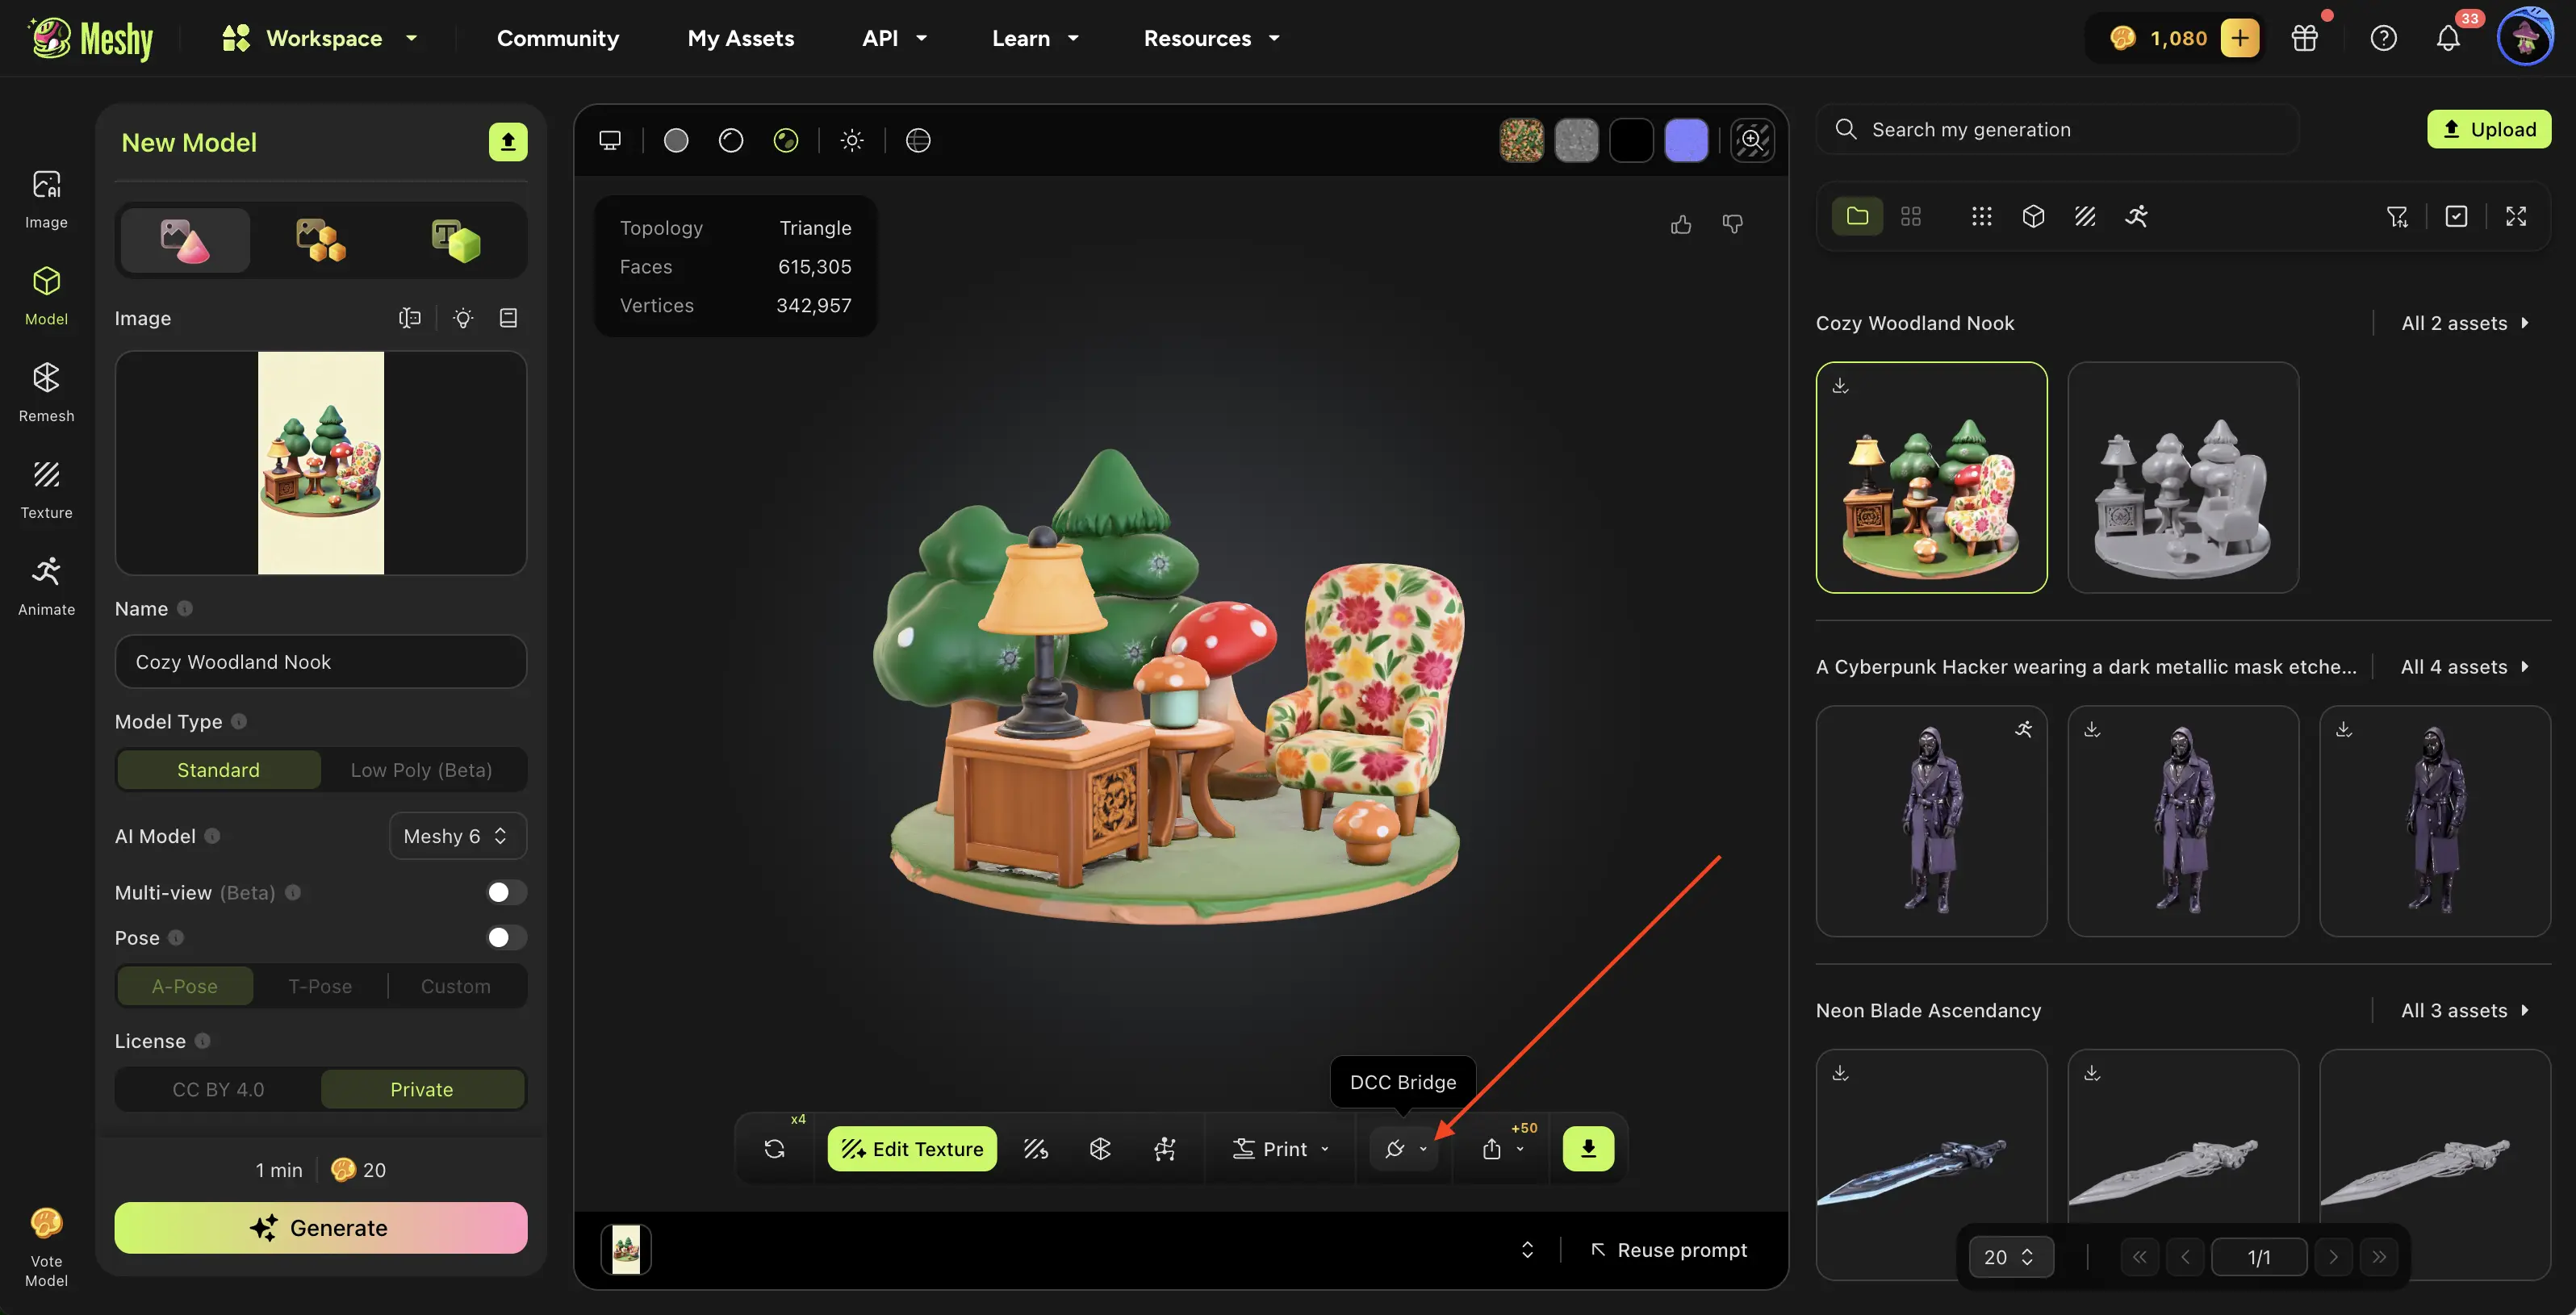
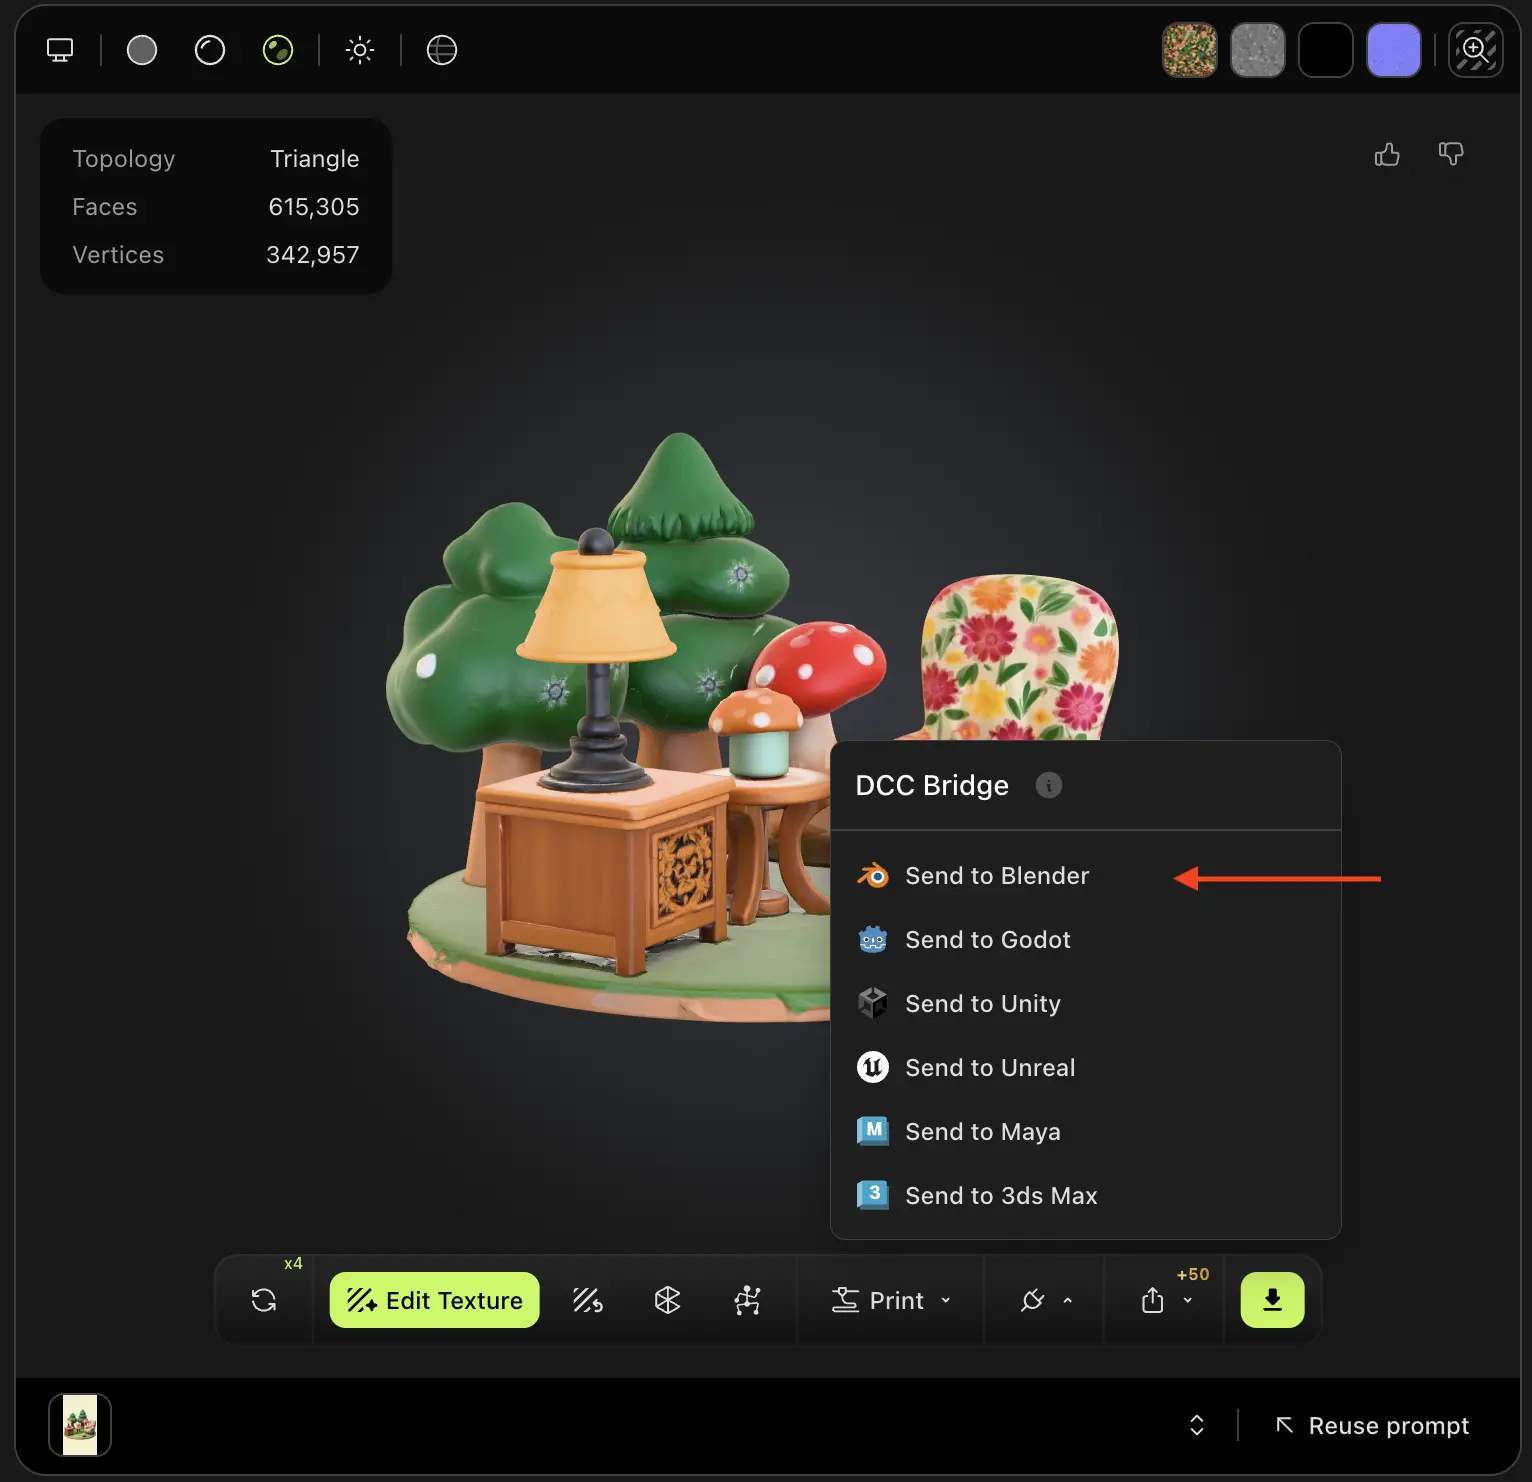
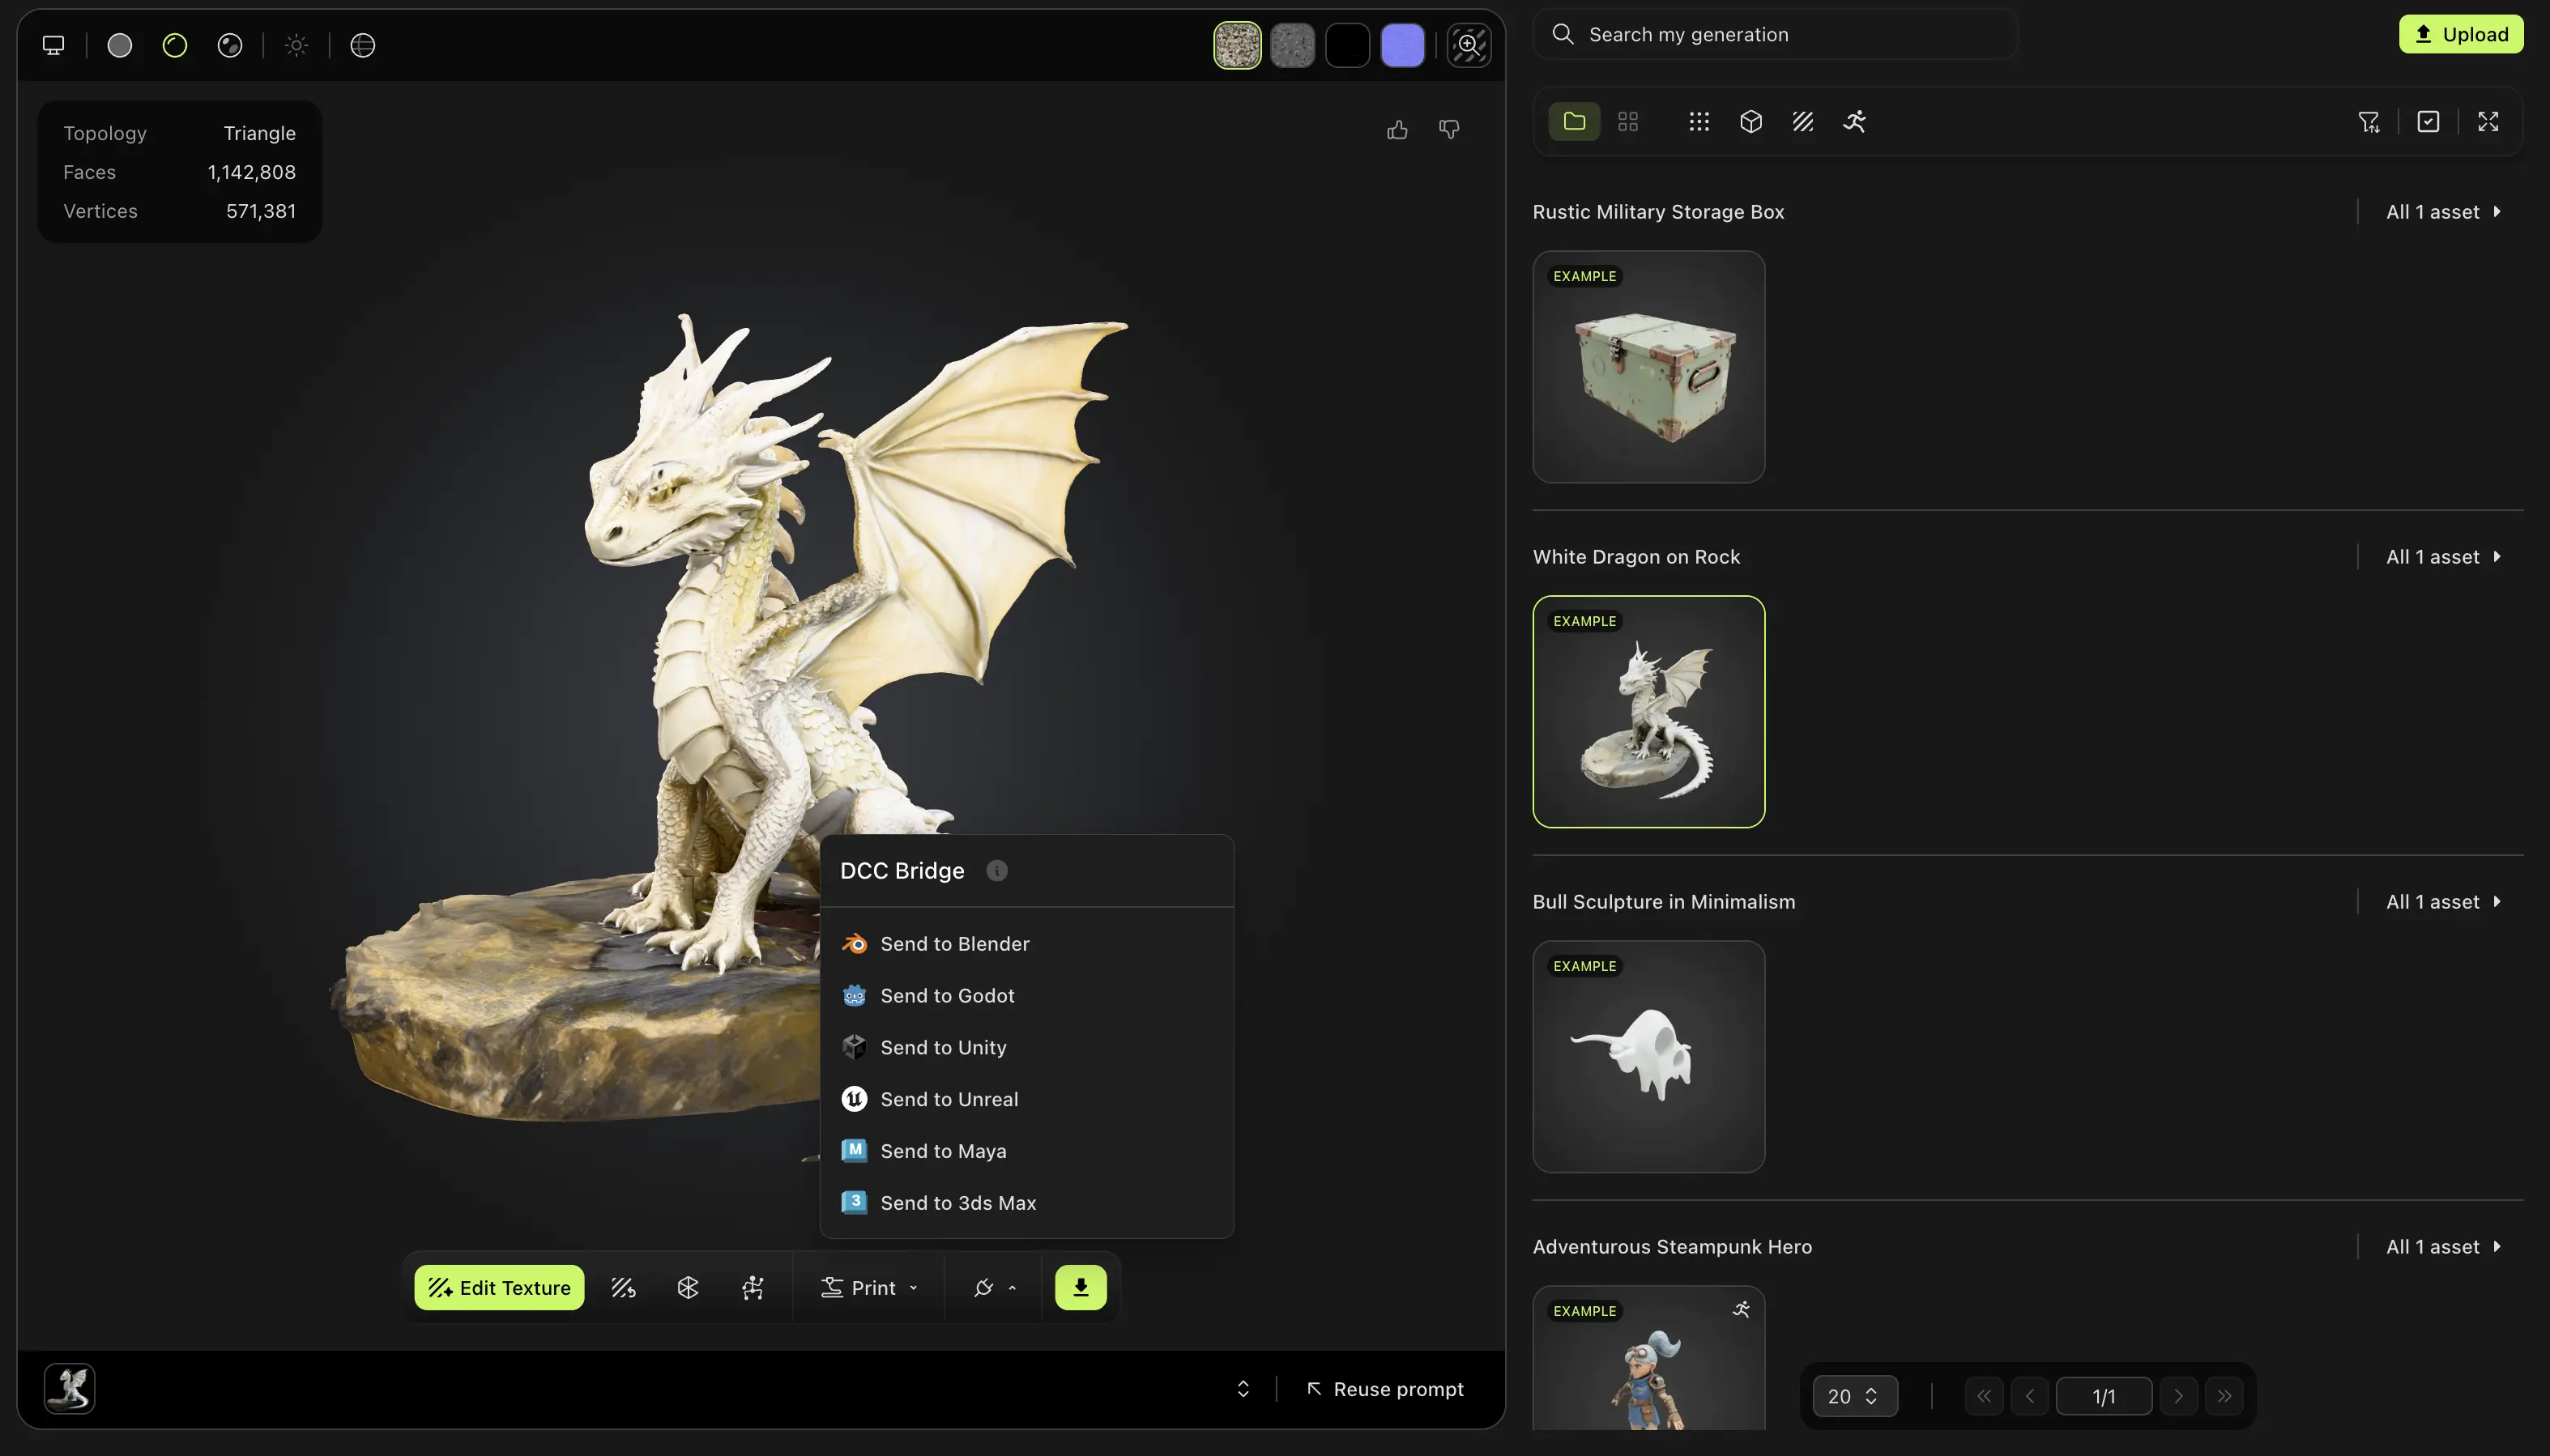
Navigate to the model you want in your MeshyAI workspace, click the DCC Bridge menu, and select Send to Blender.
The model will be automatically downloaded and imported directly into your Blender scene. The plugin handles the entire process seamlessly:
-
Downloads the model file from MeshyAI
-
Detects the file format (GLB or ZIP)
-
Imports the model into your scene
-
Applies automatic optimizations (merging duplicate vertices, setting up materials)
-
Preserves model names and structure
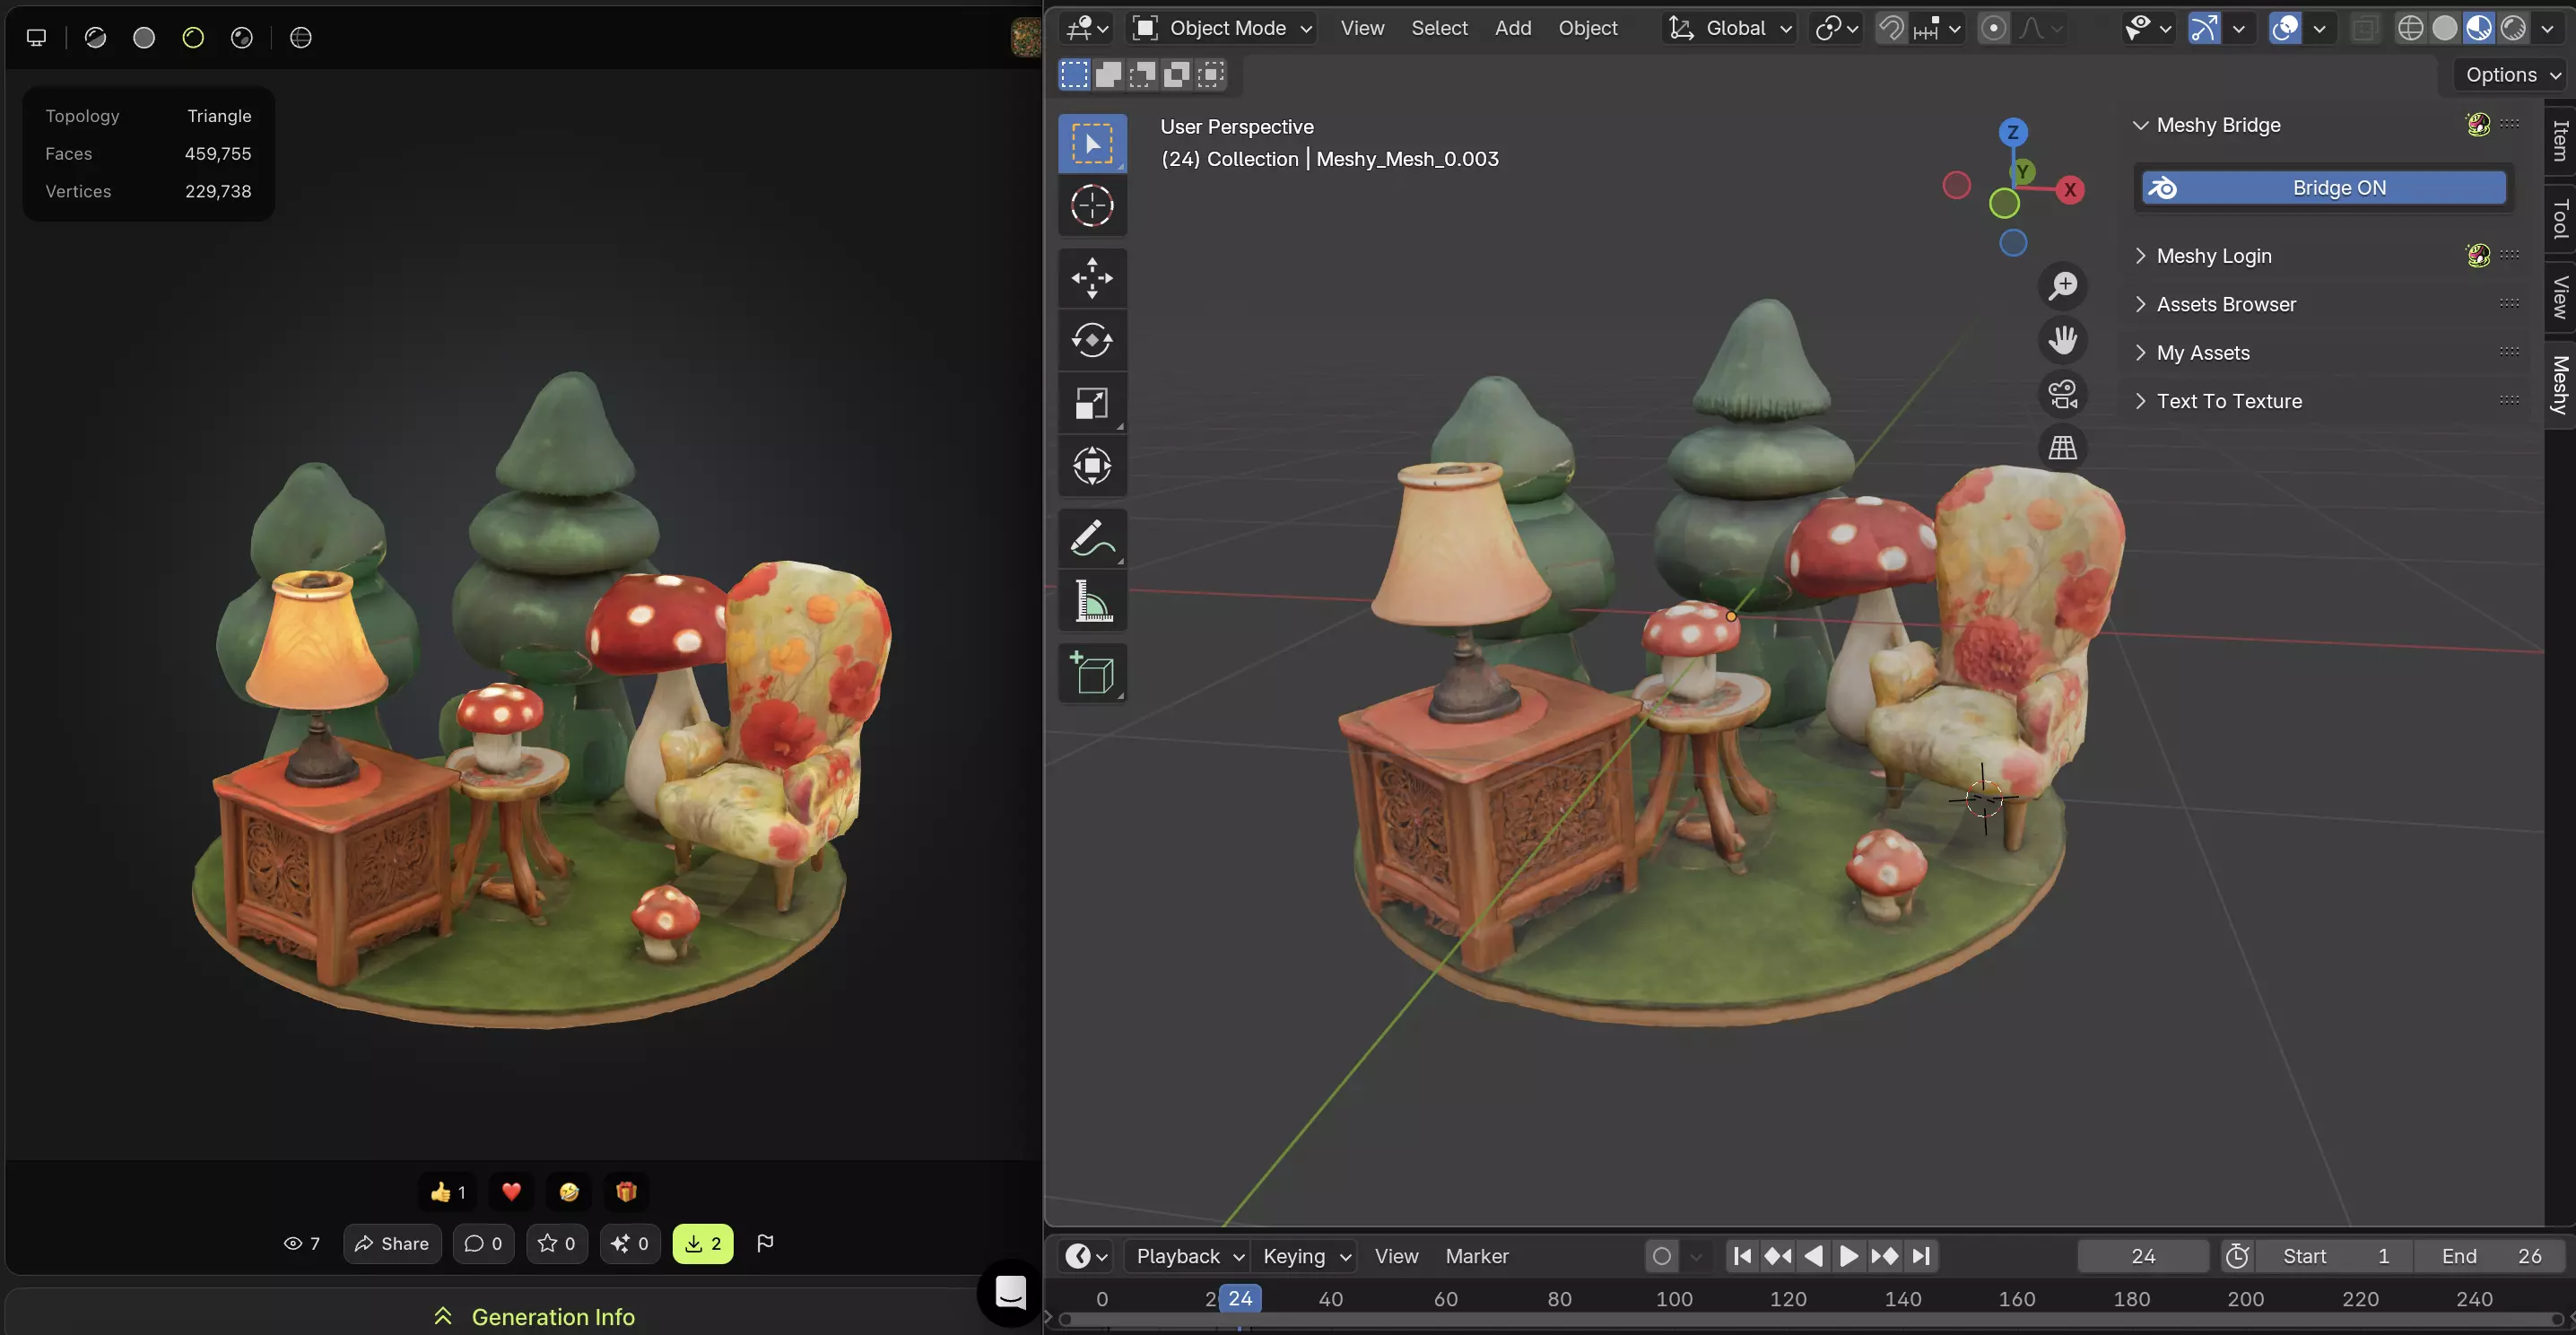
Any 3D model you generate in your workspace—regardless of the method used—can be effortlessly imported into Blender via the DCC Bridge.
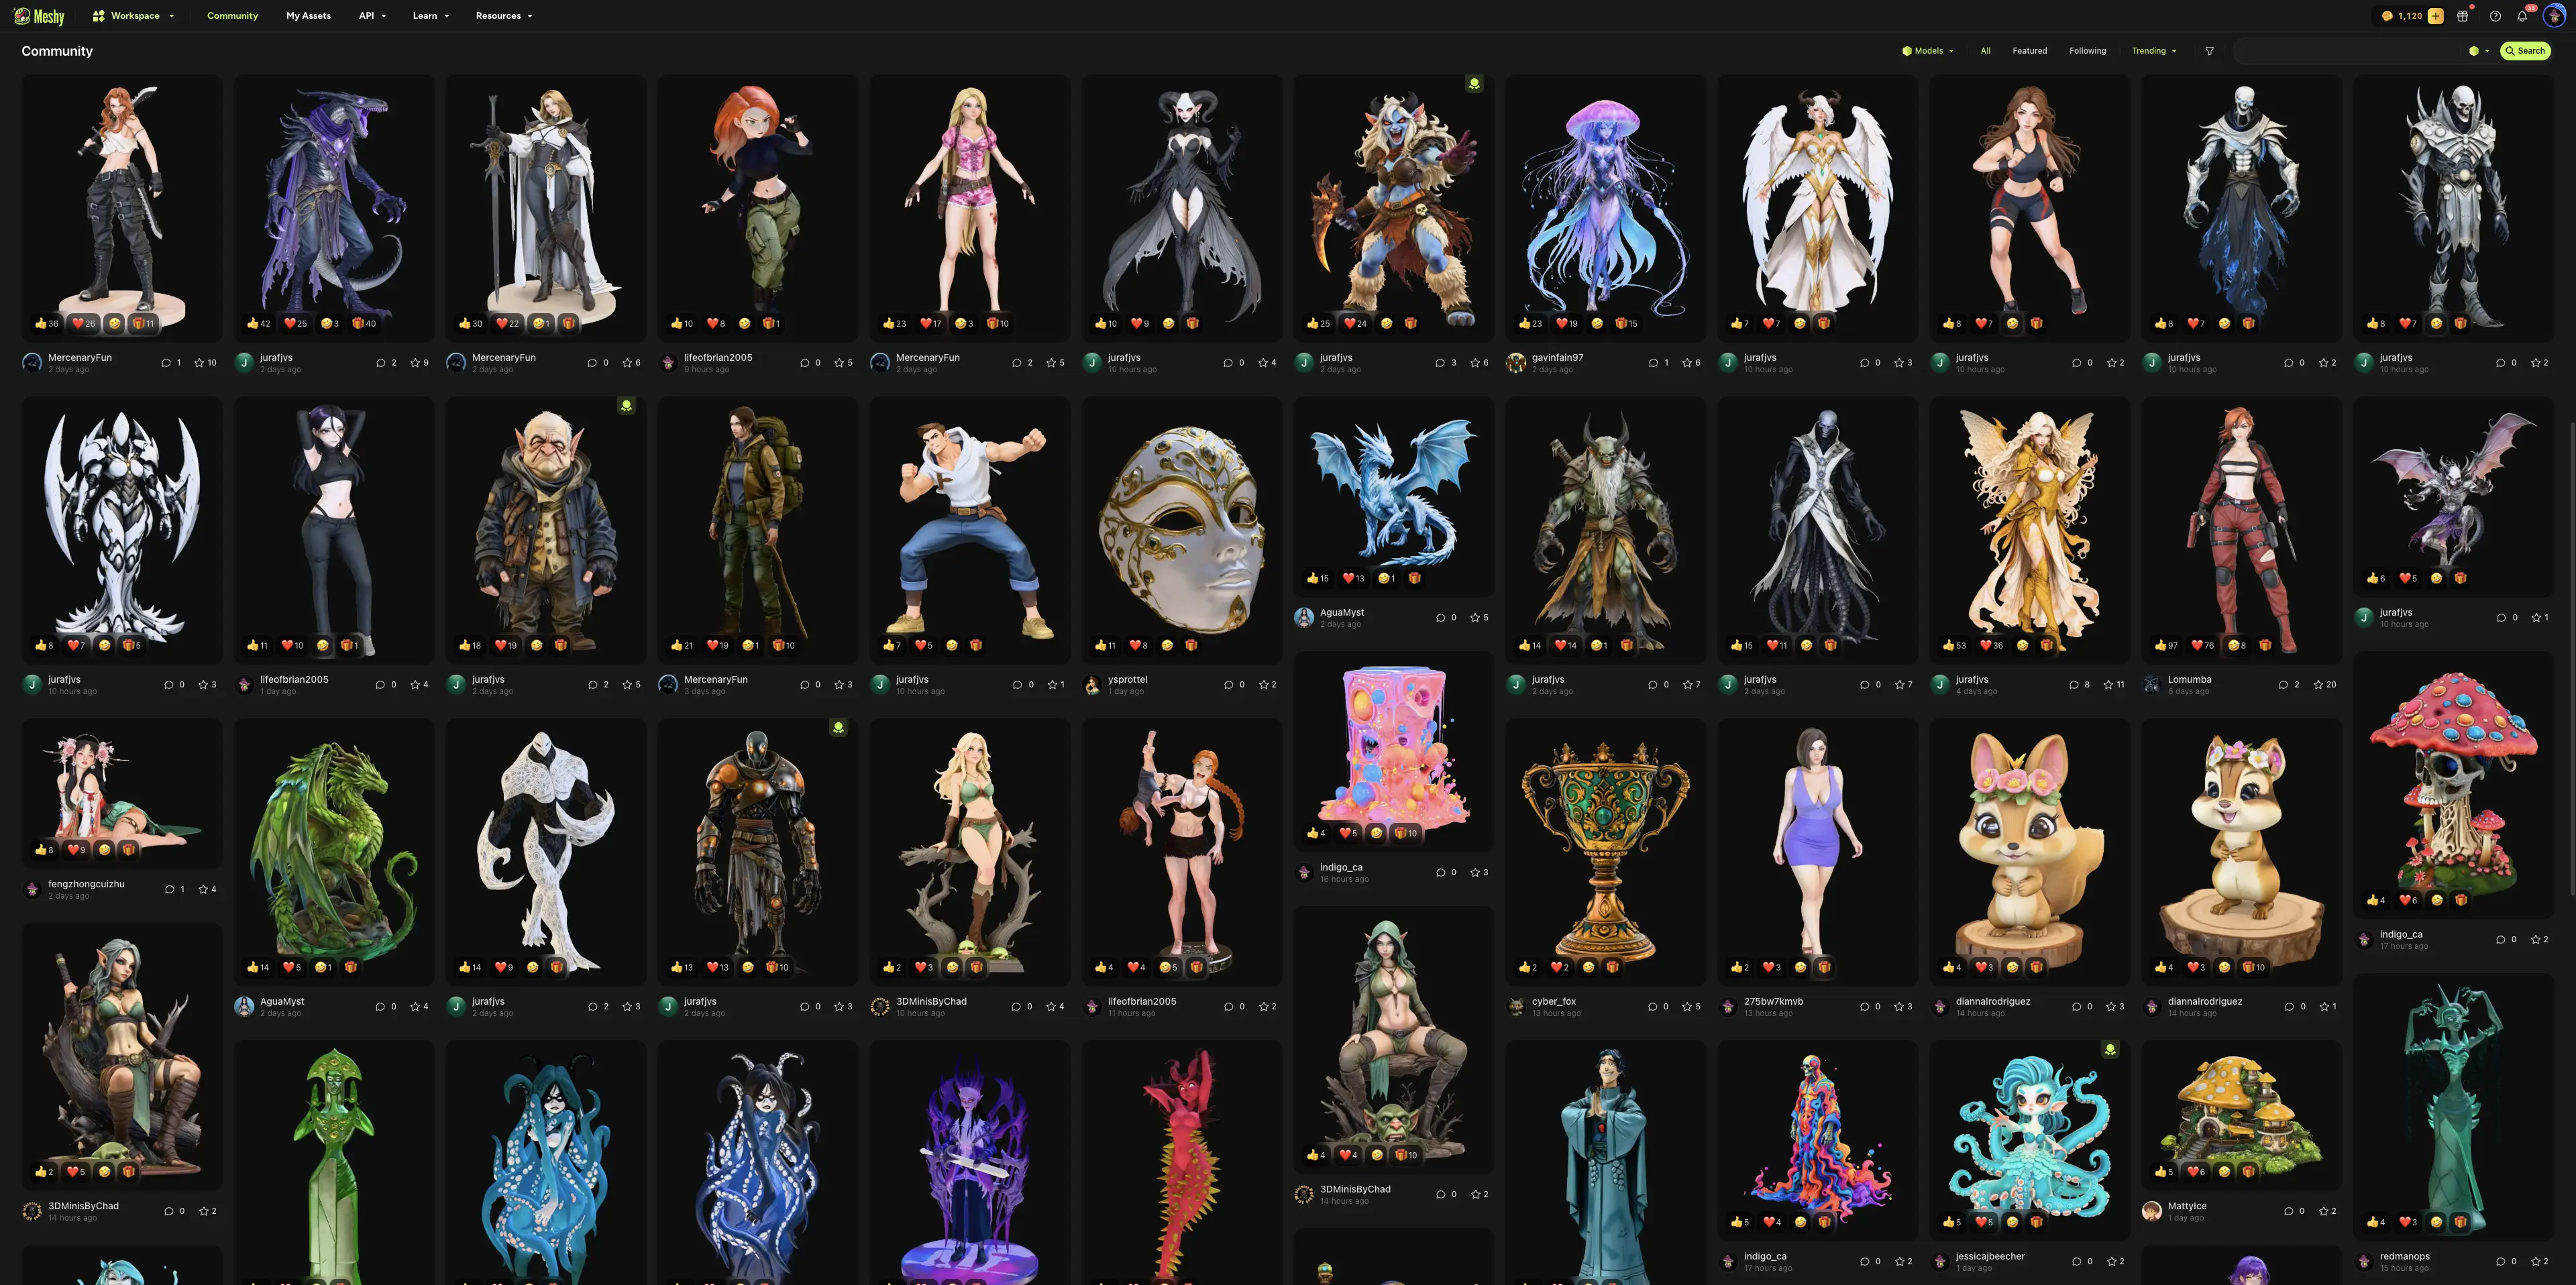
Likewise, models published by other users in the MeshyAI community are fully supported and can also be seamlessly imported into Blender using the DCC Bridge integration.
How Bridge Works
The Bridge to Blender feature establishes a local HTTP server within Blender that communicates with MeshyAI's web interface. Here's what happens during the transfer process:
-
Connection: When you click the Blender icon on MeshyAI, the website sends a POST request to your local Blender instance at
localhost:5324. -
Download: The plugin receives the model URL and automatically downloads the file to a temporary location.
-
Format Detection: The plugin automatically detects whether the file is a GLB file or a ZIP archive containing GLB files.
-
Import: The model is imported into Blender using the GLTF importer, with automatic optimizations applied:
- Duplicate vertices are merged
- Materials are automatically set up
- Color attributes are preserved and connected to materials
- Model names are prefixed with "Meshy_" for easy identification
-
Cleanup: Temporary files are automatically removed after import.
The entire process happens in the background, allowing you to continue working while models are being imported.
Supported File Formats
The Bridge to Blender feature supports the following file formats:
- GLB files: Direct import of GLB (GL Transmission Format Binary) files
- ZIP archives: Automatic extraction and import of GLB files contained within ZIP archives
When importing models, the plugin automatically:
- Handles bone hierarchies and animations (if present)
- Preserves texture mappings and material properties
- Maintains vertex color attributes
- Applies appropriate scaling and transformations
Imported models are automatically optimized for use in Blender. The plugin merges duplicate vertices, sets up materials to display color attributes, and ensures proper naming conventions. If a model lacks materials, a default material with color attribute support will be created automatically.