Meshy for Maya
This is the official documentation of Meshy Maya plugin, you'll find detailed instructions on how to use this plugin to import models you generated in Meshy, and create your own textures by Meshy in the Maya editor.
In this guide, we will walk you through how to efficiently use this plugin. Learn how to send a model from the official website to a scene with one click.
Let's get started! 🚀
Overview
Meshy Maya Plugin is a maya plugin that enables seamless import of MeshyAI-generated models. With this plugin, you can effortlessly load and edit 3D assets, significantly enhancing your workflow efficiency.
Installation
Download the plugin from the Meshy for Maya integration page, where you can grab the latest build for your platform.
After downloading the plug-in resource, unzip it and place it in any local location.
Open Maya and find the "Plug-in-Manager" option.
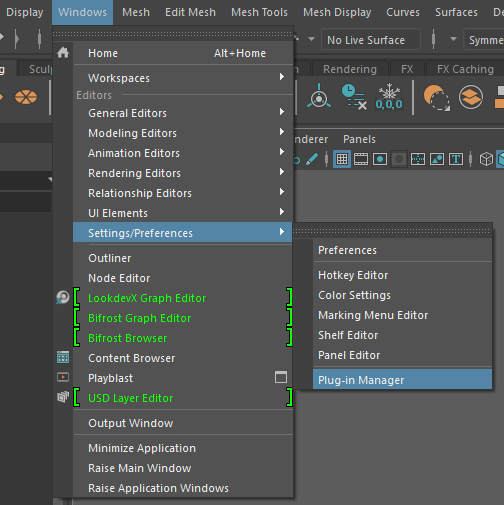
Click the "Browse" button to select the plug-in file that you unzipped earlier.
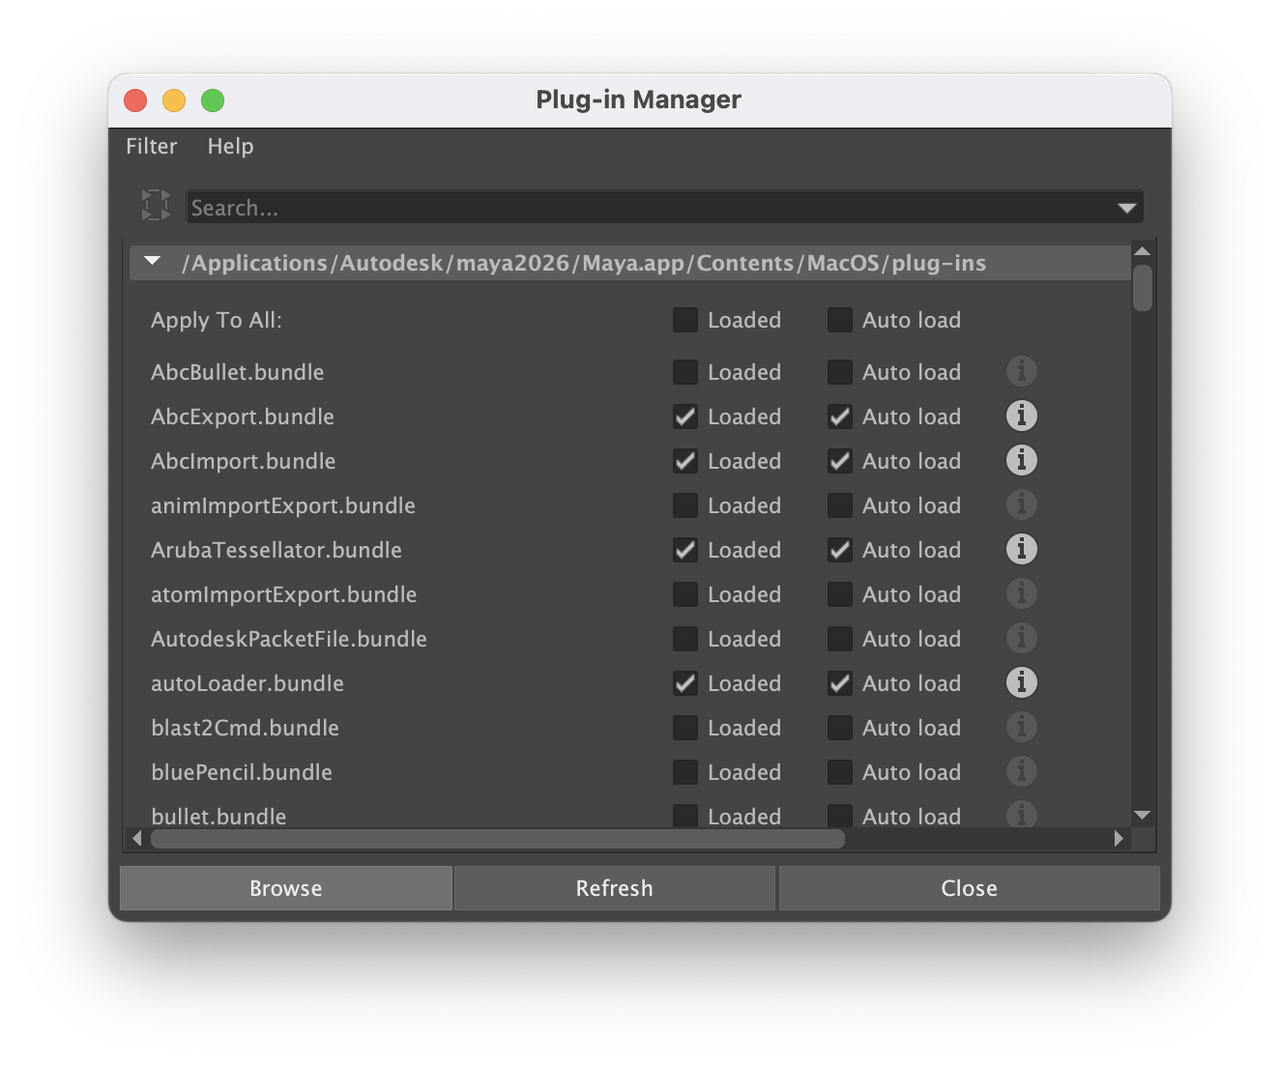
This way, the plugin is installed successfully.
What's more, remember to set the main scene before importing the model.
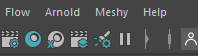
🚀 Then we can find and open this plugin in Maya's interface.