Bridge to Roblox
Learn how to use the Meshy Roblox Bridge to send 3D models directly to your Roblox account and use them in Roblox Studio with one click.
Before you begin, make sure you have downloaded and installed the Meshy Roblox Bridge. For detailed instructions, please refer to the Introduction section.
Meshy now supports Roblox bridging directly from the workspace. Pro members and above can send models to Roblox following the steps below.
Connect Your Roblox Account
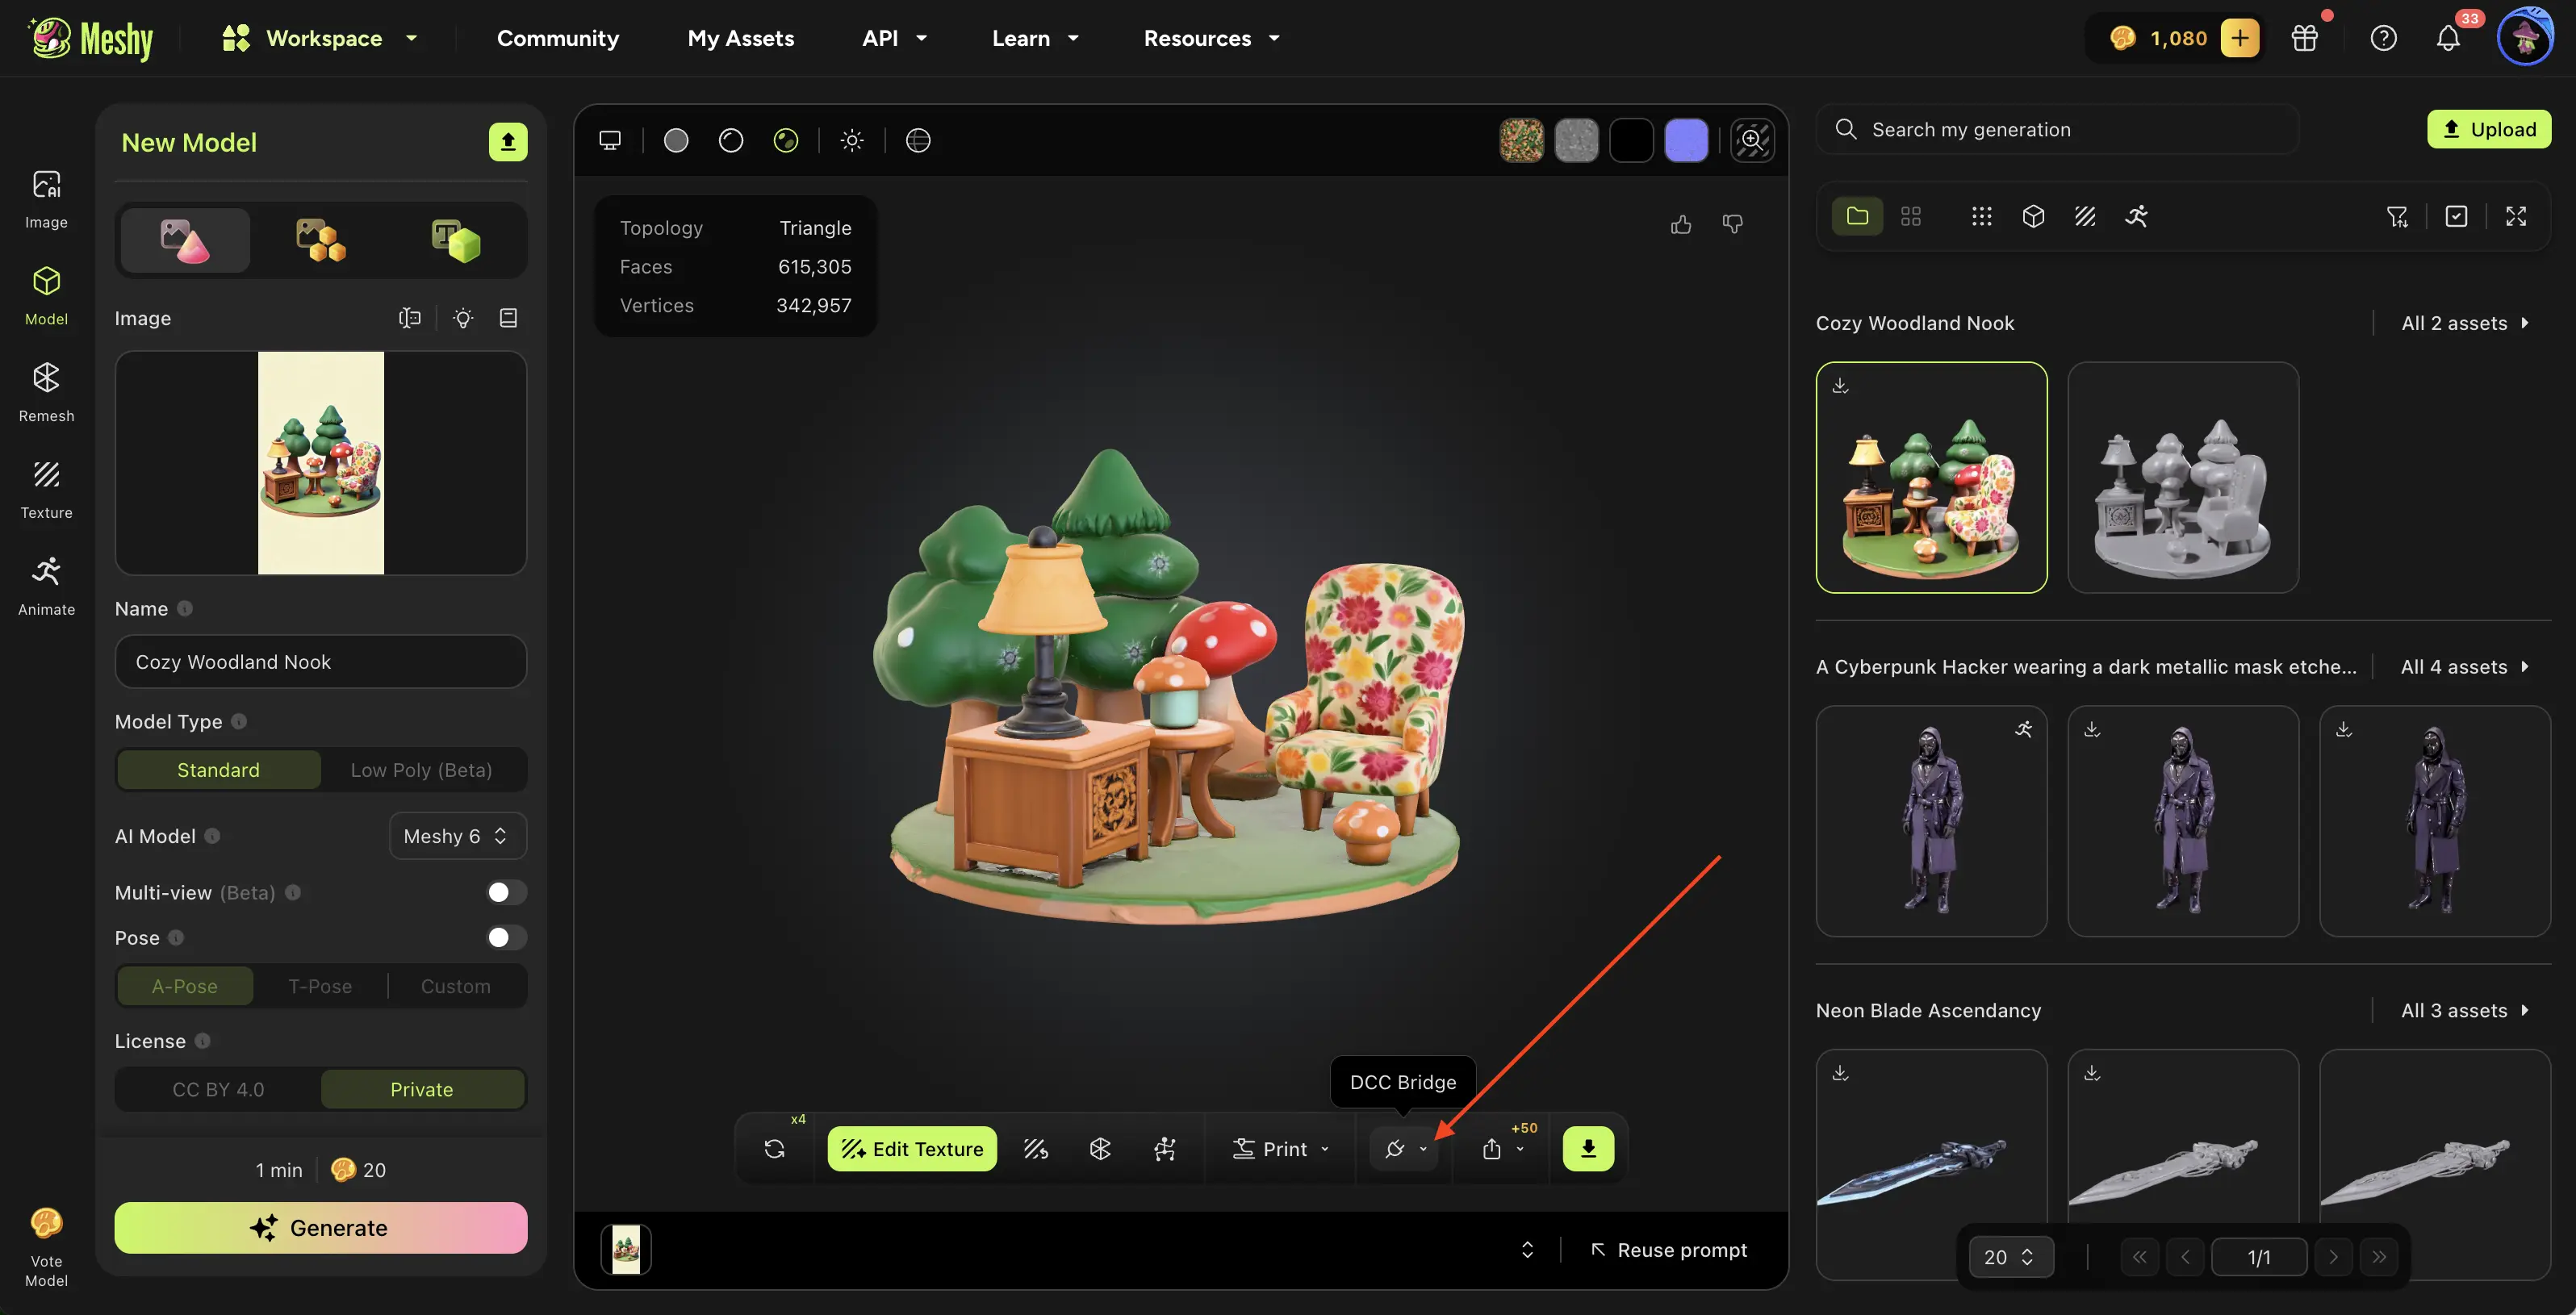
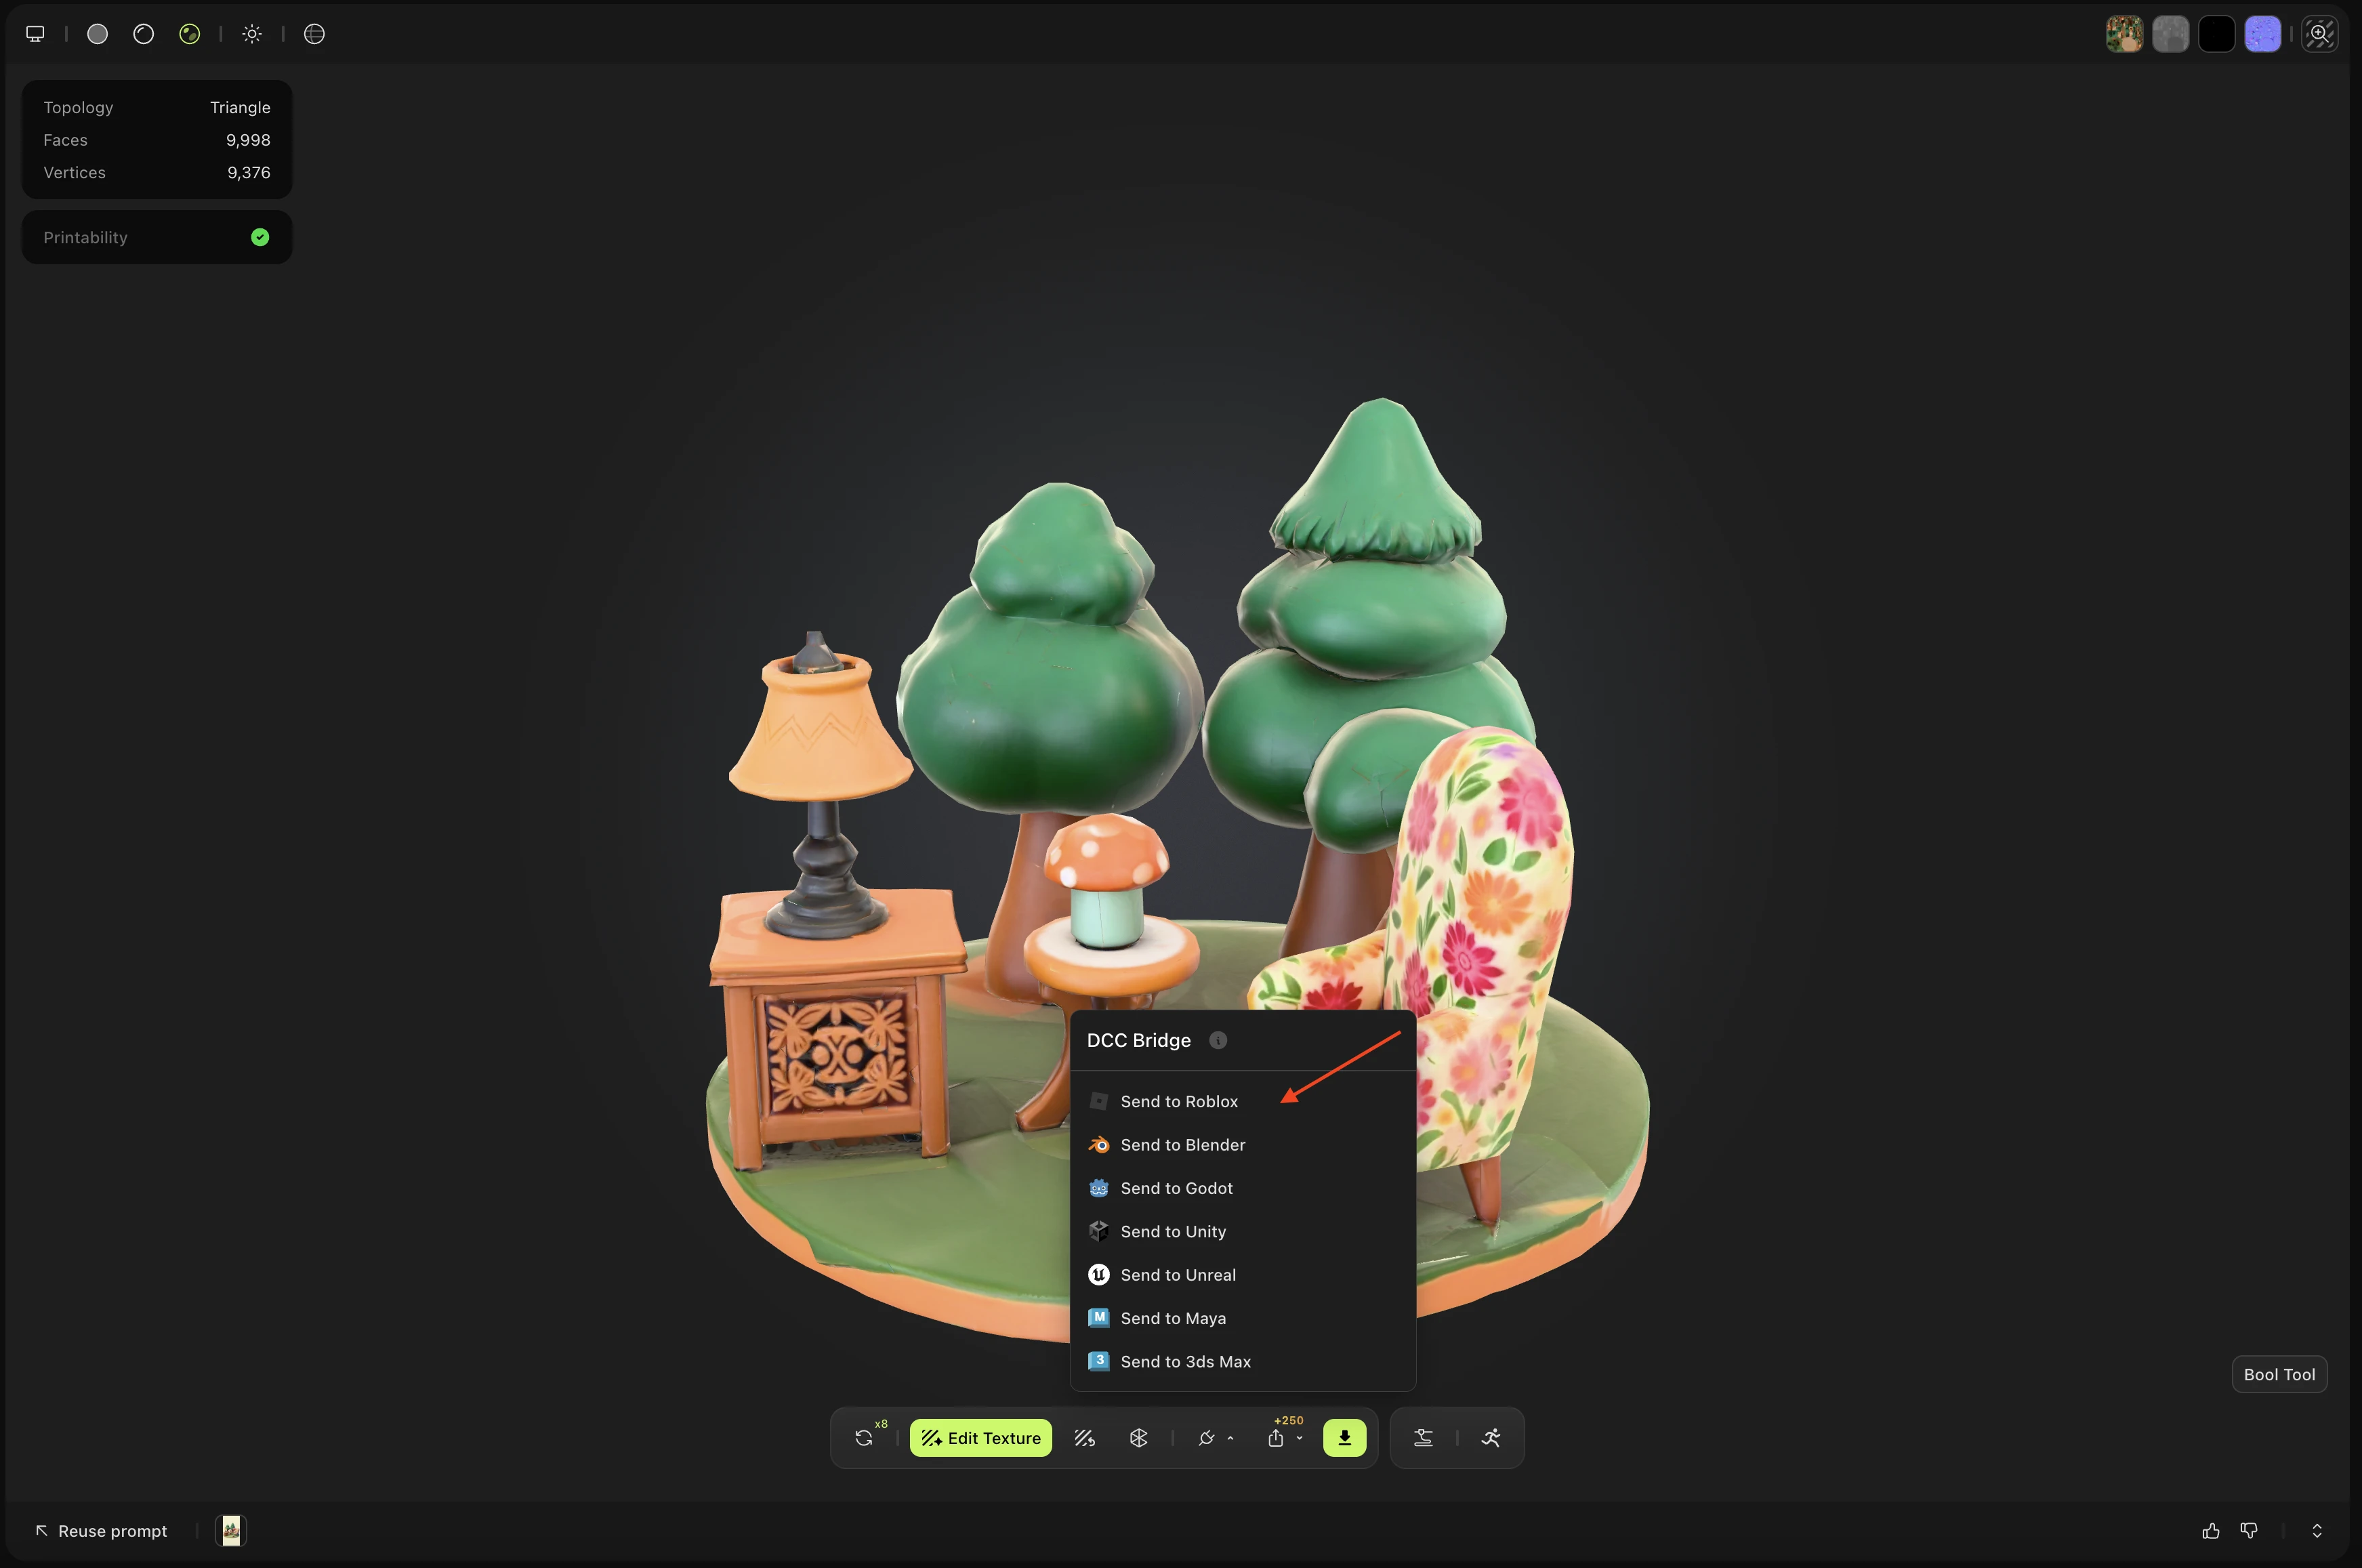
In the MeshyAI workspace, click the DCC Bridge menu and select Send to Roblox.
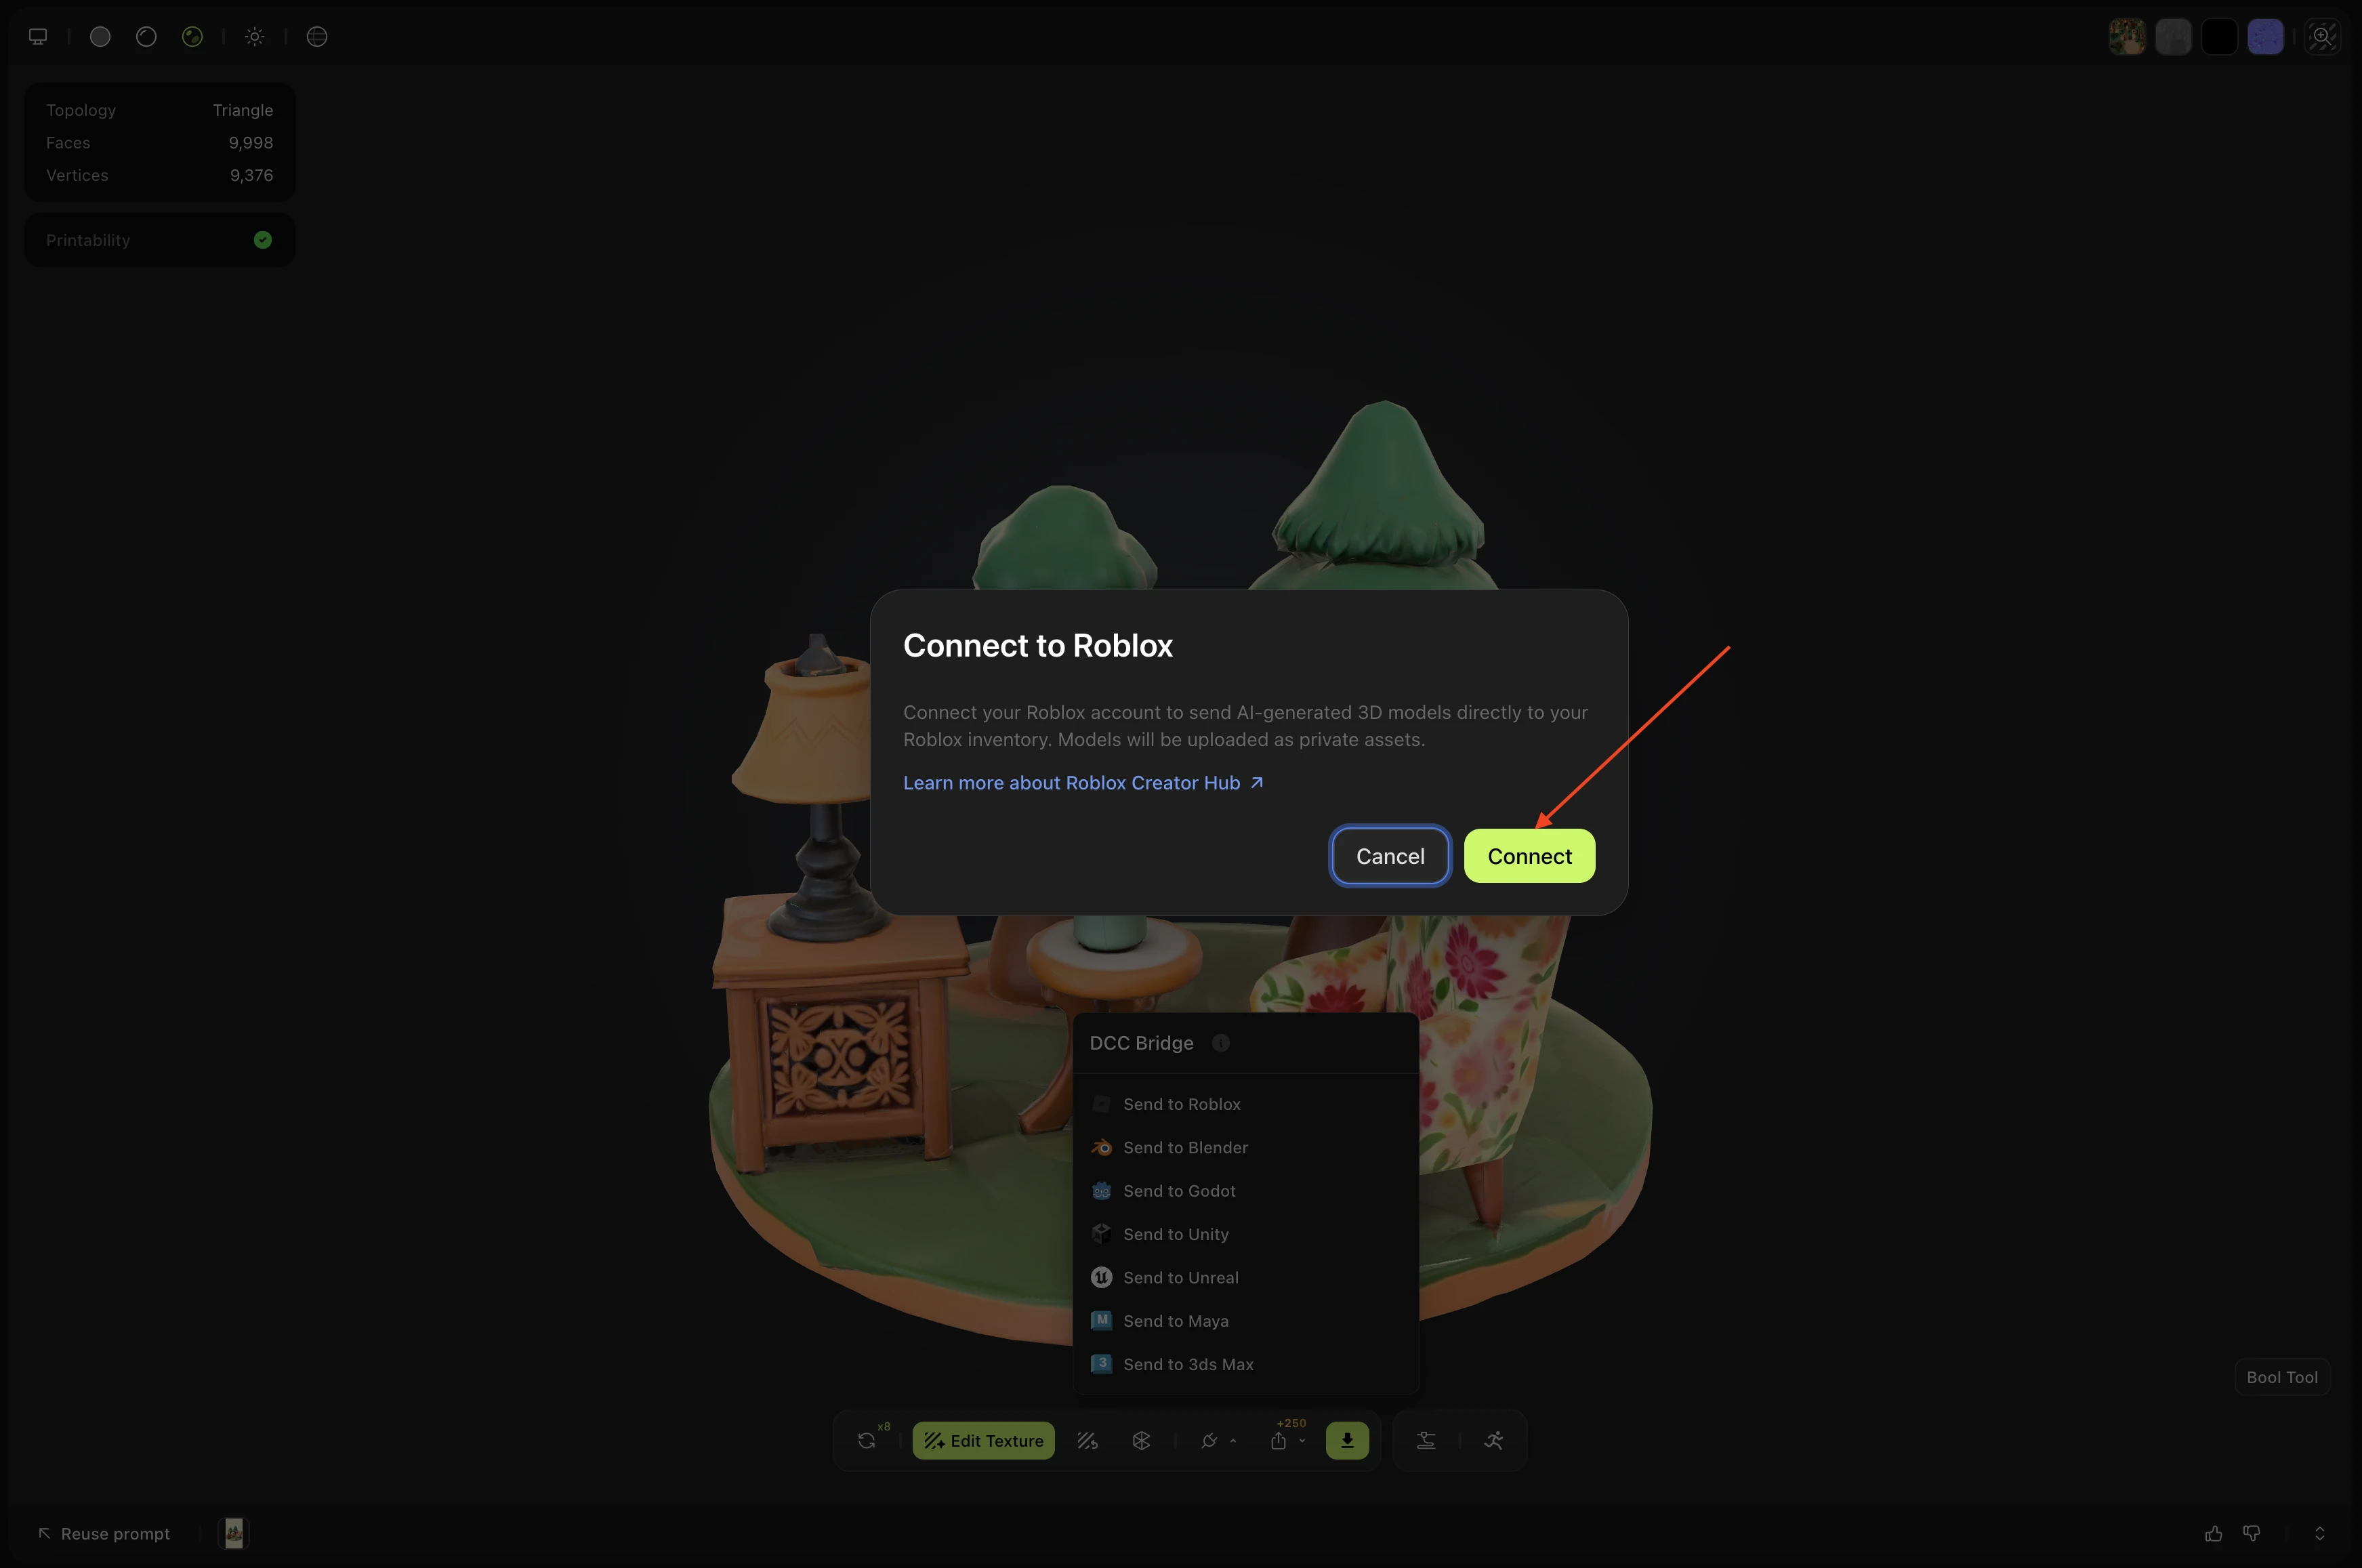
If this is your first time, the Connect to Roblox dialog will appear. Click Connect to open an authorization popup.
A Roblox authorization page opens in your browser. Log in, review the requested permissions, select the account to grant access, and confirm:
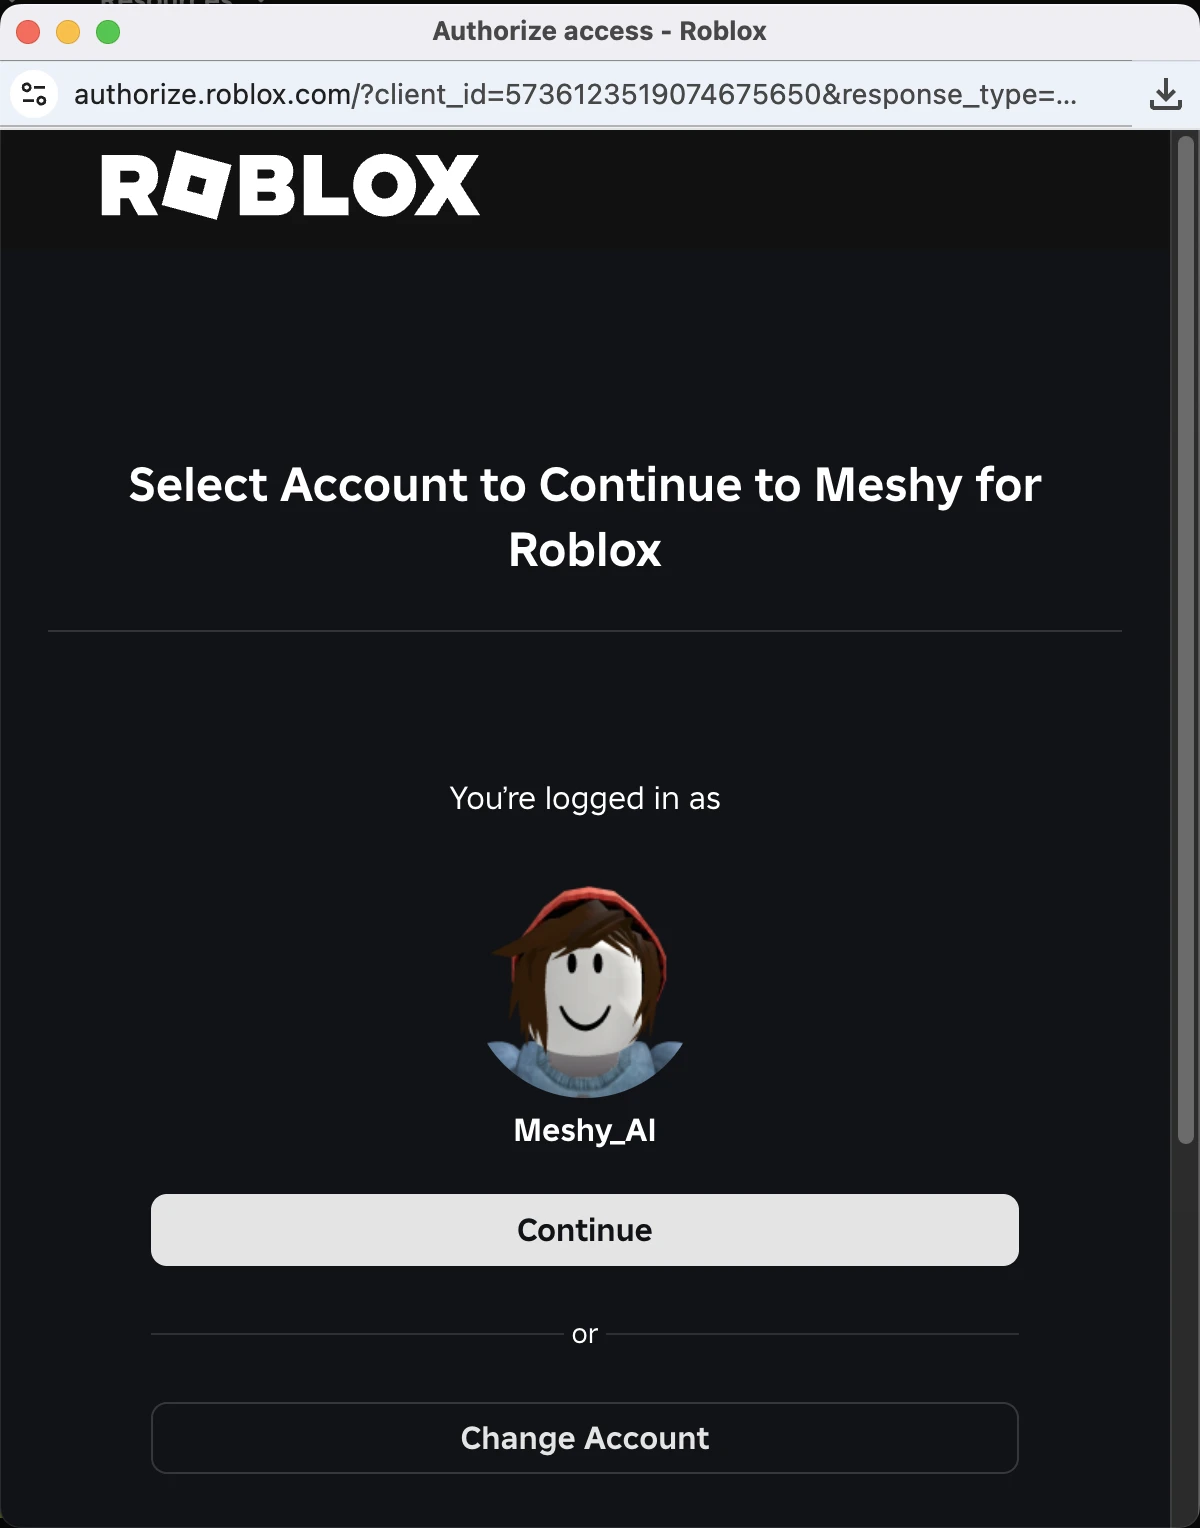
1. Log in to Roblox
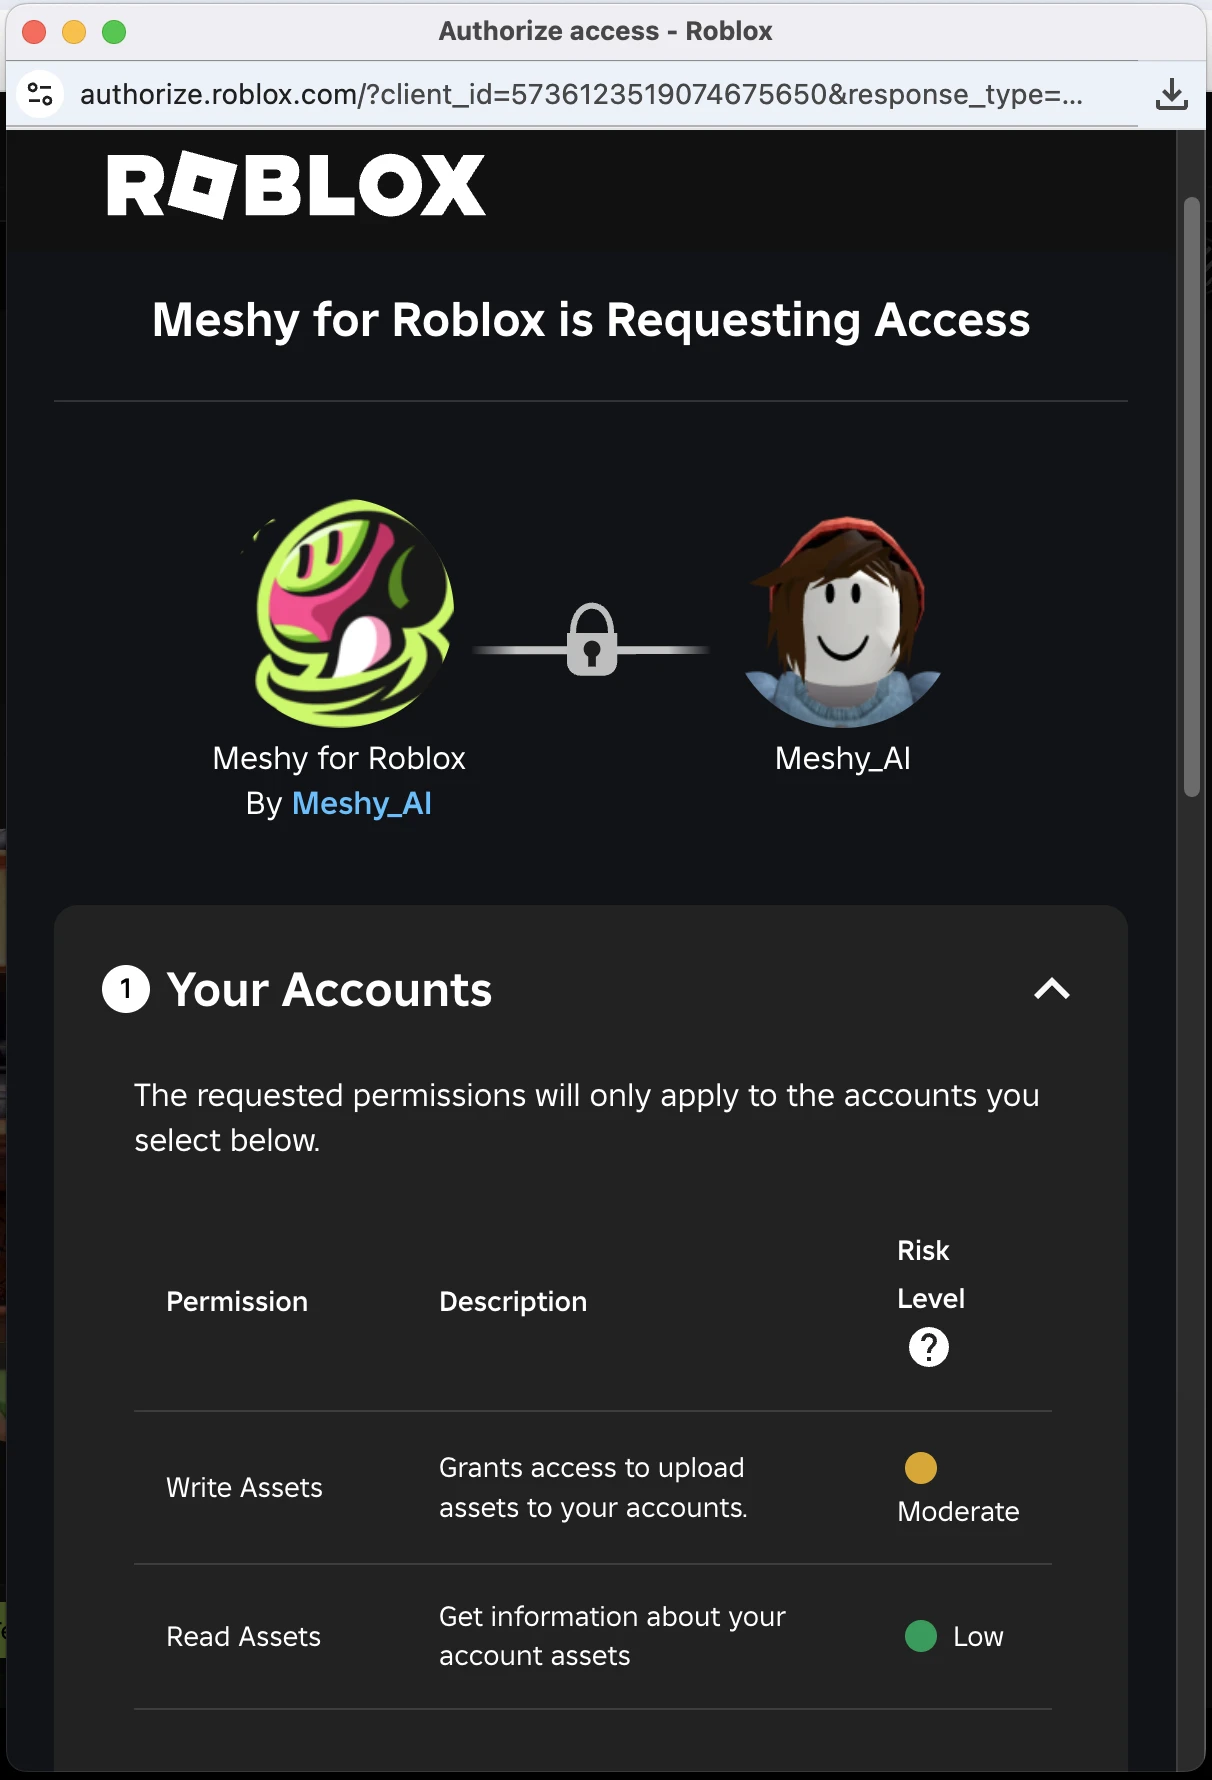
2. View required permissions
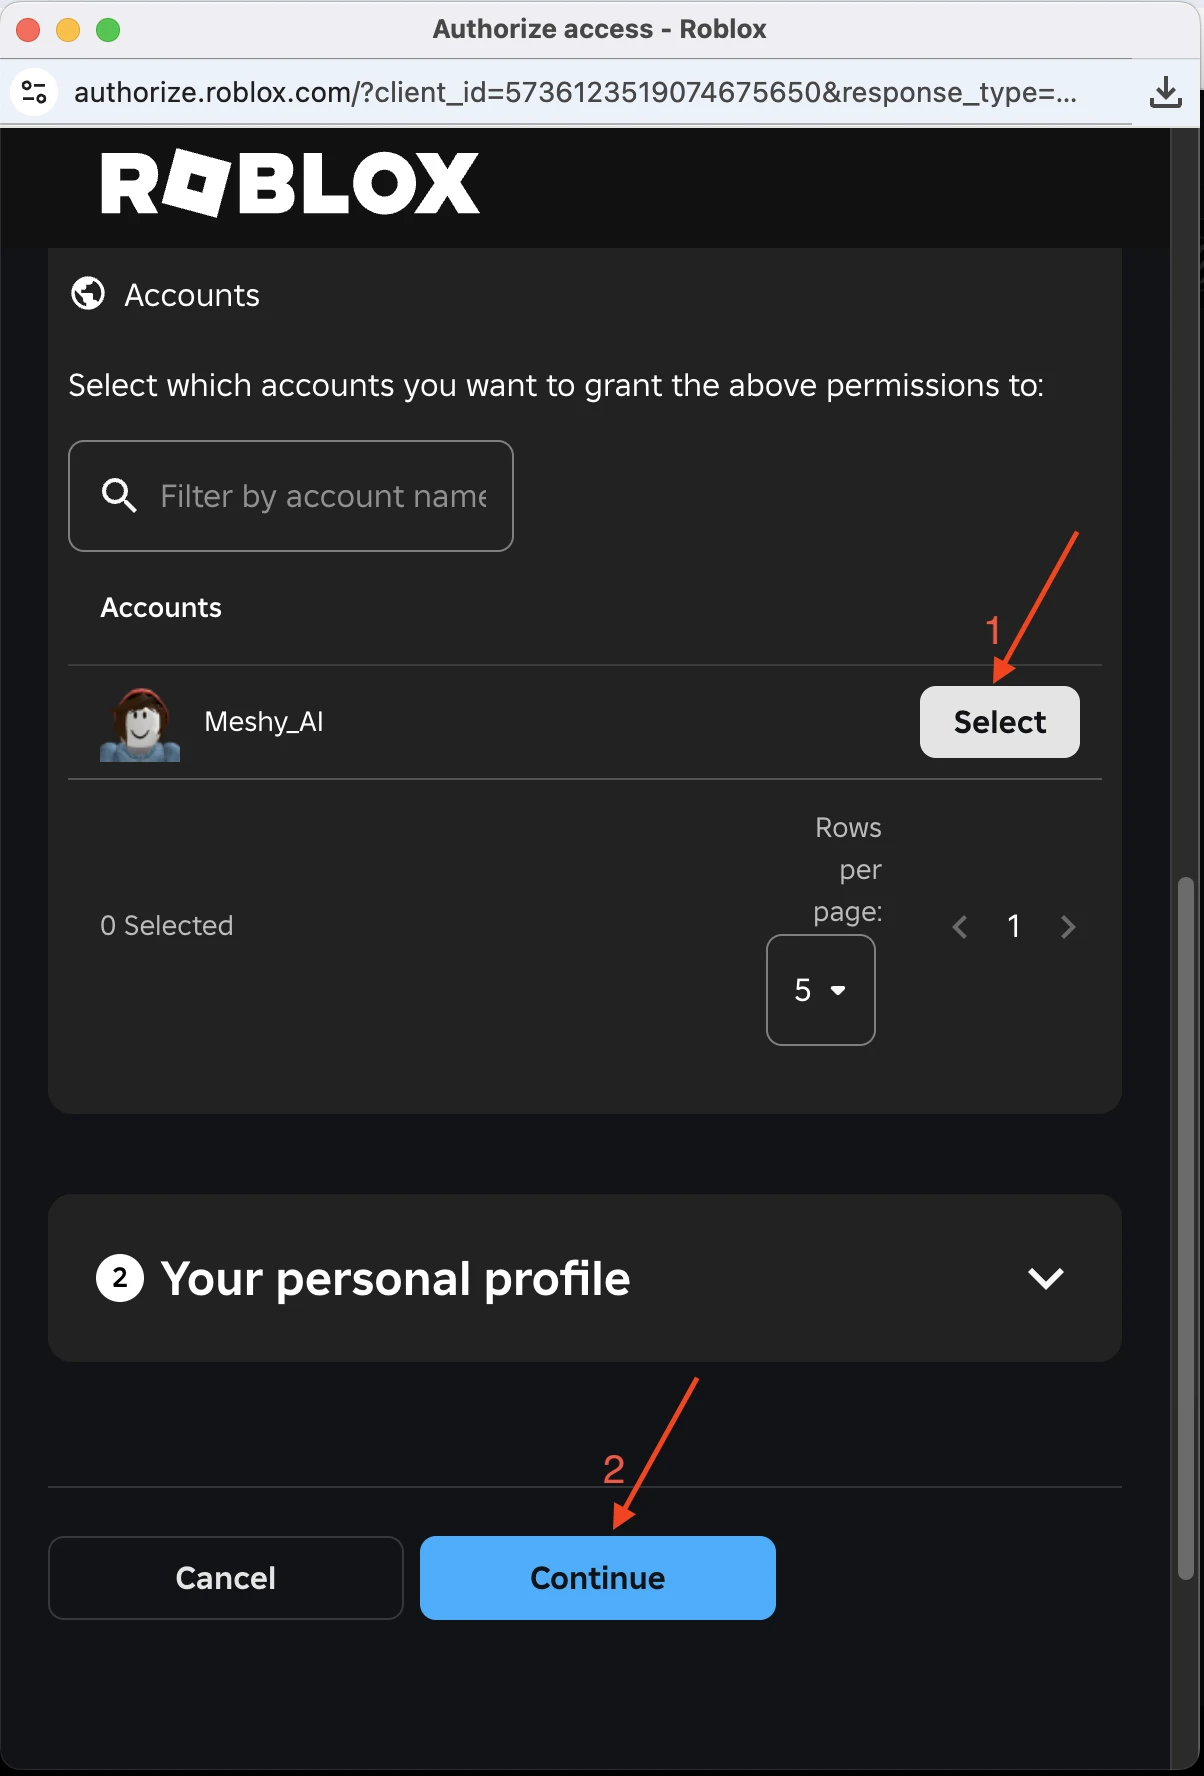
3. Select account & continue
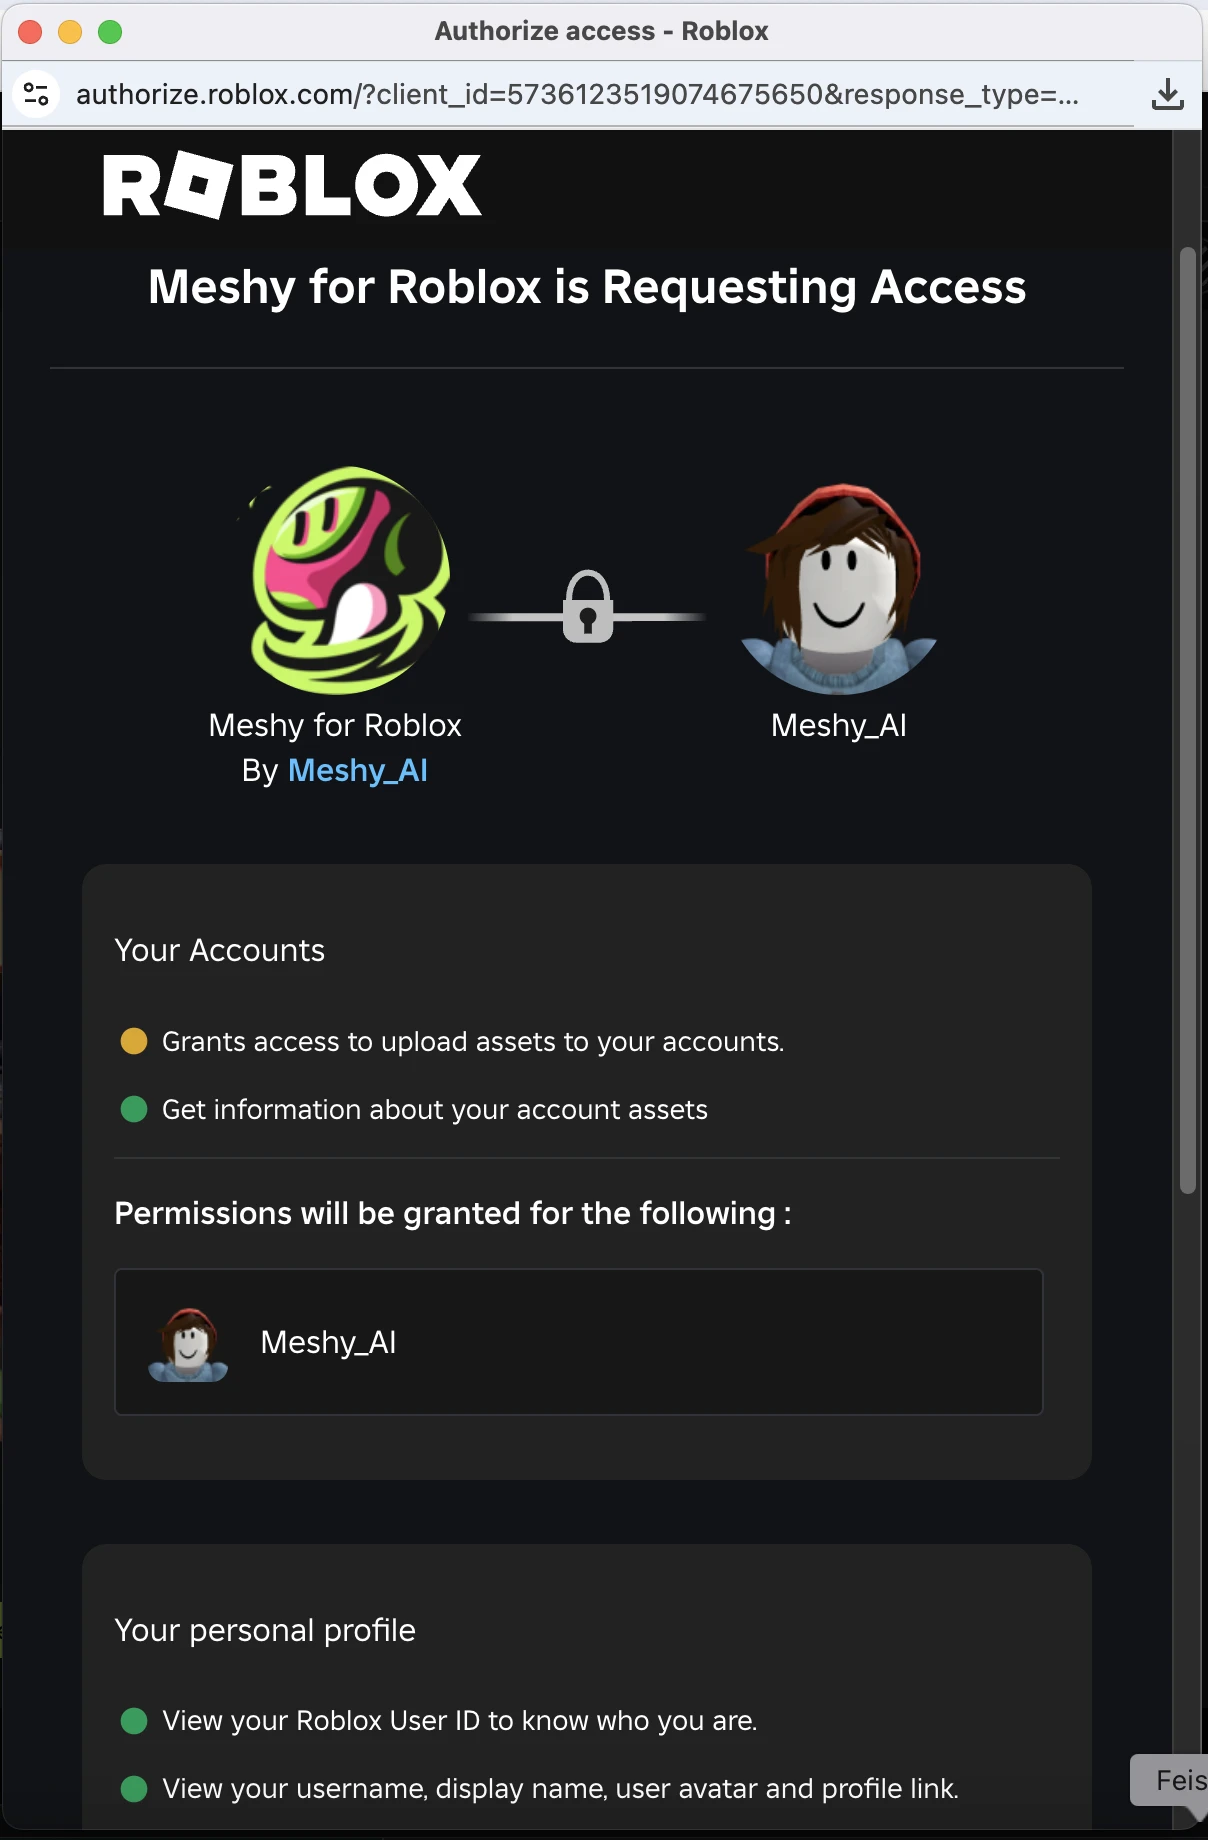
4. Review permission list
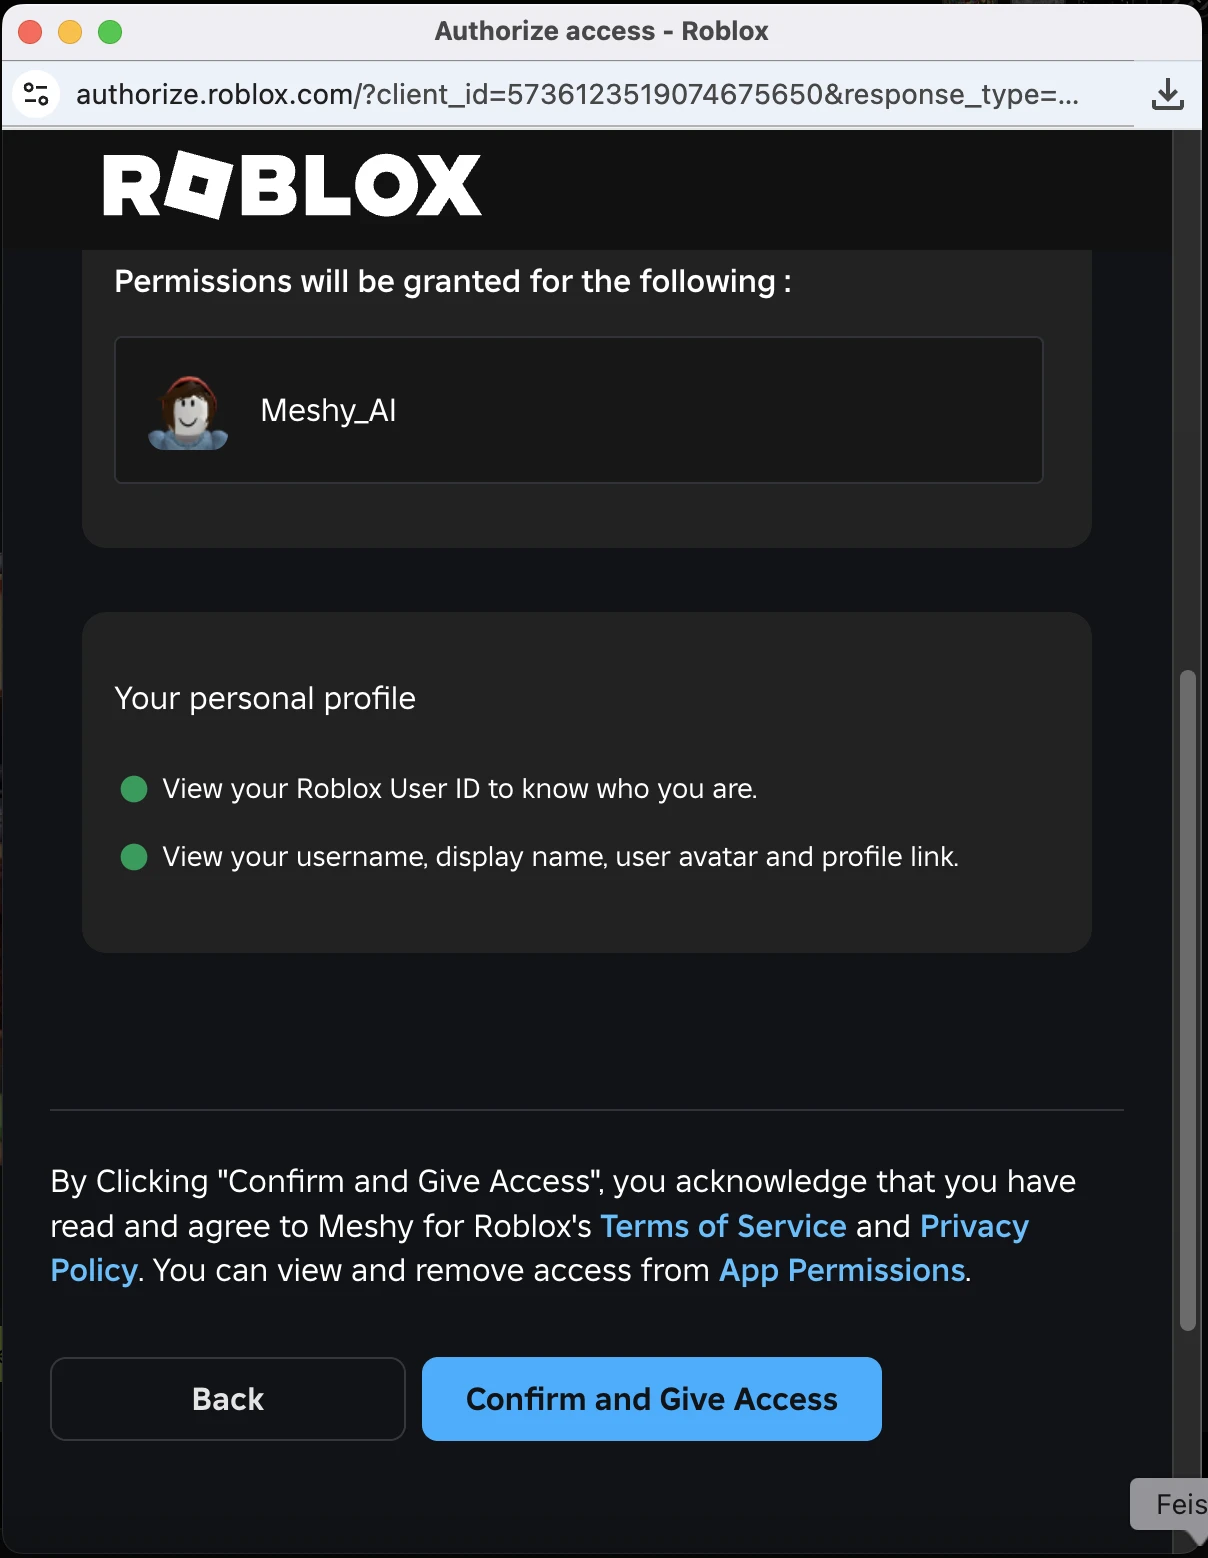
5. Confirm and give access
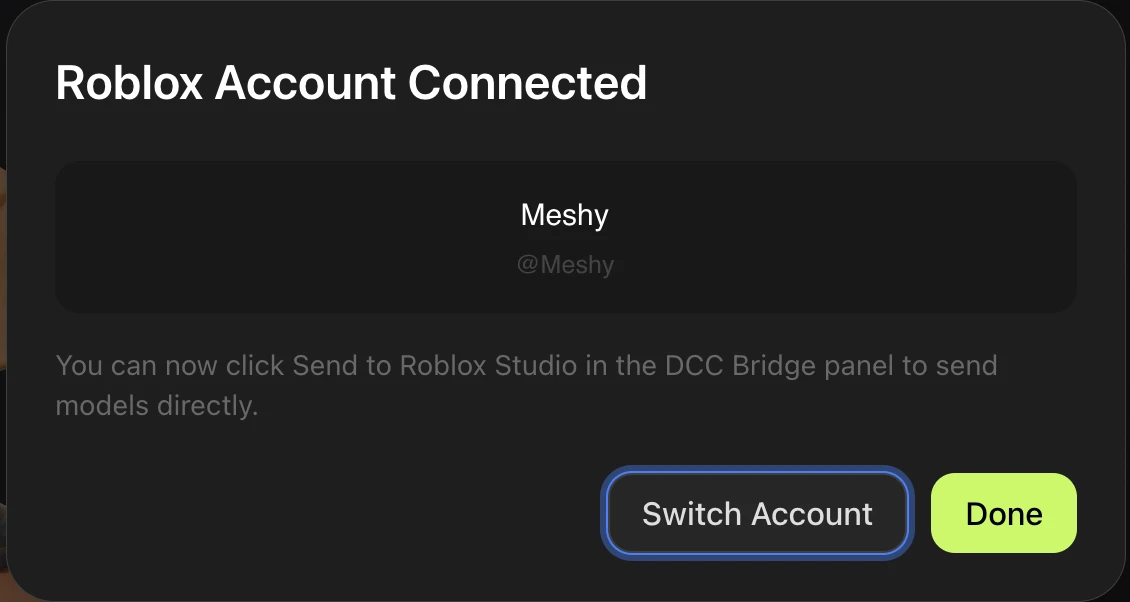
6. Account connected — click Done
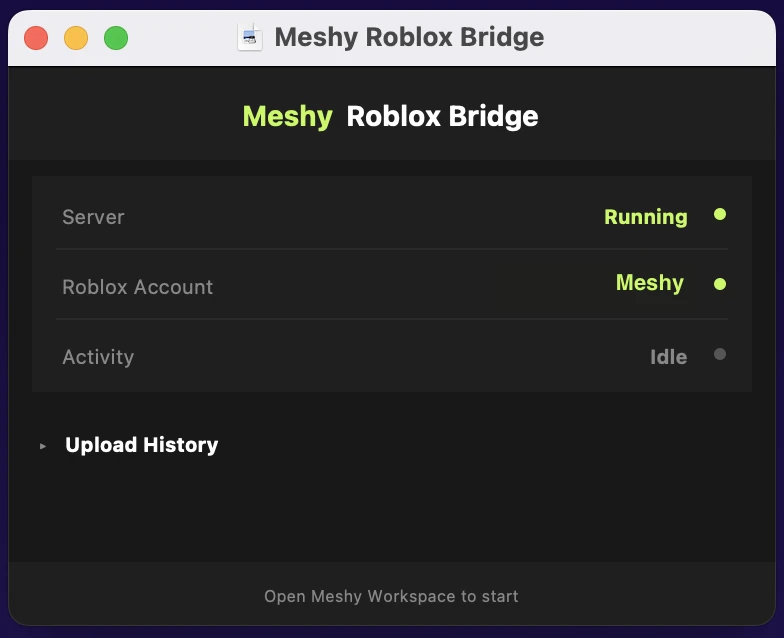
At the same time, the local Bridge app also confirms the account binding:
Switch Account
If you need to send models to a different Roblox account after login, you can switch accounts in two ways:
-
Directly from the Connect dialog — Click the Switch Account link at the bottom. This will disconnect the current account and start a new authorization flow.
-
From the DCC Bridge menu — Hover over the Roblox item in the DCC Bridge menu and click the user-switch icon that appears on the right. Then the connect dialog will appear.
Sending Models to Roblox
For the best results and to avoid exceeding the Roblox 20 MB upload limit, we recommend completing your model in this order: Generate → Remesh → Texture. Remeshing reduces the polygon count and file size, making the model much more likely to upload successfully.
Once your Roblox account is connected, you can send models directly via the DCC Bridge menu without needing to authorize again.
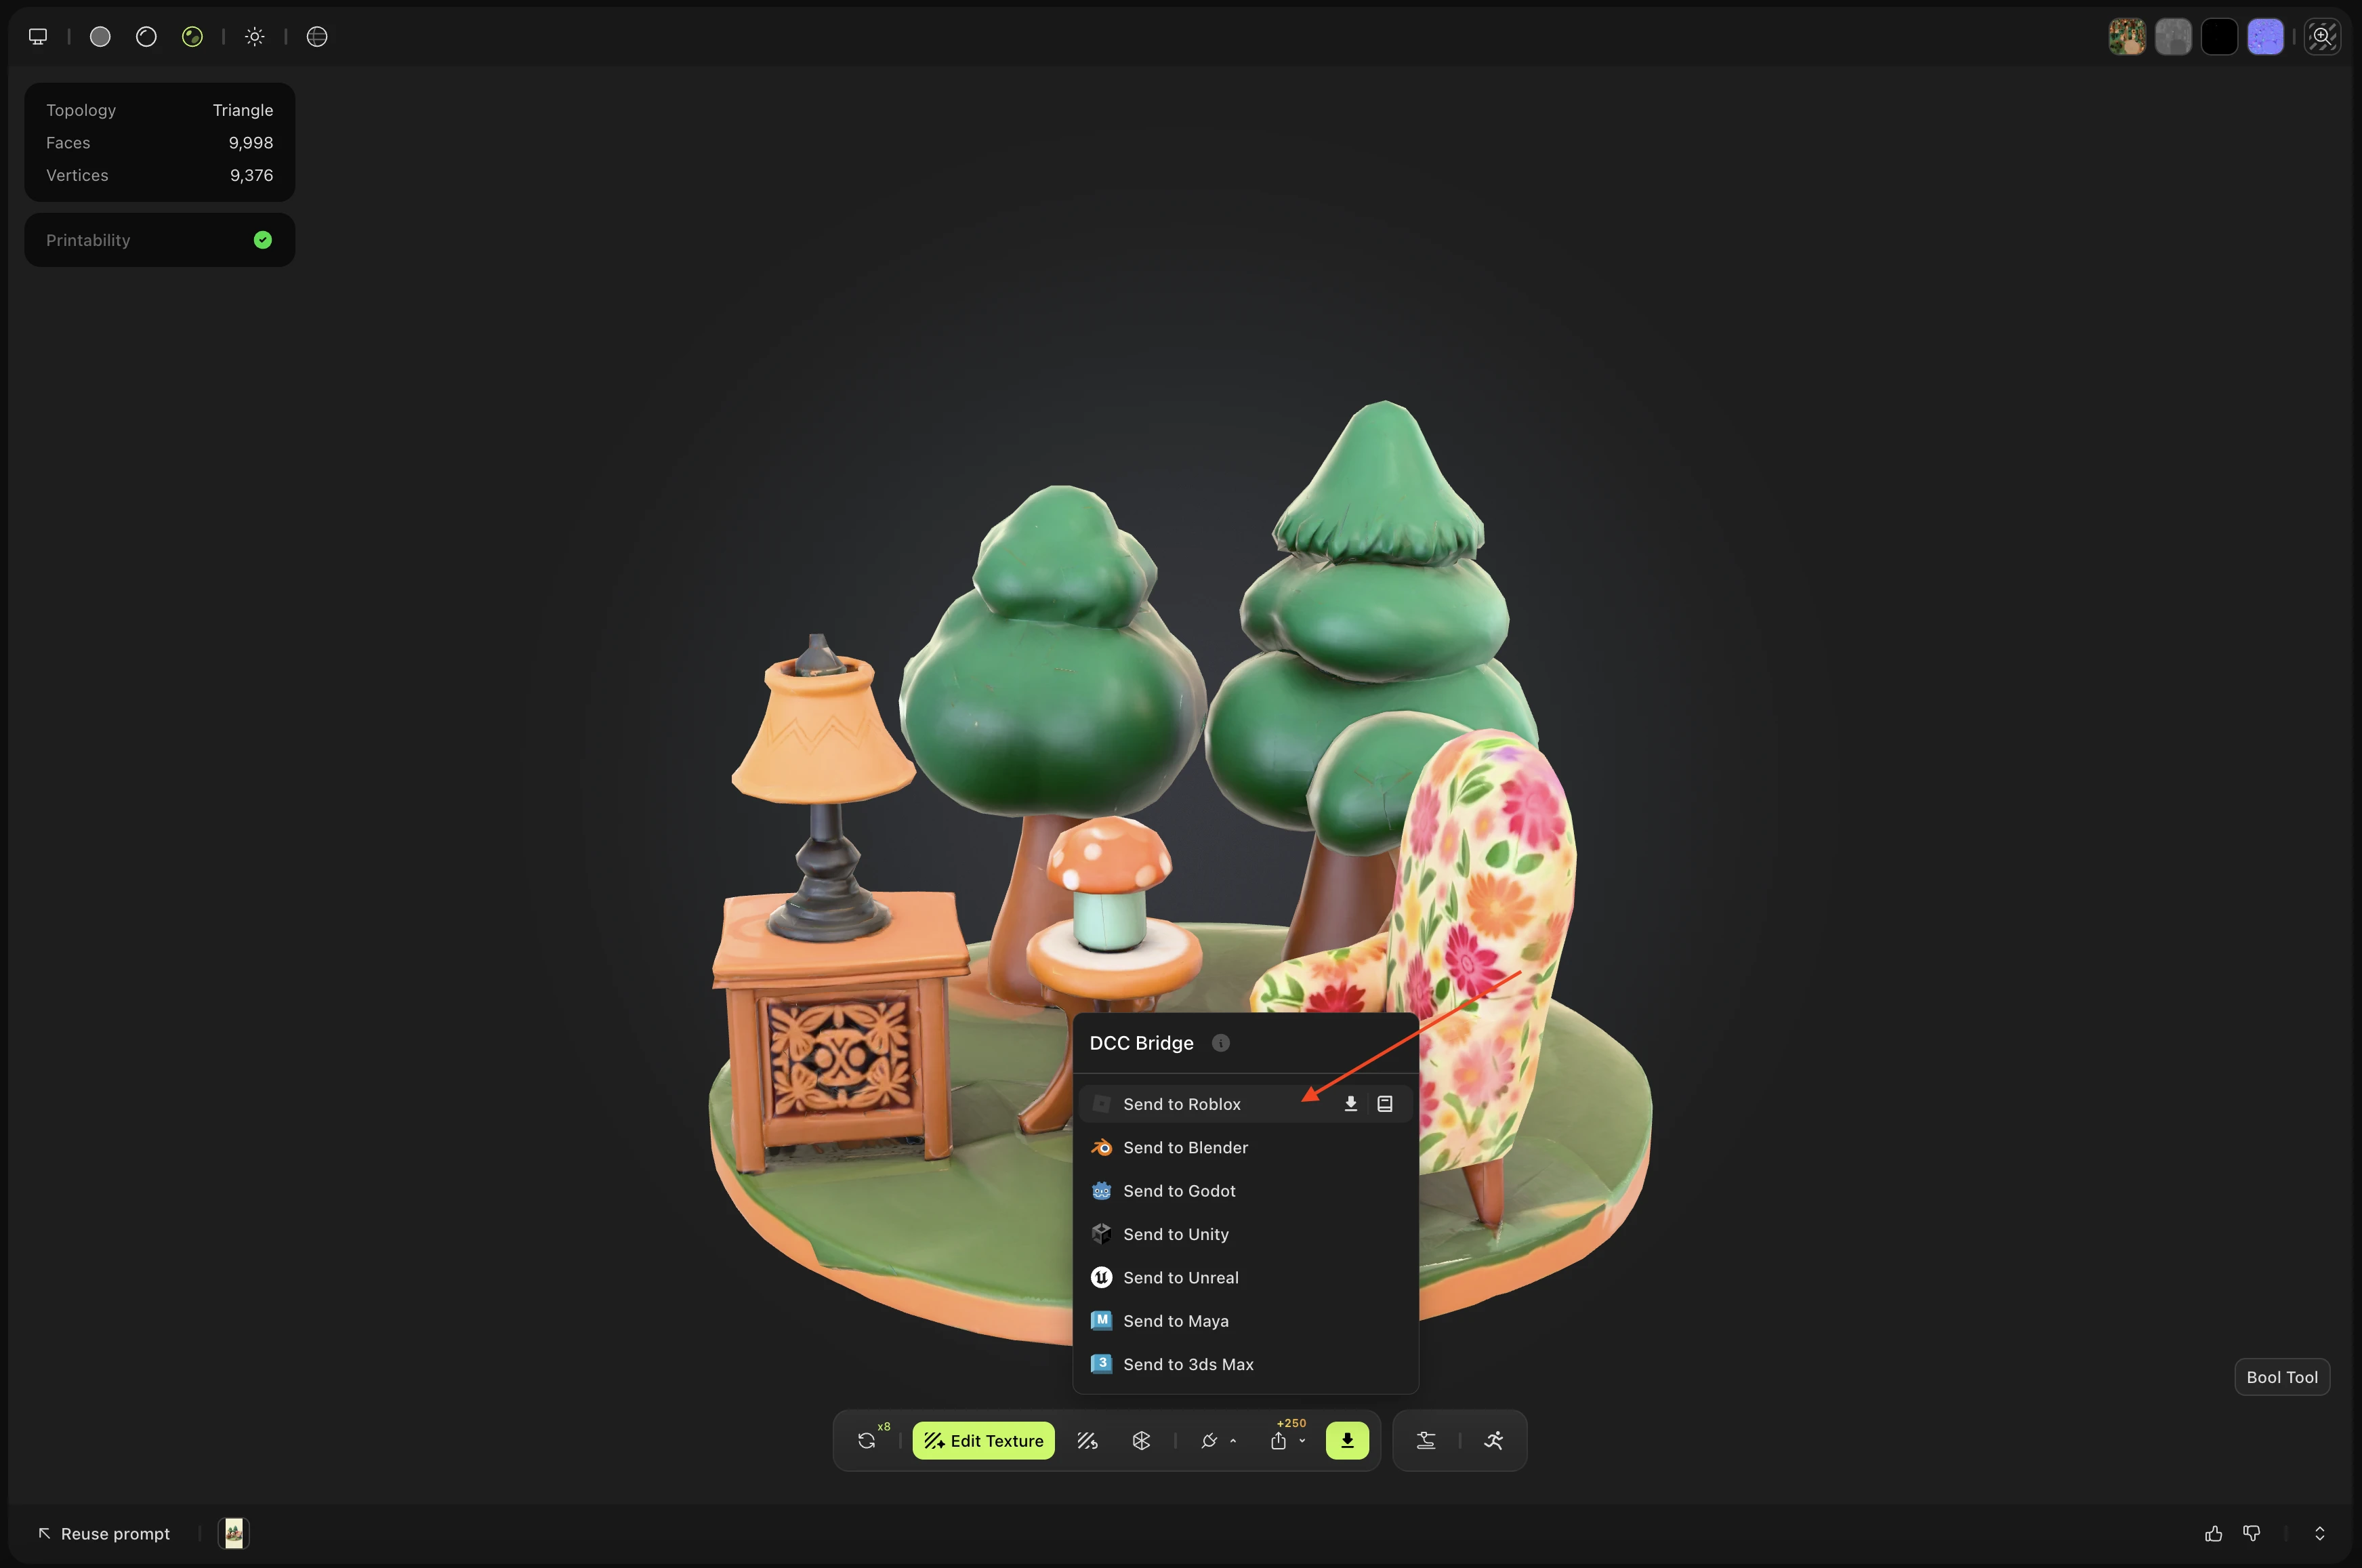
Navigate to the model you want in your MeshyAI workspace and click Send to Roblox from the DCC Bridge menu.
Any 3D model you generate in your workspace can be sent to Roblox via the DCC Bridge.
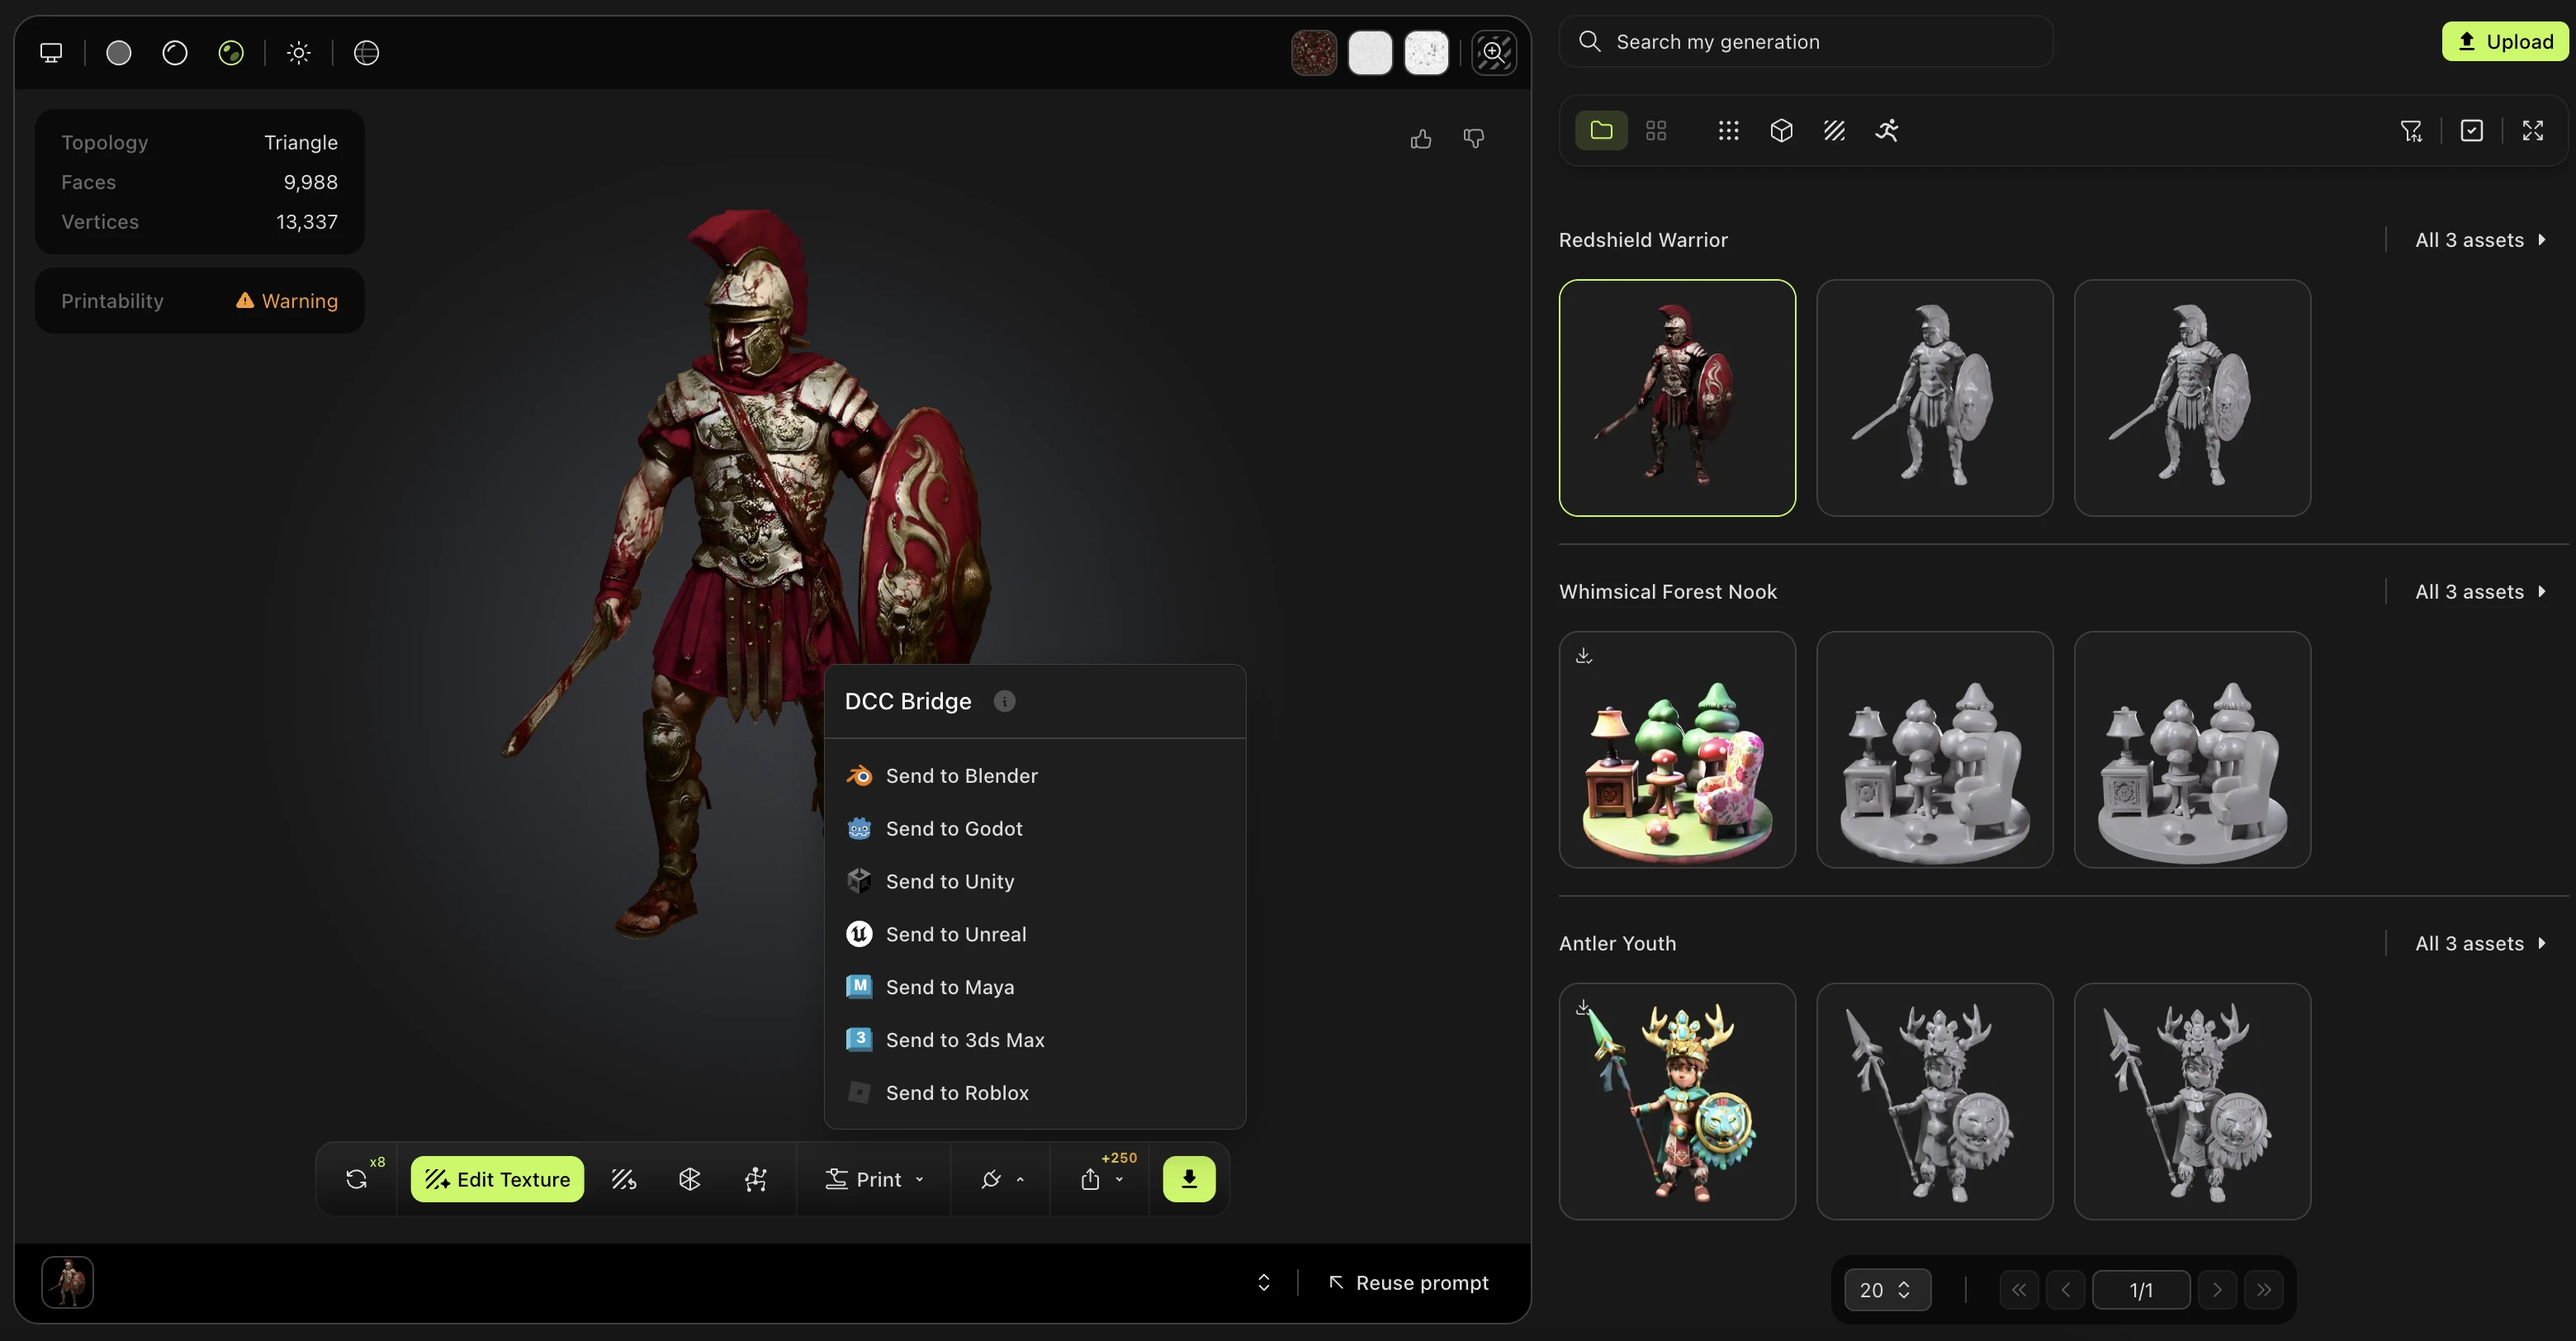
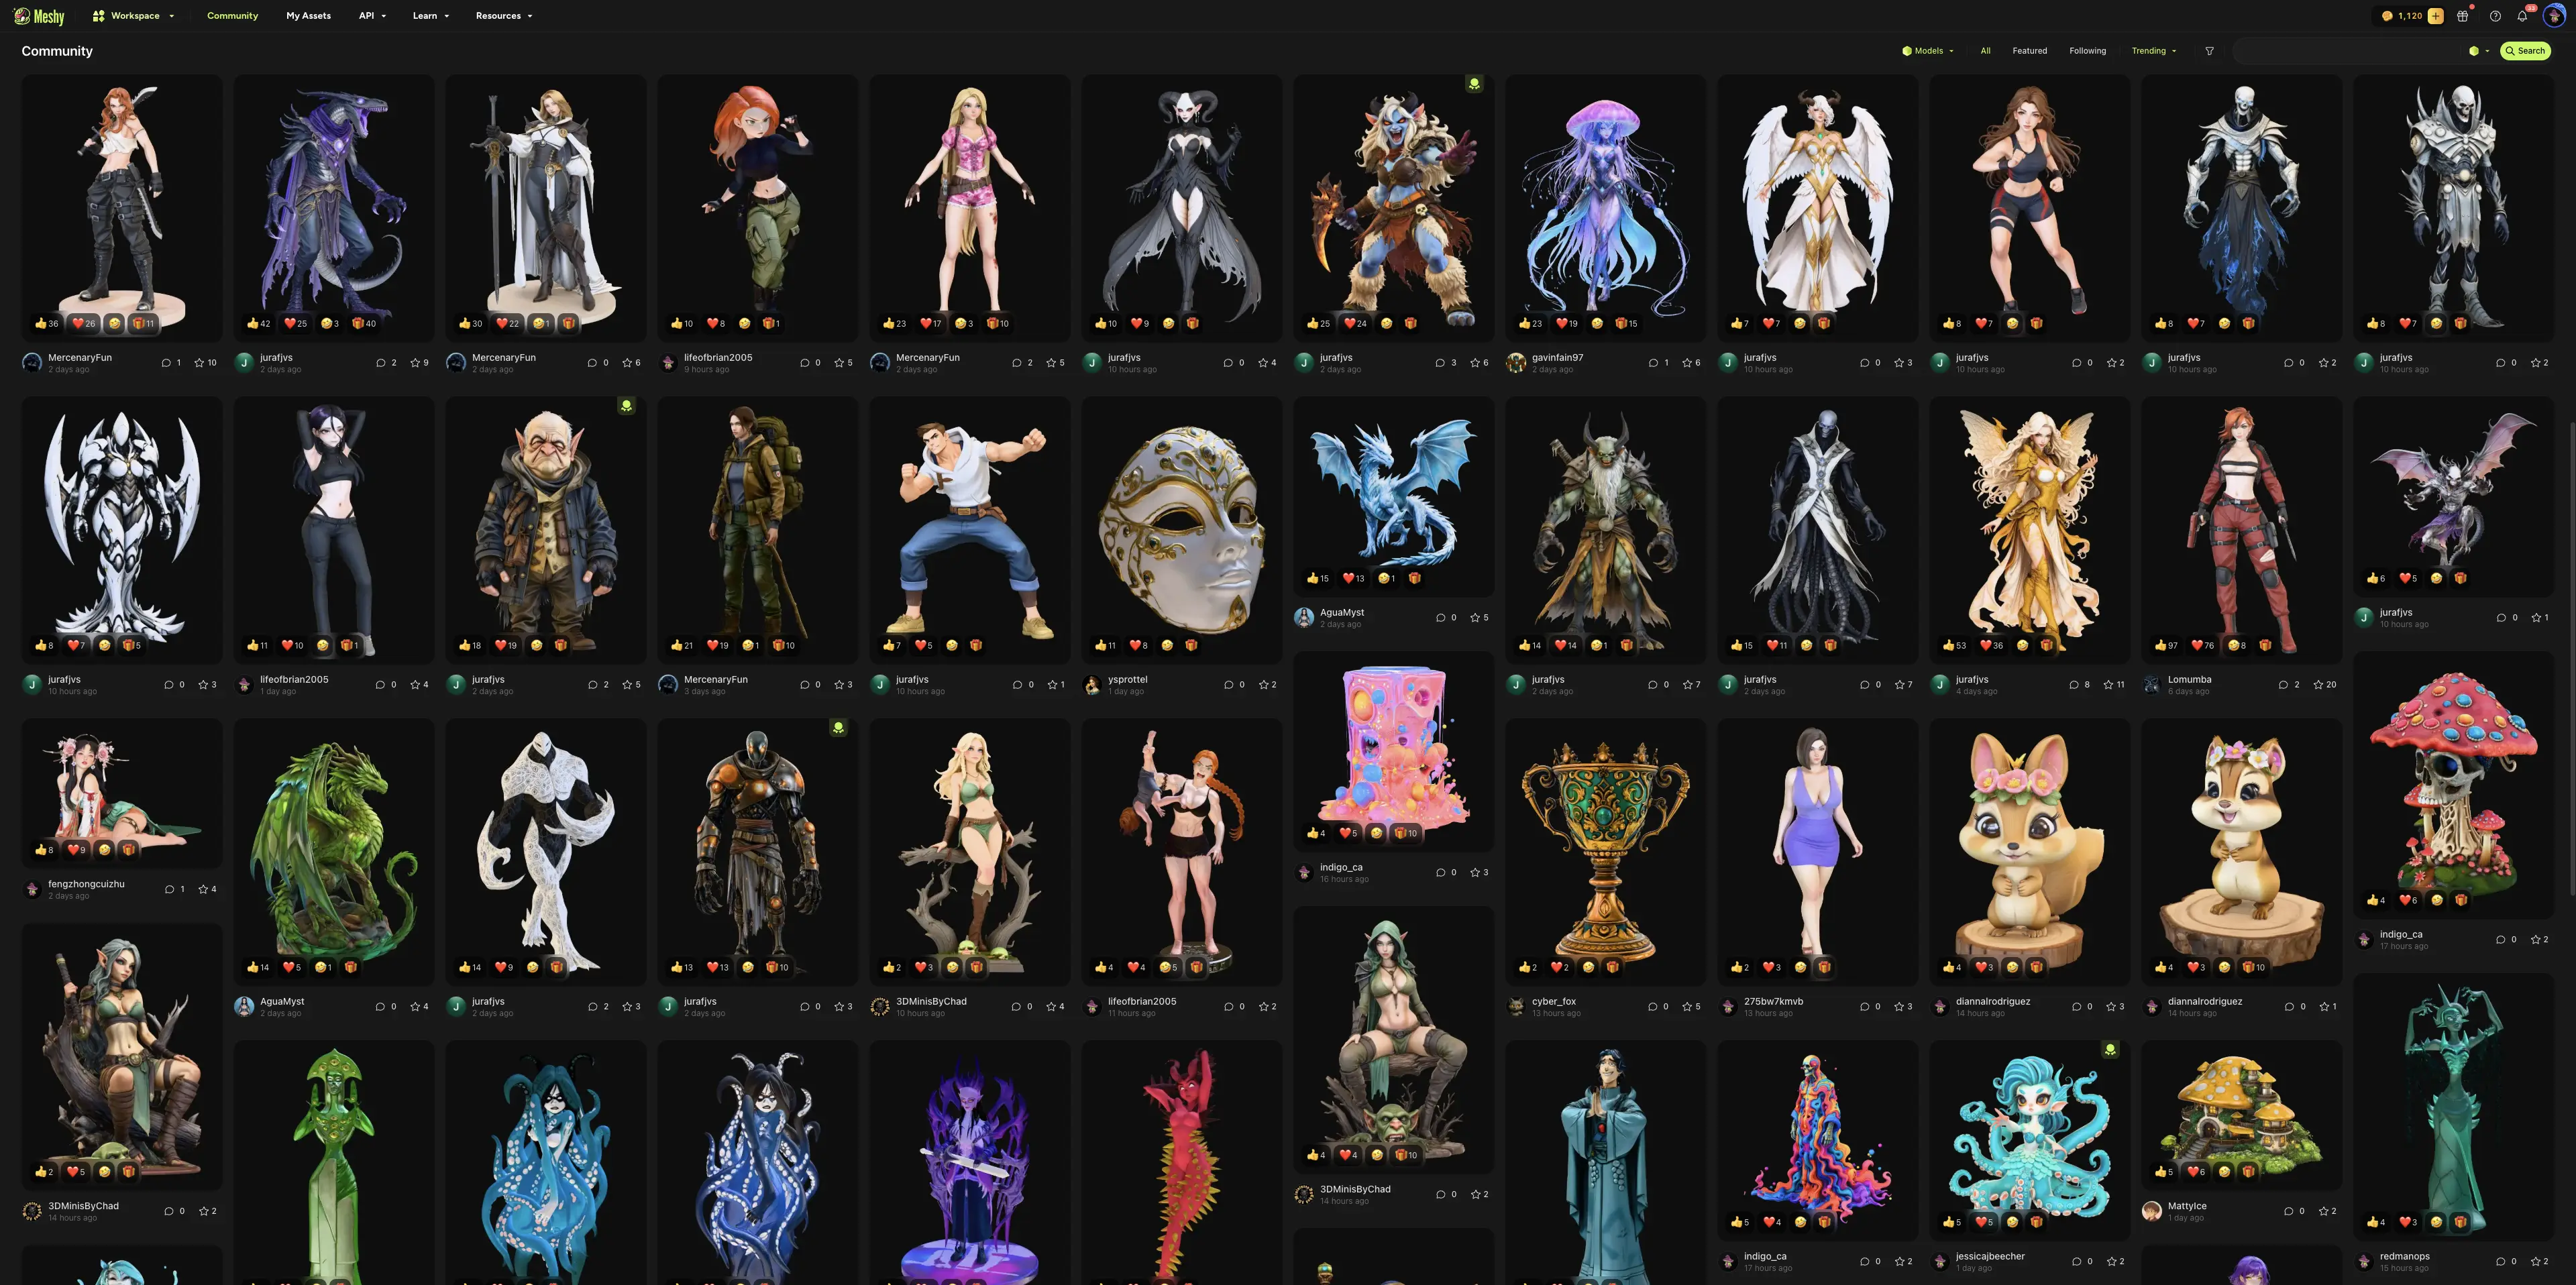
Likewise, models from the MeshyAI community are fully supported and can also be sent to Roblox using the DCC Bridge.
Using Your Model
After the upload completes, the local Bridge app is automatically brought to the foreground. You can access your model through the quick actions on the Bridge app:
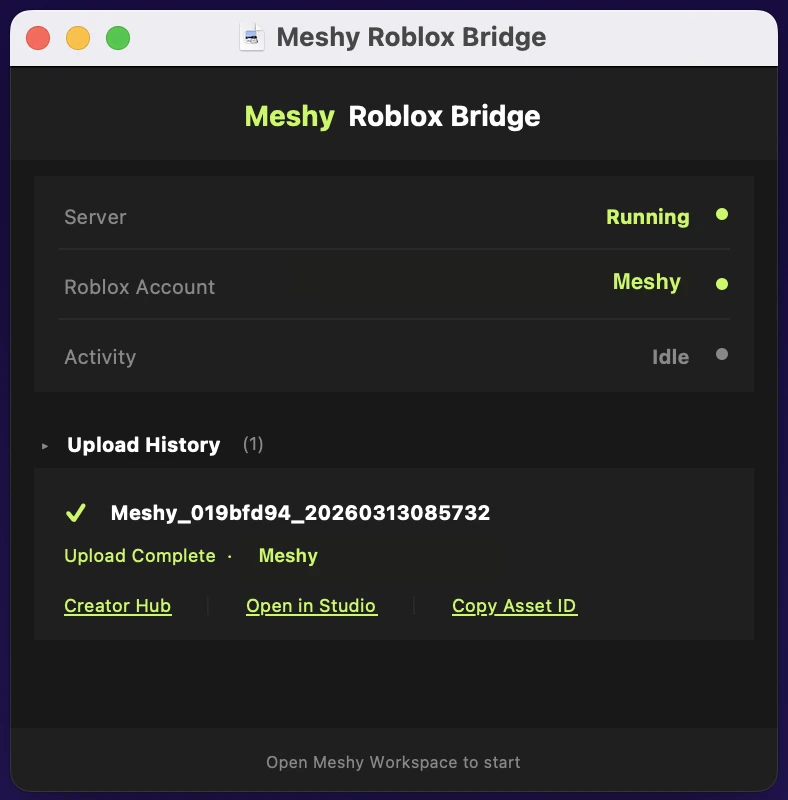
Copy Asset ID — Copies the Roblox asset ID to your clipboard for easy reference
Creator Hub — Click Creator Hub on the model card to open your Roblox Creator Hub inventory and manage the asset
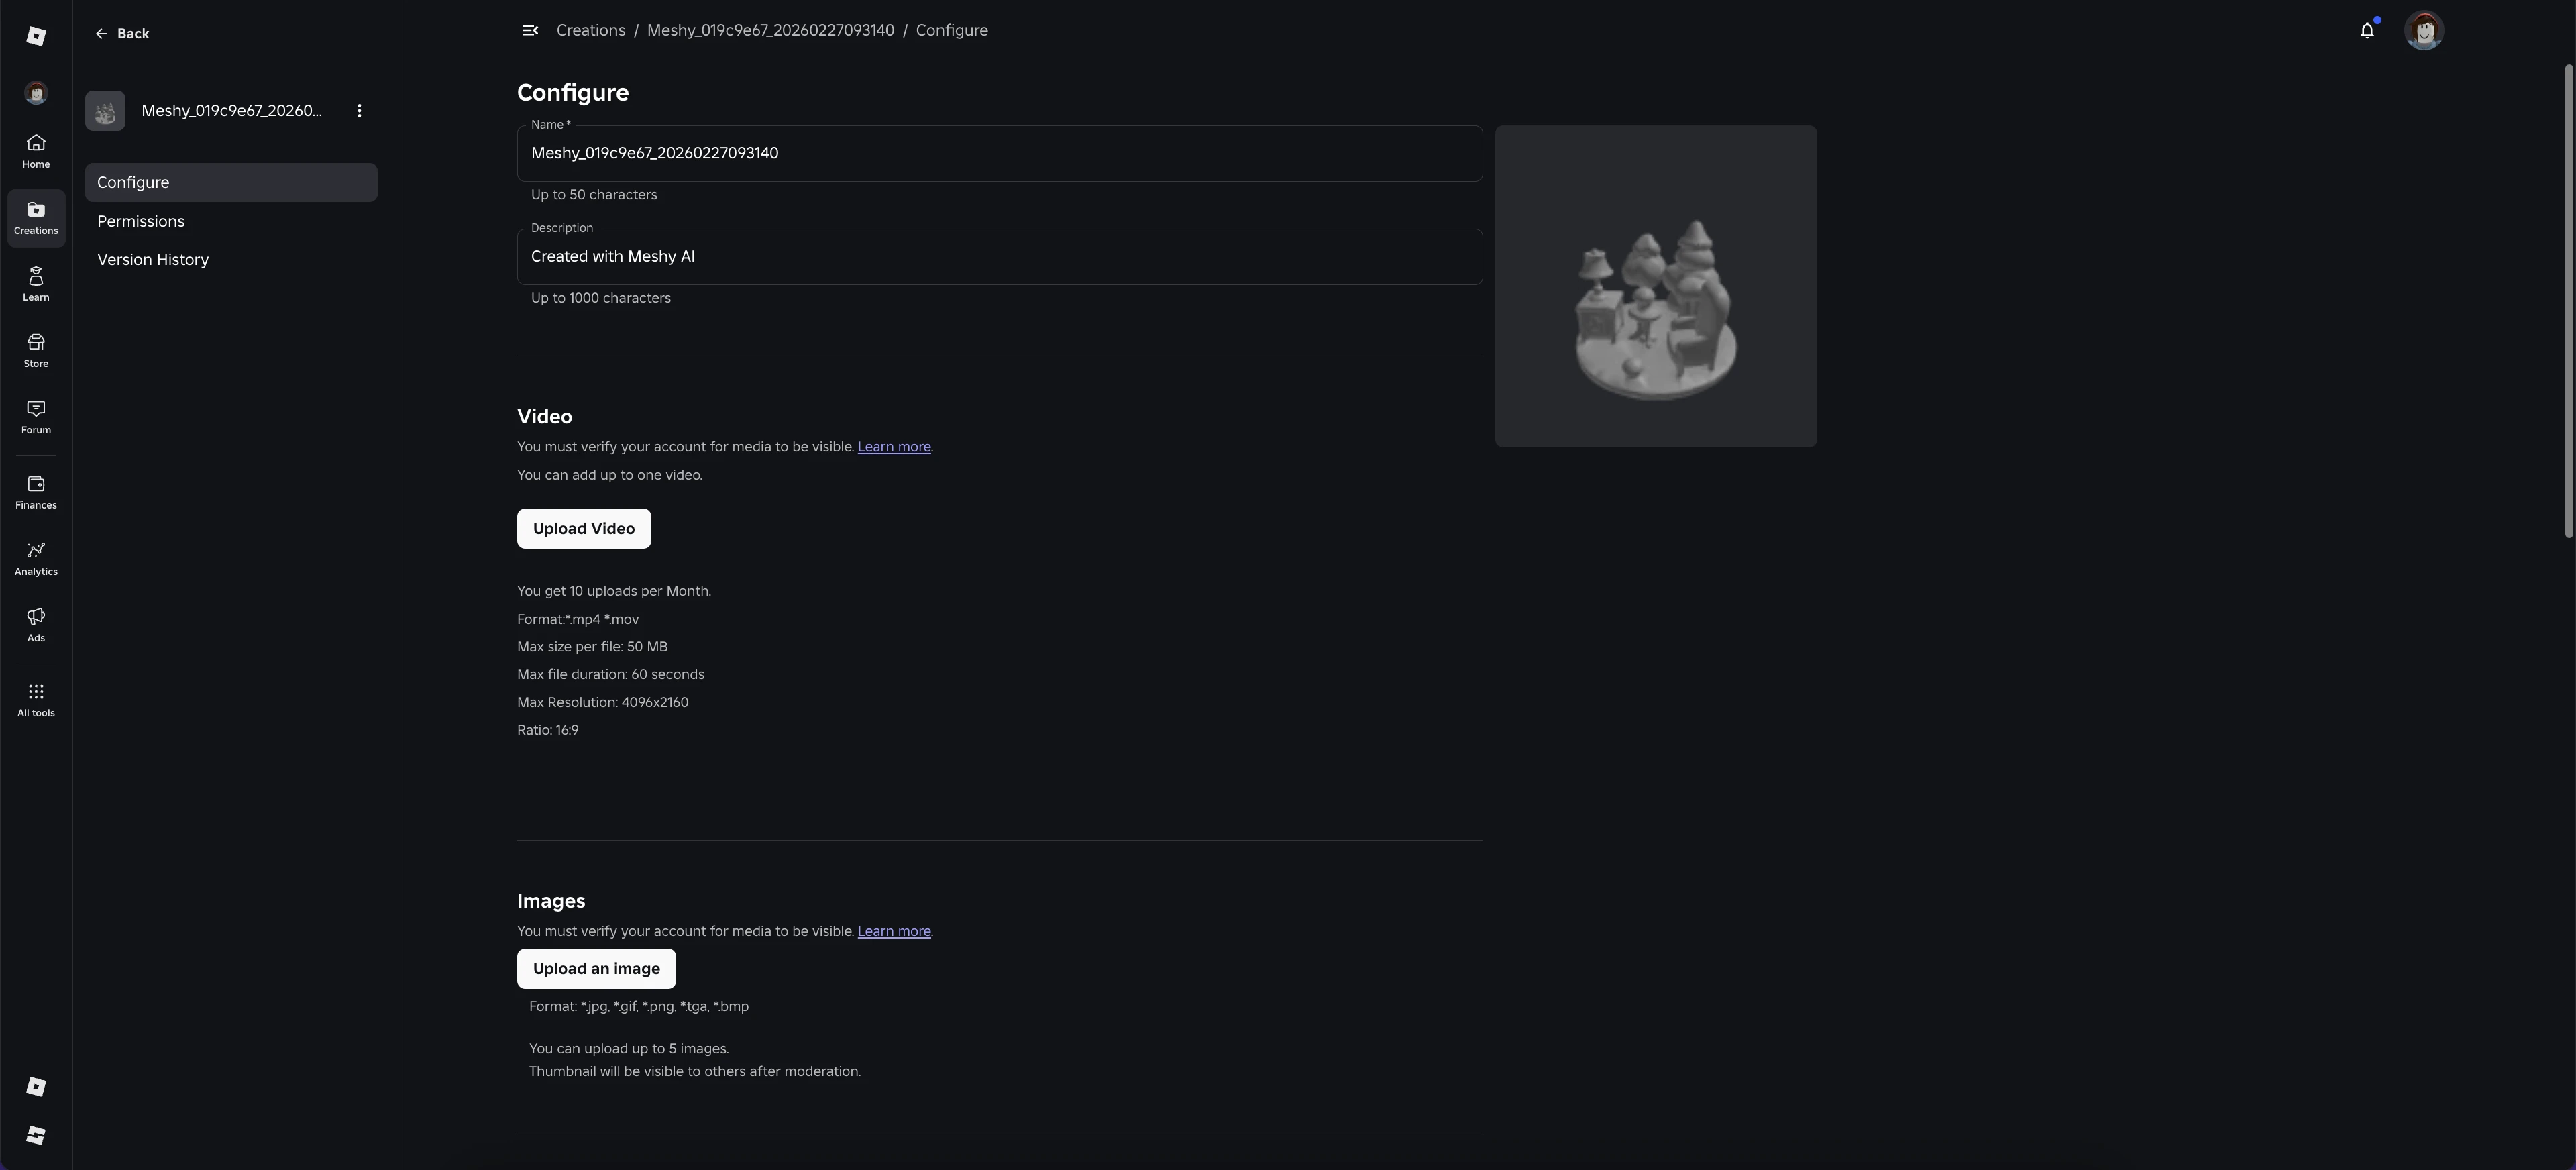
The Creator Hub web preview may not display textures correctly for larger models. This is a limitation of the Roblox web viewer only — your model's textures will appear normally when imported into Roblox Studio.
Open in Studio — Click Open in Studio on the model card. Roblox Studio will launch and open a default scene containing only the model you just uploaded. This is a temporary preview scene specifically for viewing this asset.
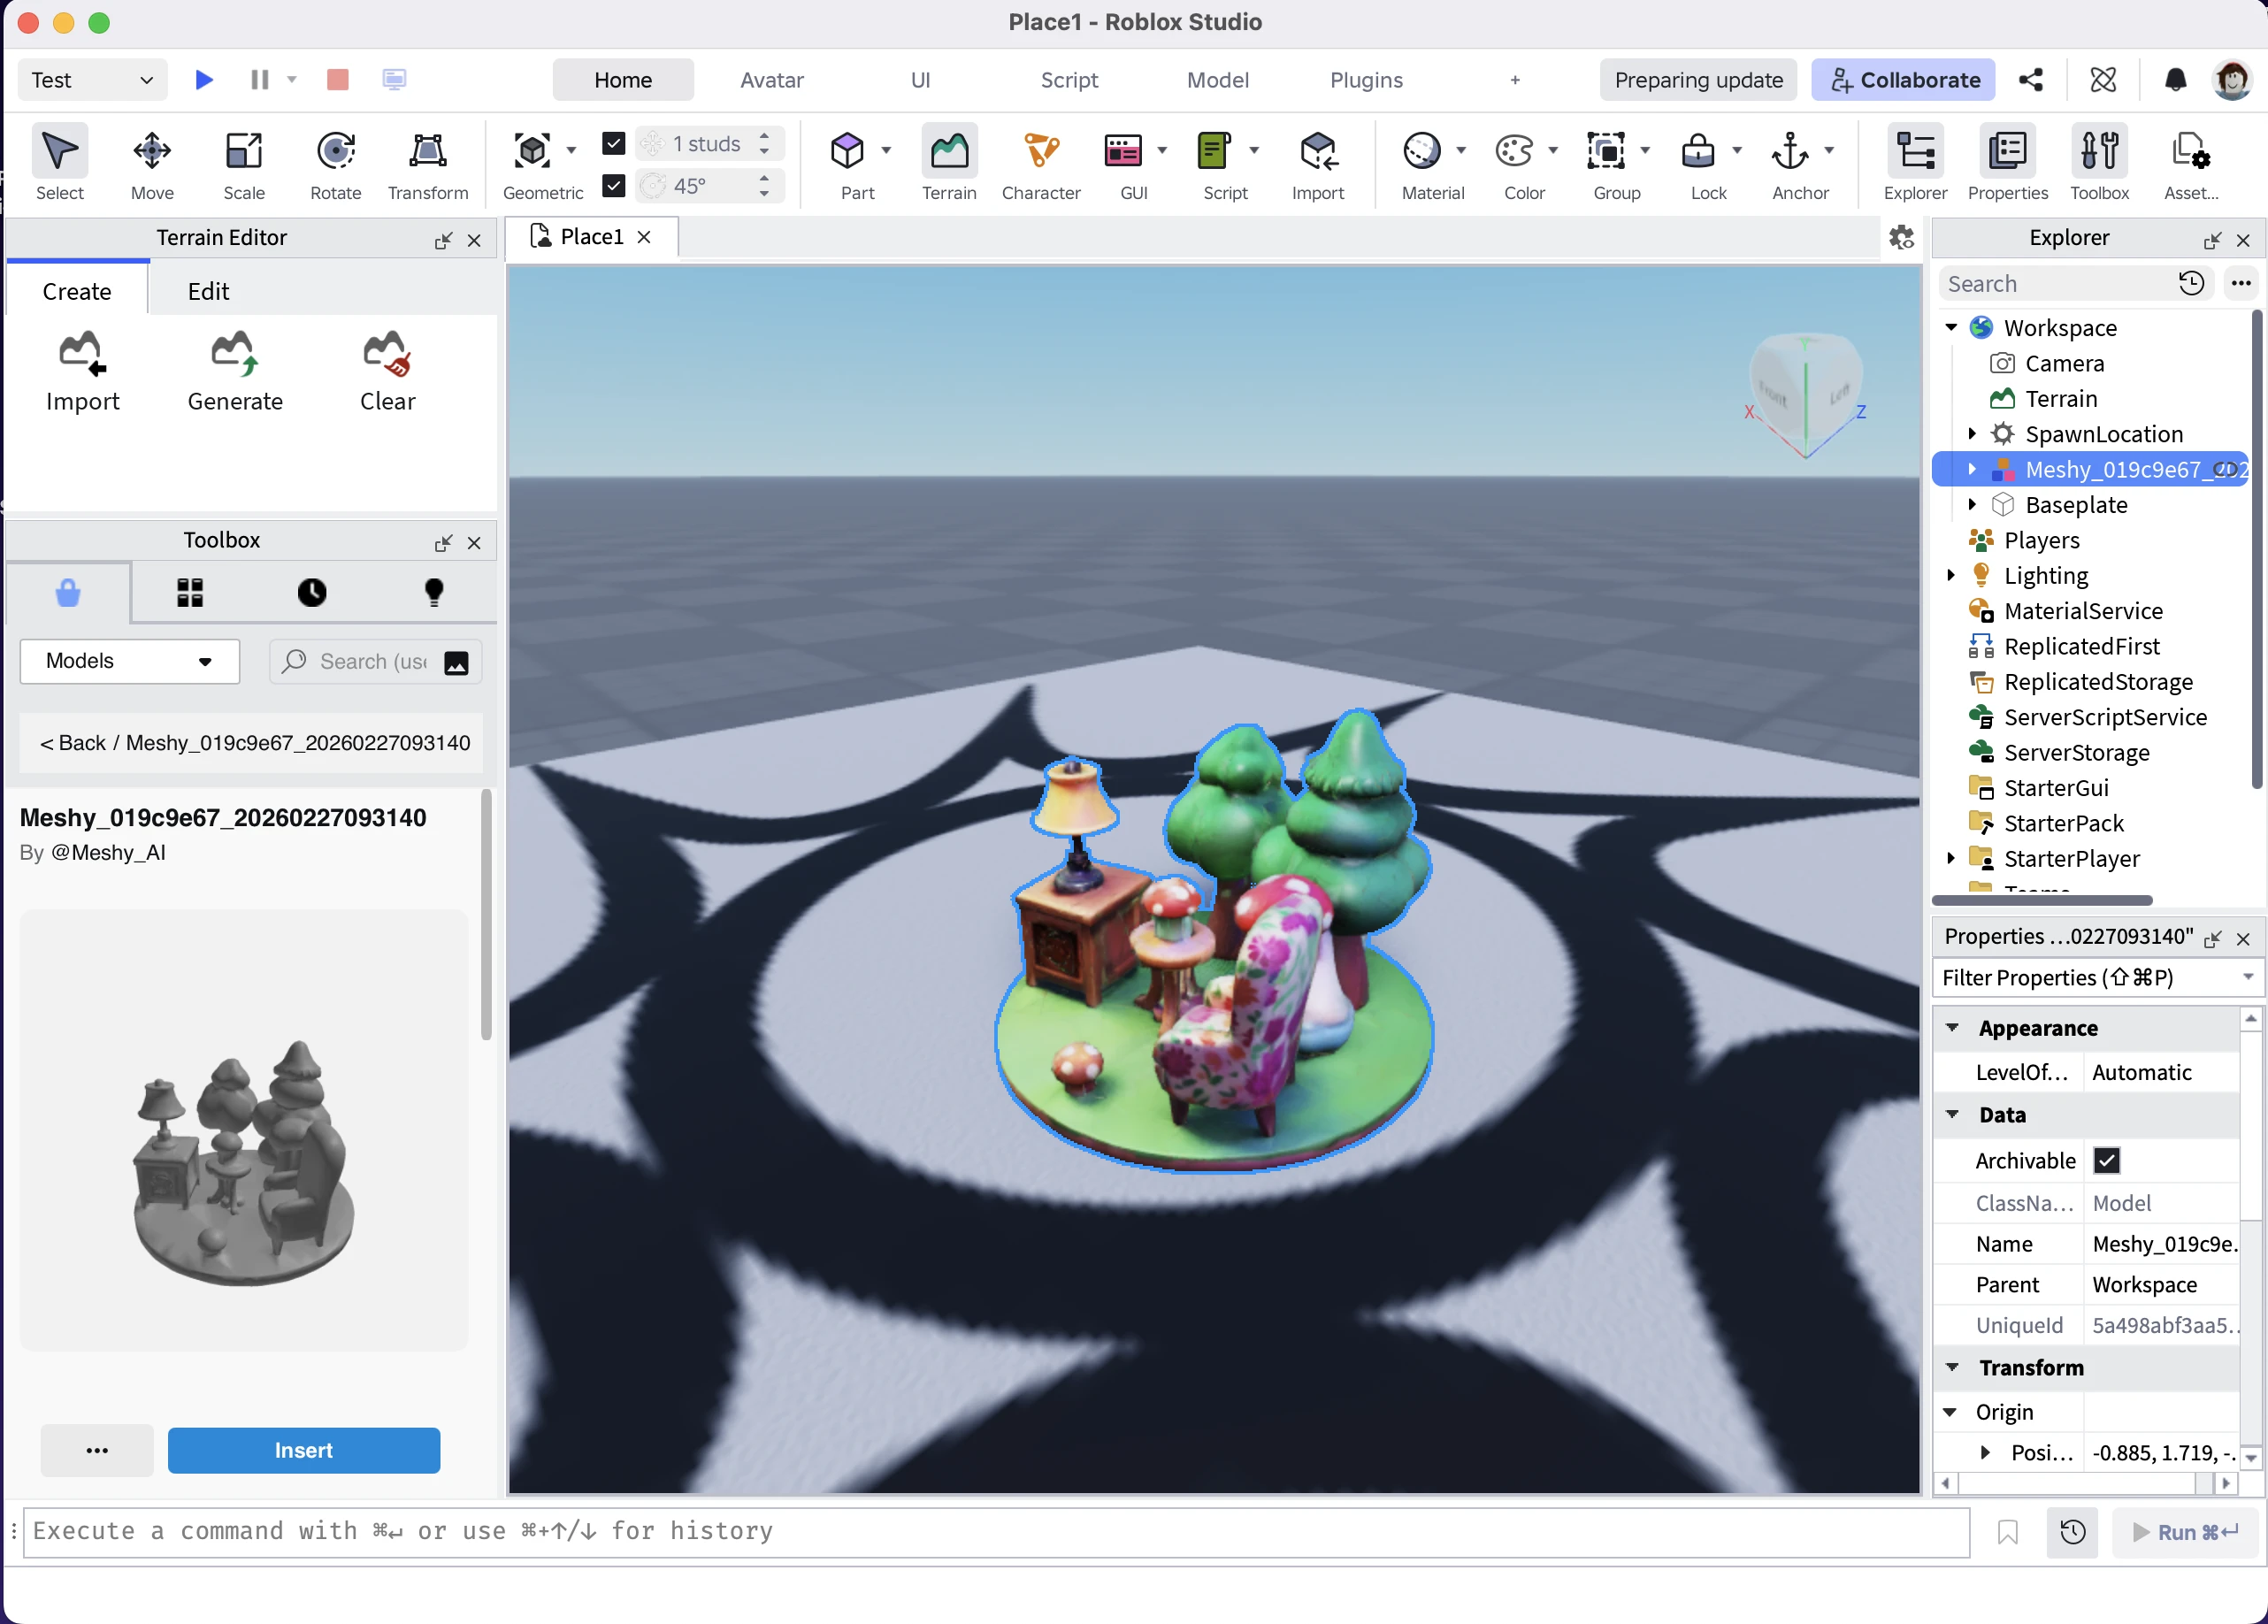
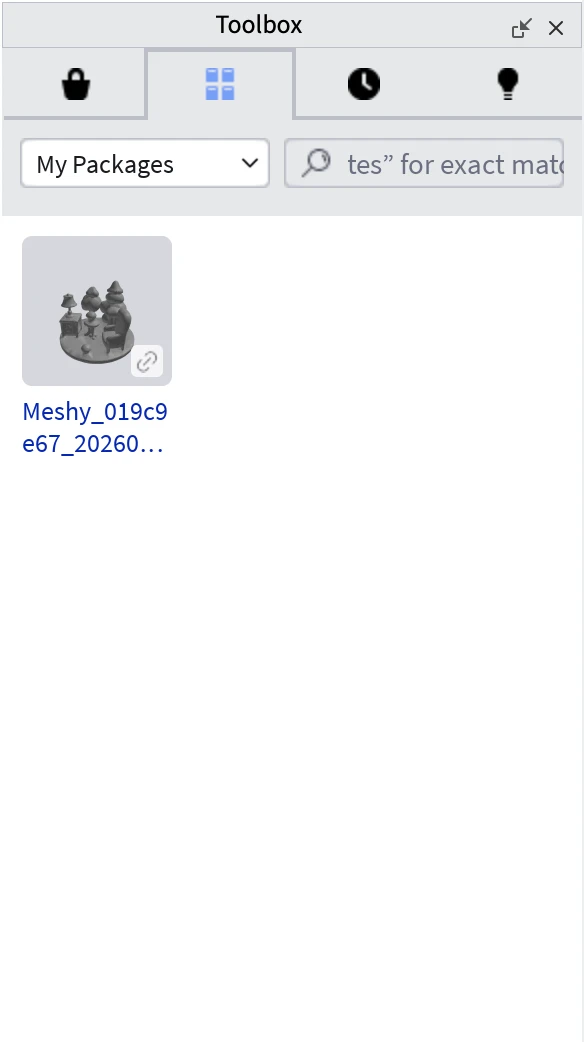
Find it manually — Open Roblox Studio, go to the Toolbox, select Inventory, then My Packages. All models you have sent via the Bridge will appear here.
Upload History
The Bridge app keeps a record of all models you've sent to Roblox. Expand the Upload History section in the Bridge window to view them.
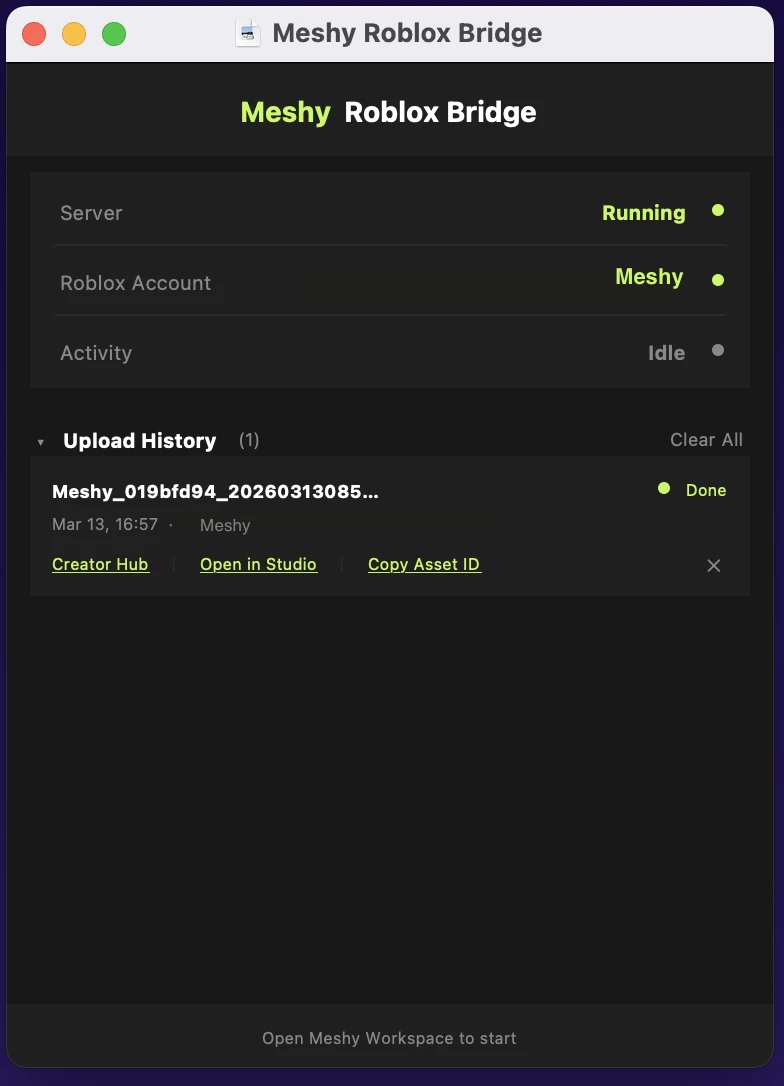
For each uploaded model, you can:
- Click Creator Hub / Open in Studio / Copy Asset ID to quickly access the model
- Click the ✕ button to delete an individual record
- Click Clear All to remove all upload history
- Upload history is stored locally on your computer. Clearing it does not affect the assets already uploaded to your Roblox account.
- You can only access models uploaded under the currently logged-in account.
Troubleshooting
| Issue | Cause | Solution |
|---|---|---|
| "Bridge not running" message in Meshy | The Bridge app is not open | Download and run the Meshy Roblox Bridge app, then try again |
| Authorization popup is blocked | Browser blocked the popup window | Allow popups for the Meshy site in your browser settings |
| "Model exceeds Roblox upload size limit (20MB)" | The GLB file is larger than 20 MB | Use Meshy's remesh feature to reduce the model's polygon count before sending |
| "Upload timed out. Please check your Roblox inventory." | Roblox processing took longer than 3 minutes | Check your Creator Hub inventory — the asset may have uploaded successfully despite the timeout |
| "Lost connection to Roblox Bridge" | Bridge stopped responding during upload | Restart the Bridge app and try again |
| "Upload failed. Please try again." | Roblox API returned an error | Check that the Bridge is still running and your Roblox account is connected, then retry |