Model Analysis
The Analyze panel provides comprehensive tools to check your 3D models for issues, making it perfect for preparing models for 3D printing. Use these tools to identify and fix problems before exporting.
Before you begin, make sure you have downloaded and installed the Meshy for Blender plugin. For detailed instructions, please refer to the Introduction section.
To use the Analyze panel:
- Select your 3D model in Blender
- Open the Meshy panel in the sidebar (press
Nif hidden) - Expand the "Analyze" section
- Click any check button to analyze your model
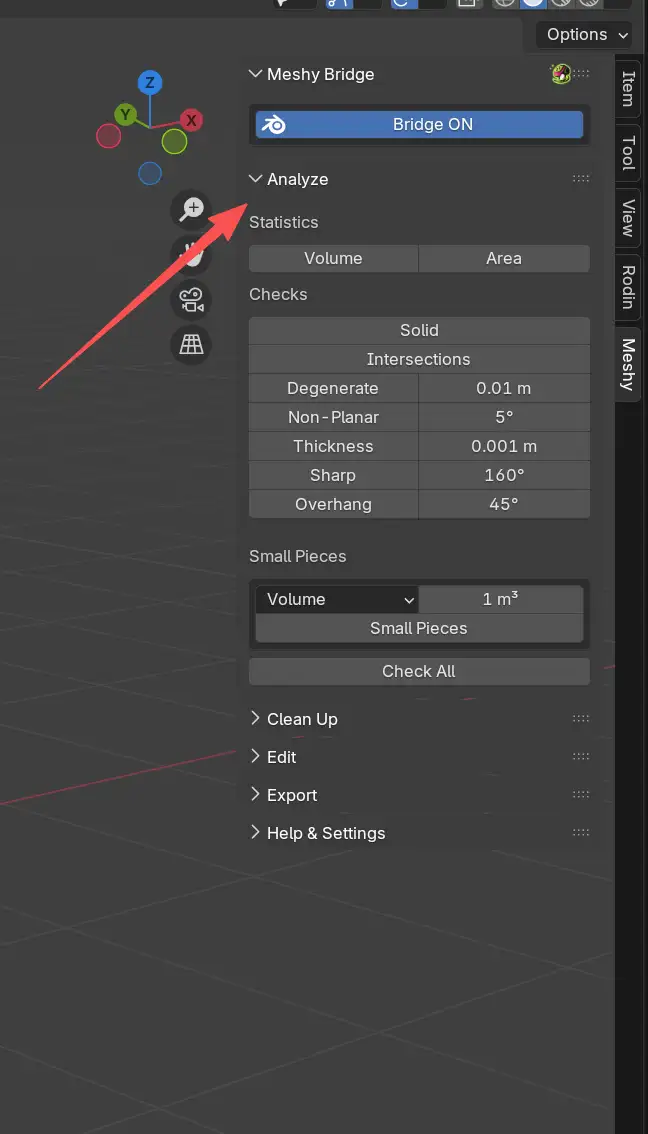
The Analyze panel is located in the Meshy category of Blender's sidebar. Here's what it looks like:
Statistics
The Statistics section provides basic measurements of your model:
Volume
Calculates the total volume of your mesh. This is useful for:
- Estimating material usage for 3D printing
- Comparing model sizes
- Ensuring models meet size requirements
Click Volume to calculate and display the volume in your scene's unit system.
Area
Calculates the total surface area of your mesh. This helps with:
- Estimating paint or coating requirements
- Understanding model complexity
- Surface finish planning
Click Area to calculate and display the surface area.
Geometry Checks
The Analyze panel includes multiple checks designed to identify common 3D printing issues:
Solid
Checks if your model is a watertight solid with proper geometry:
- Non-manifold Edges: Edges that are shared by more than two faces, indicating holes or improperly connected geometry
- Bad Contiguous Edges: Edges where face directions are inconsistent (faces pointing inward vs. outward)
A model must be manifold (watertight) for successful 3D printing. Non-manifold geometry will cause slicing software to fail.
Intersections
Detects self-intersecting faces where the model intersects itself. Self-intersections cause:
- 3D printing failures
- Incorrect geometry calculations
- Slicing errors
This check identifies all intersecting faces so you can fix them manually.
Degenerate
Finds broken or invalid geometry:
- Zero-Area Faces: Faces that are too small (below the threshold)
- Zero-Length Edges: Edges where vertices overlap
You can adjust the threshold using the value field next to the button. The default threshold is 0.01 cm (0.1 mm).
Non-Planar
Identifies faces that are not flat. Non-planar faces can cause:
- Rendering artifacts
- 3D printing issues
- Geometry errors
Adjust the angle threshold to control sensitivity. The default is 5 degrees.
Thickness
Checks for walls that are too thin. Thin walls may:
- Break during printing
- Fail to print at all
- Create weak structures
Set the minimum thickness threshold (default: 1mm). Any faces thinner than this will be flagged.
Sharp
Detects edges that are sharper than a specified angle. Very sharp edges:
- Are difficult to print accurately
- May require support material
- Can cause print failures
Adjust the angle threshold (default: 160 degrees) to control what's considered "sharp."
Overhang
Identifies faces that overhang past a specified angle. Large overhangs:
- Require support material when 3D printing
- May fail to print without support
- Can cause print quality issues
Set the overhang angle threshold (default: 45 degrees) to identify problematic areas.
Small Pieces
Detects small disconnected pieces in your model, similar to Houdini Labs' Delete Small tool. This is particularly useful for:
- Cleaning up photogrammetry scans
- Removing fragments from fluid simulations
- Finding scattered droplets or debris
Detection Modes:
- Volume: Detects by bounding box volume (units: cm³)
- Area: Detects by surface area (units: cm²)
- Diagonal: Detects by bounding box diagonal length (units: cm)
Set the size threshold and mode, then click Small Pieces to find fragments below the threshold.
Using Analysis Results
After running any check, results appear in the Results section at the bottom of the Analyze panel:
-
View Results: Each check displays the number of issues found
-
Select Problem Areas: Click on any result item to automatically select the problematic geometry in Edit Mode
-
Clear Results: Click the X button to clear all results

When you click a result item:
-
Blender switches to Edit Mode (if not already)
-
The problematic vertices, edges, or faces are selected
-
You can then manually fix or delete the selected geometry
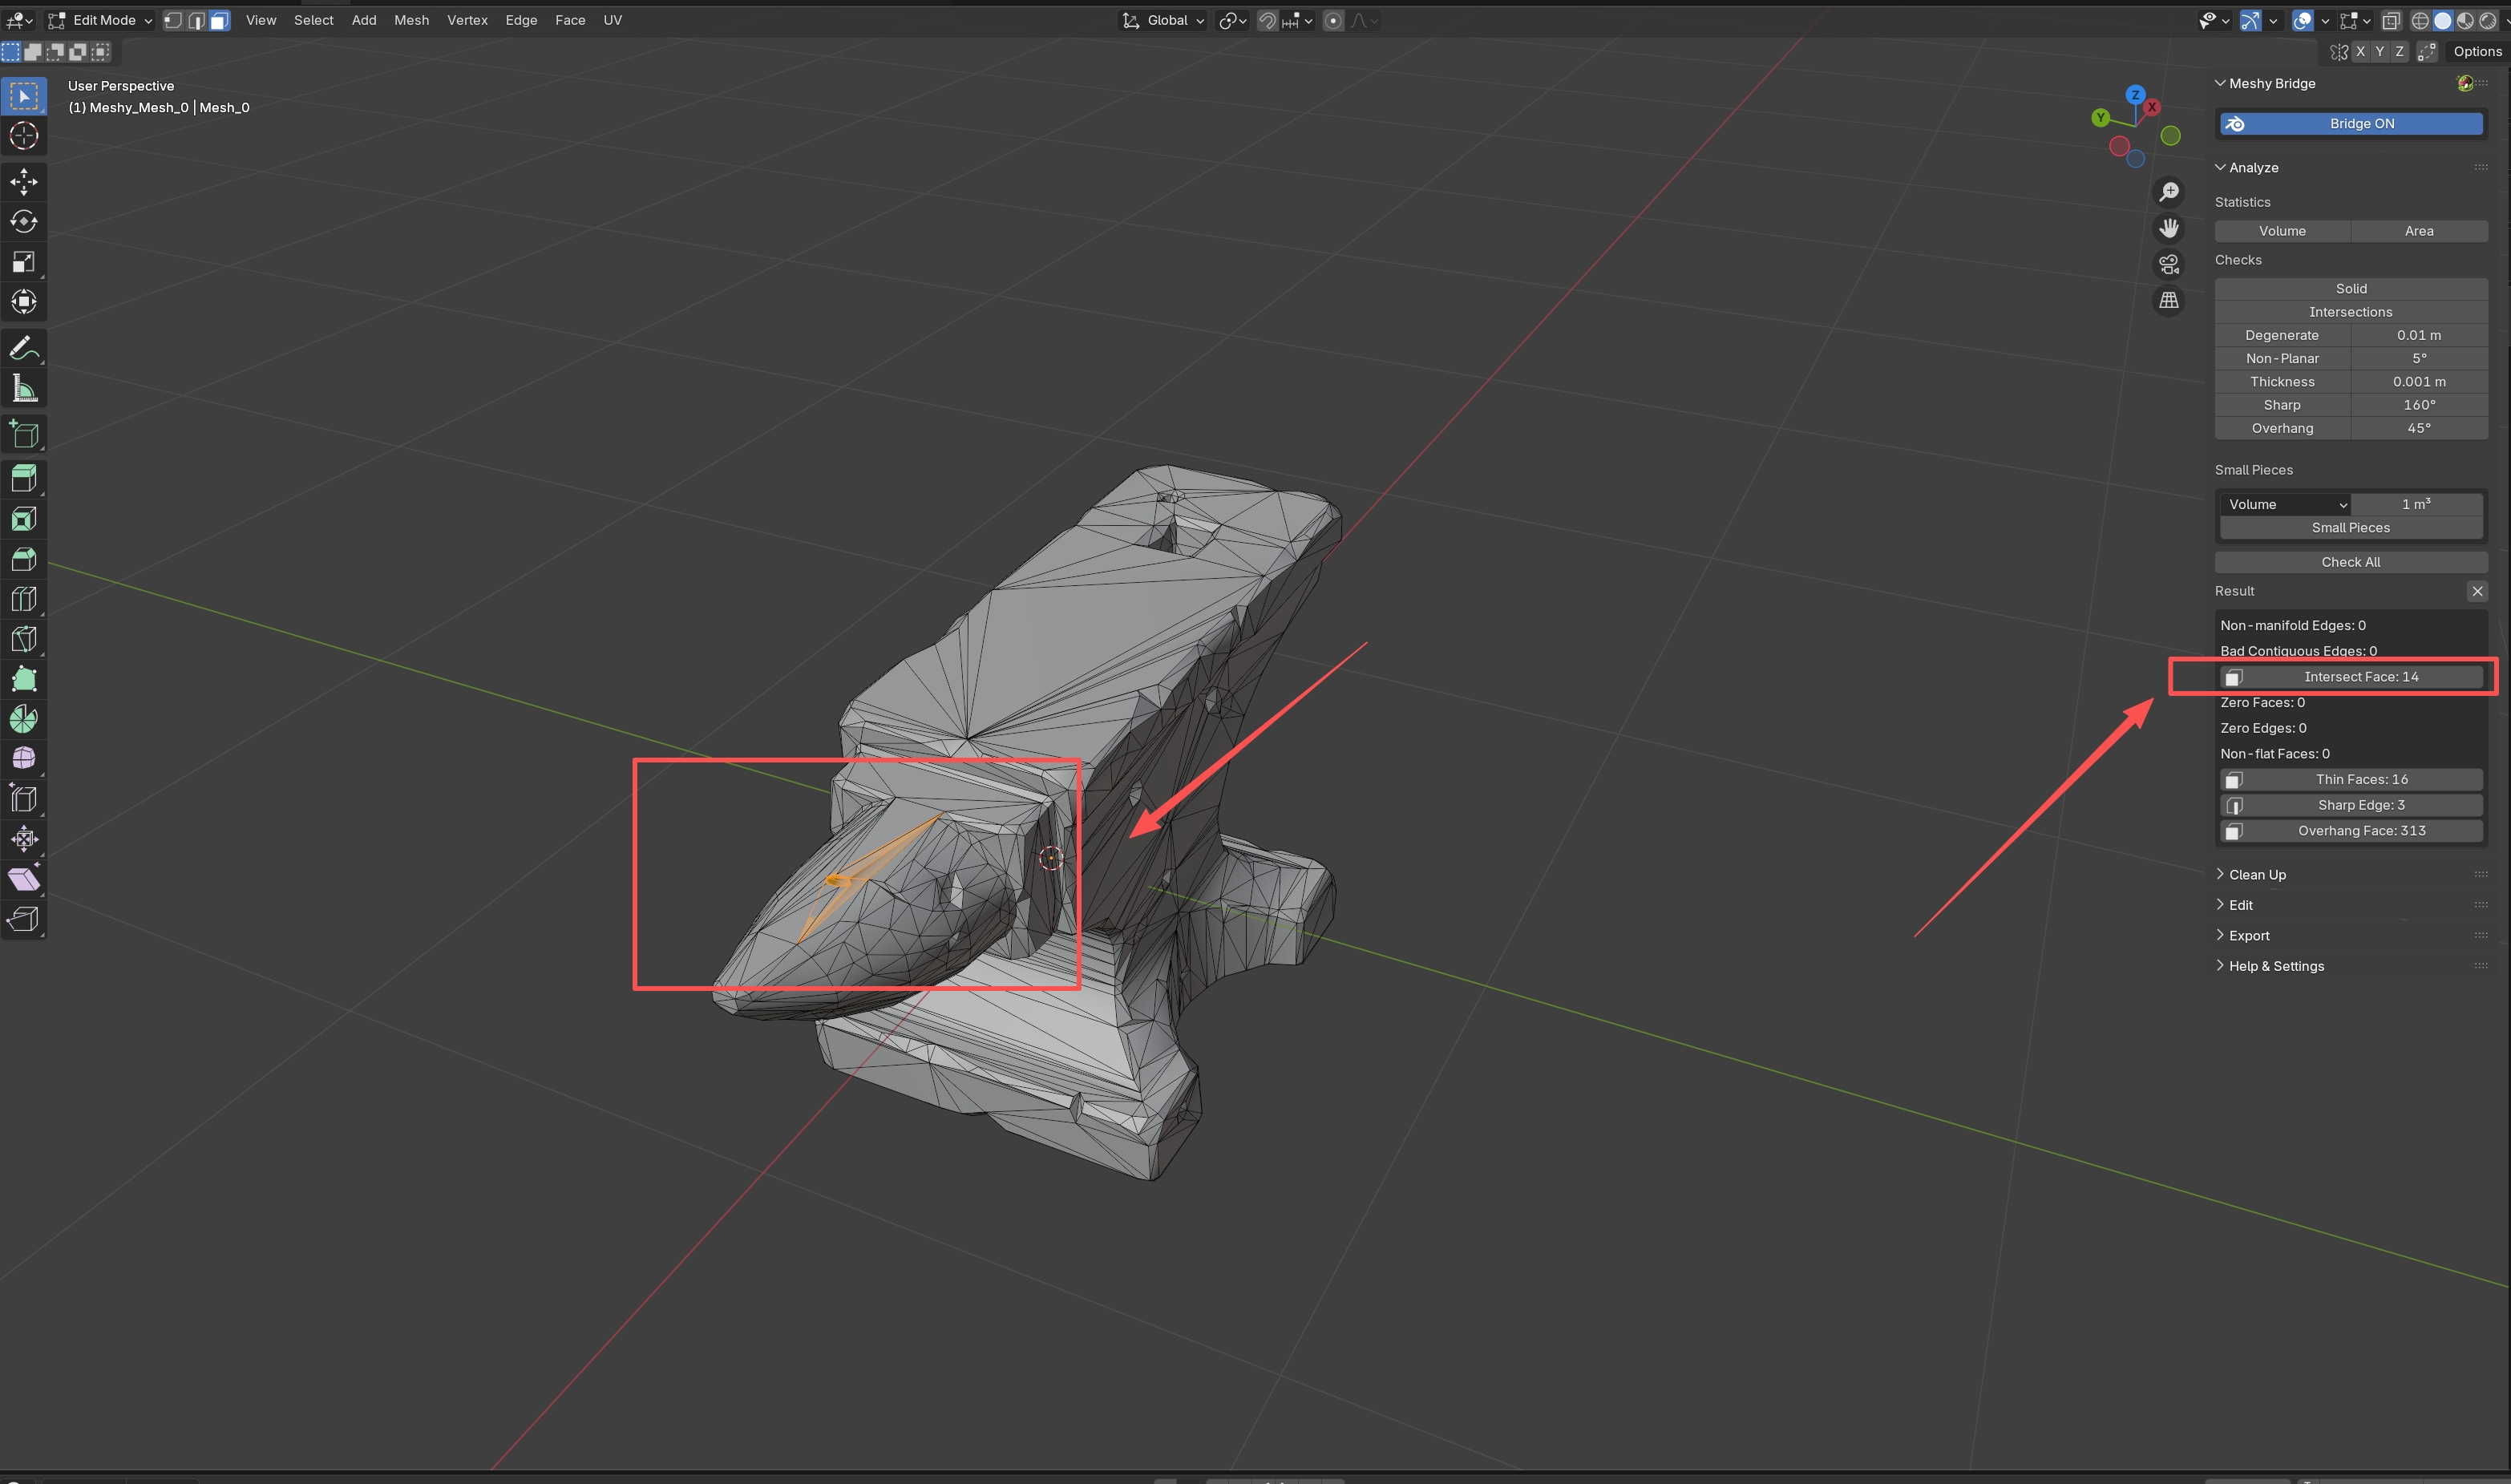
To select and fix issues, you need to be in Edit Mode. The plugin will automatically switch to Edit Mode when you click on a result item, but you can also press Tab to toggle Edit Mode manually.
Check All
Instead of running checks individually, you can run all checks at once:
Click Check All to execute all geometry checks simultaneously. This is useful for:
- Quick model validation before printing
- Comprehensive quality checks
- Identifying multiple issues at once
All results will appear in the Results section, and you can click on any item to select and fix the corresponding geometry.
For best results when preparing models for 3D printing:
- Run "Check All" first to see all issues
- Use the Clean Up panel to fix common problems automatically
- Run checks again to verify fixes
- Manually fix any remaining issues
- Export your model when all checks pass