xTool Studio
Learn how to use Meshy to send 3D models directly to xTool Studio for laser engraving and UV printing.
Meshy now supports xTool Studio bridging directly from the workspace. Pro members and above can send models to xTool Studio following the steps below.
Overview
Meshy for xTool Studio is a seamless bridge integration that lets you import MeshyAI-generated models directly into xTool Studio — xTool's official software for its laser engravers and UV printers. Models arrive upright at 75 mm tall and keep their textures, ready for 3D relief engraving or UV printing.
Sending Models to xTool Studio
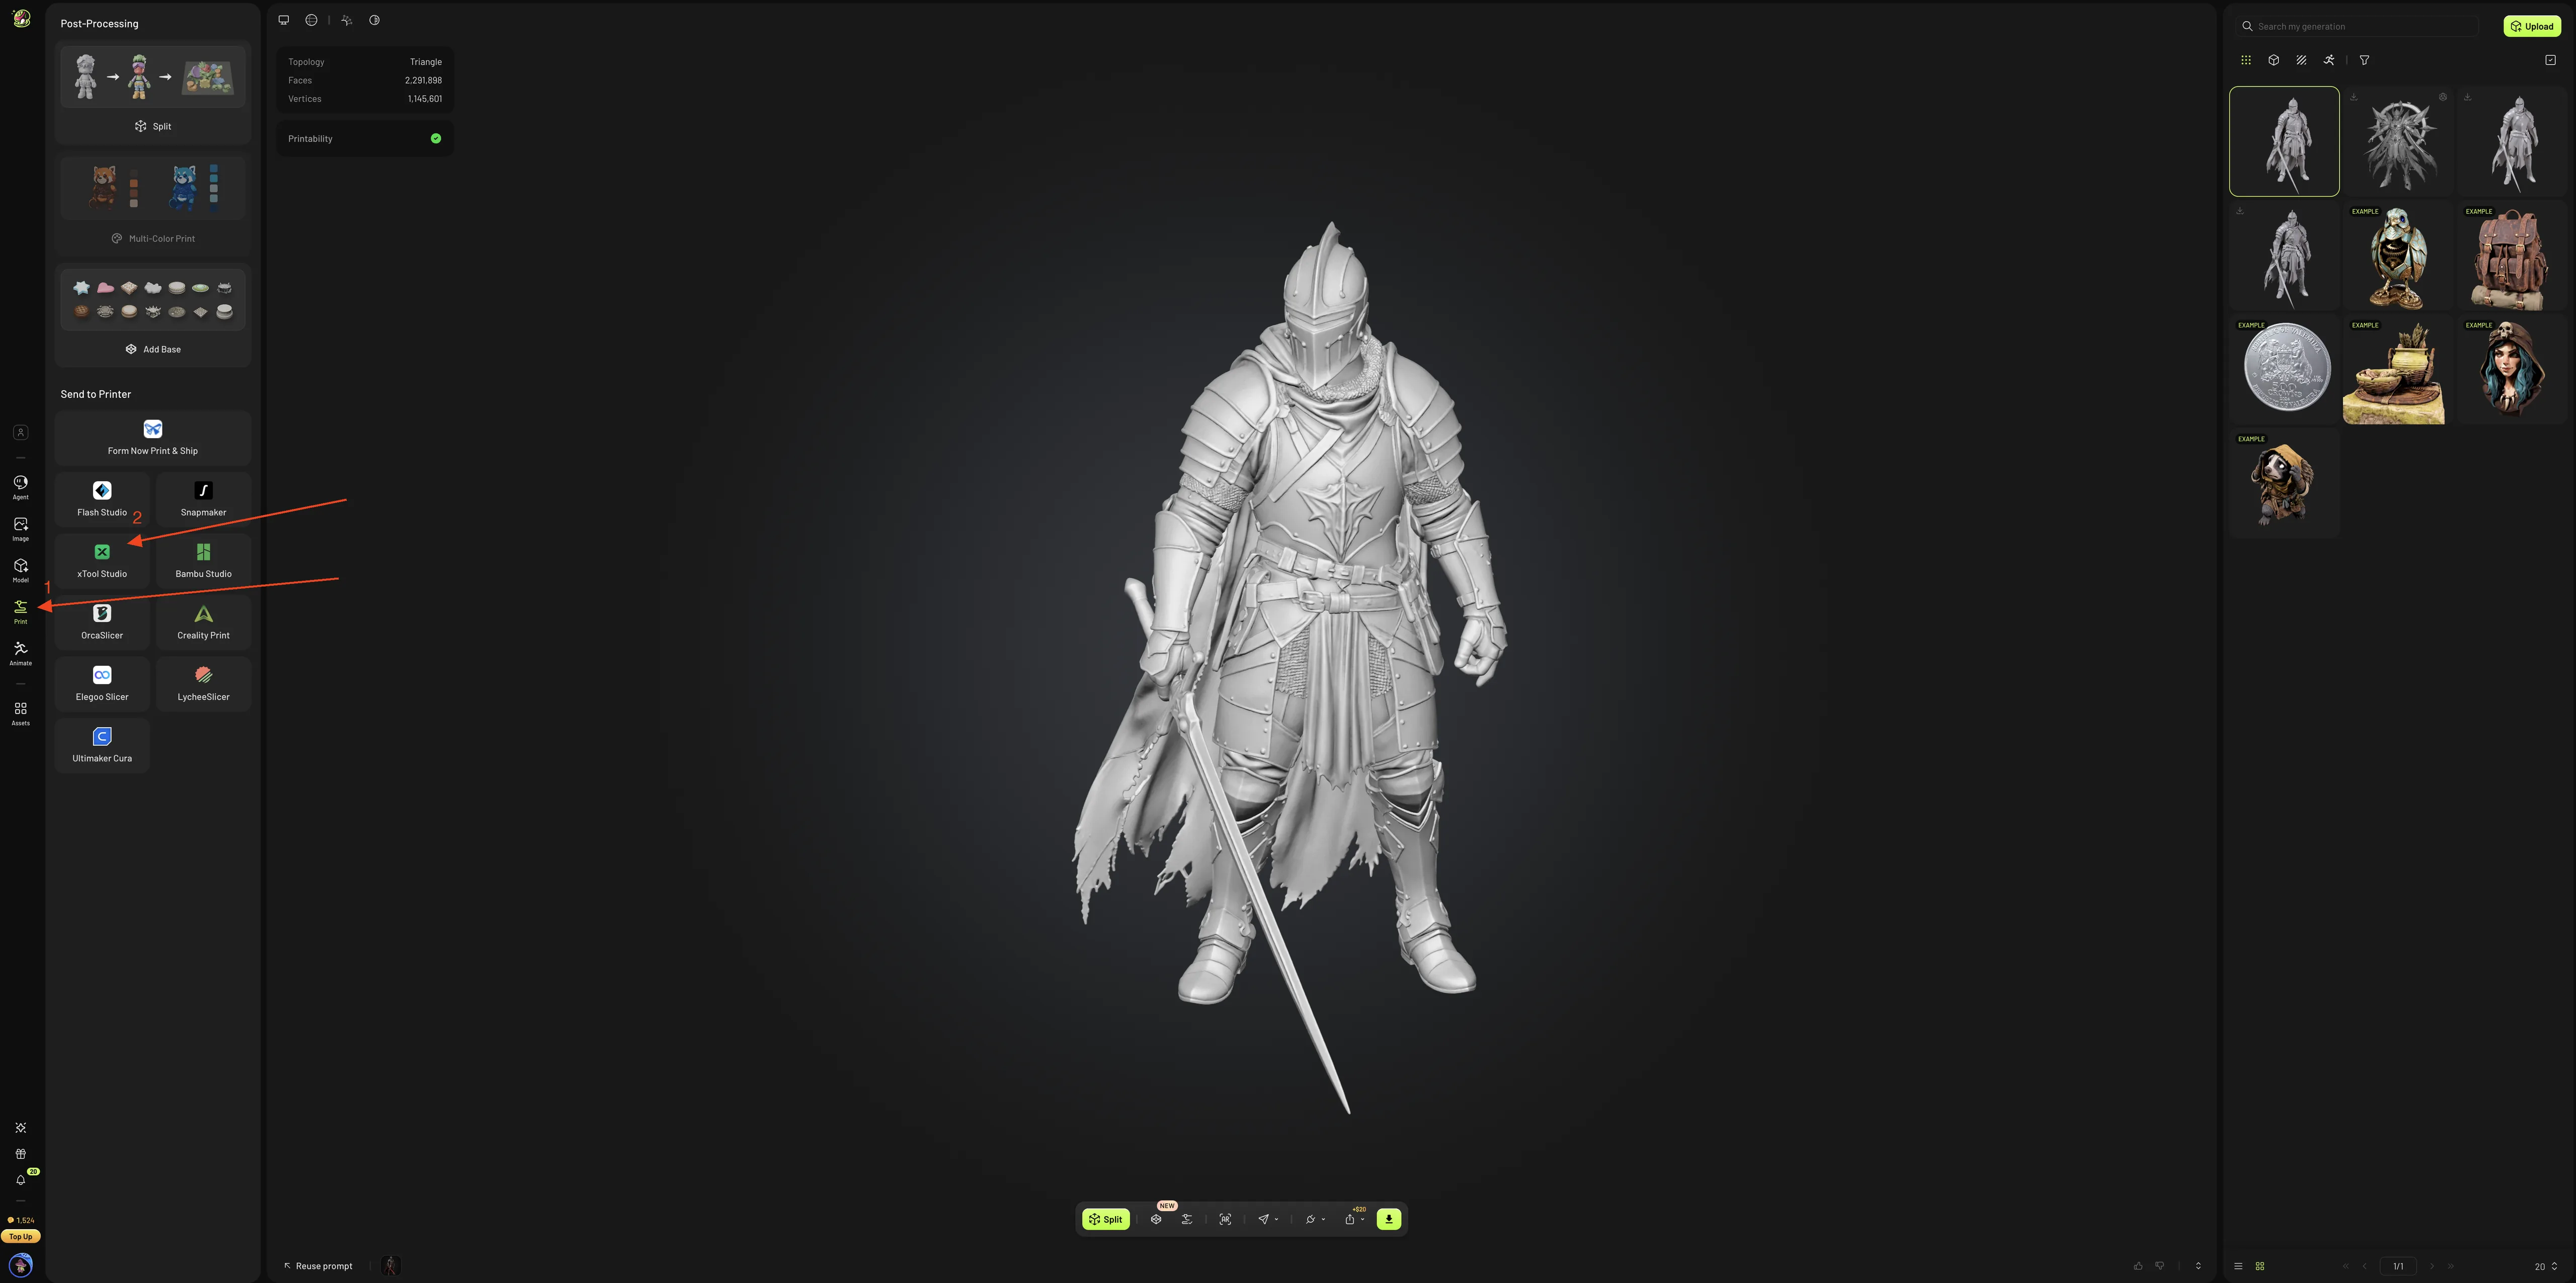
1. Open the Print menu
From the model you want in your MeshyAI workspace, click the Print menu and select Send to xTool Studio.
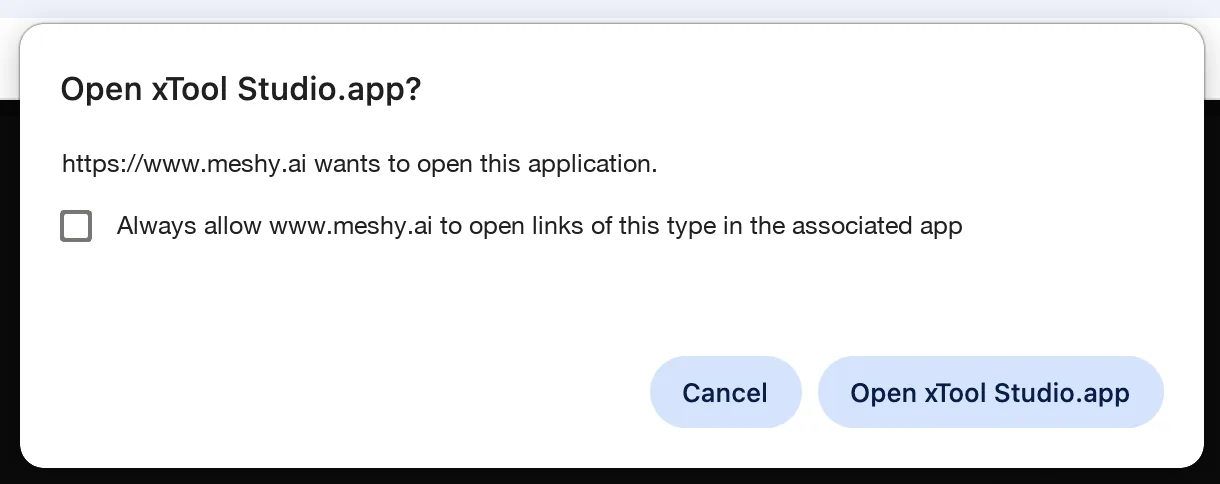
2. Confirm the browser prompt
After a short loading period, the browser will pop up asking you to allow www.meshy.ai to open links of this type in the associated app. Tick Always allow if you don't want to be asked again, then click Open xTool Studio.
3. Model loads in xTool Studio
xTool Studio will launch automatically, open a new 3D project, and download and import your model into it.
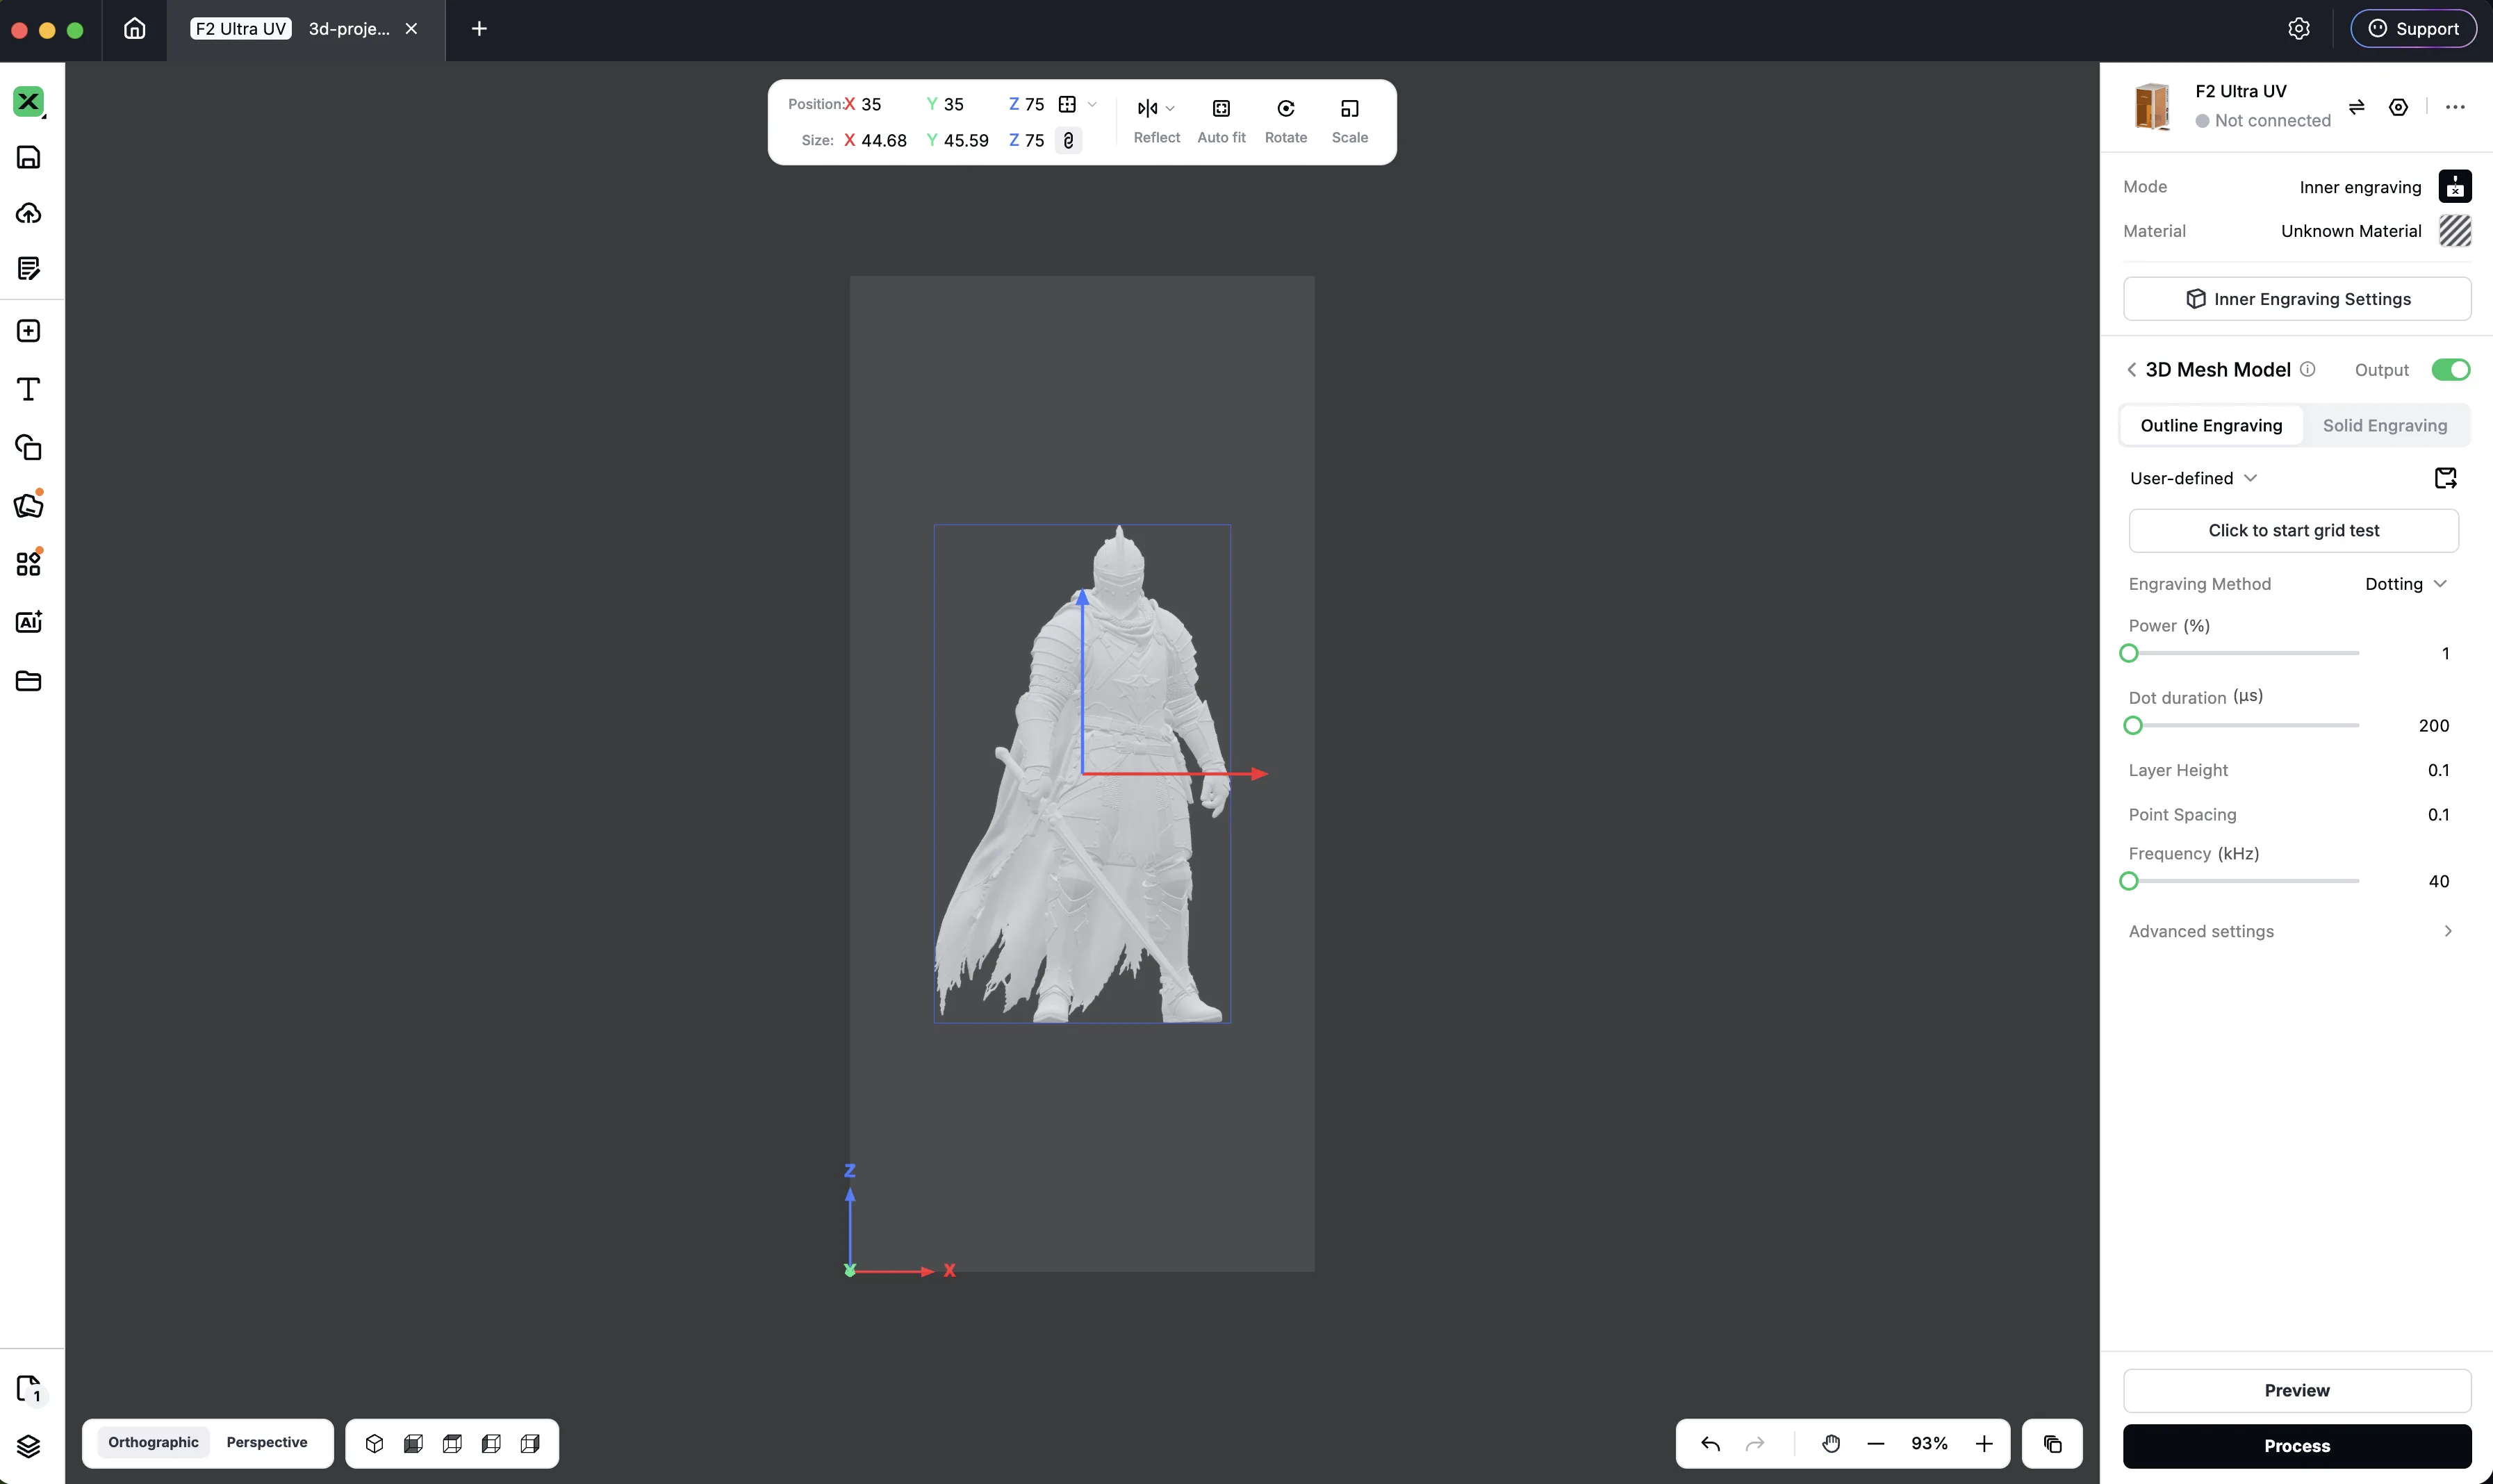
Very detailed models can take a while to download, and xTool Studio may offer to simplify them before import. If the model does not fit the material you have selected, xTool Studio will ask whether to scale it to fit.
More Ways to Send
Any 3D model you generate in your workspace — and any community-published model — can be sent to xTool Studio from multiple surfaces:
-
From a model's overview page, use the entry in the action bar.
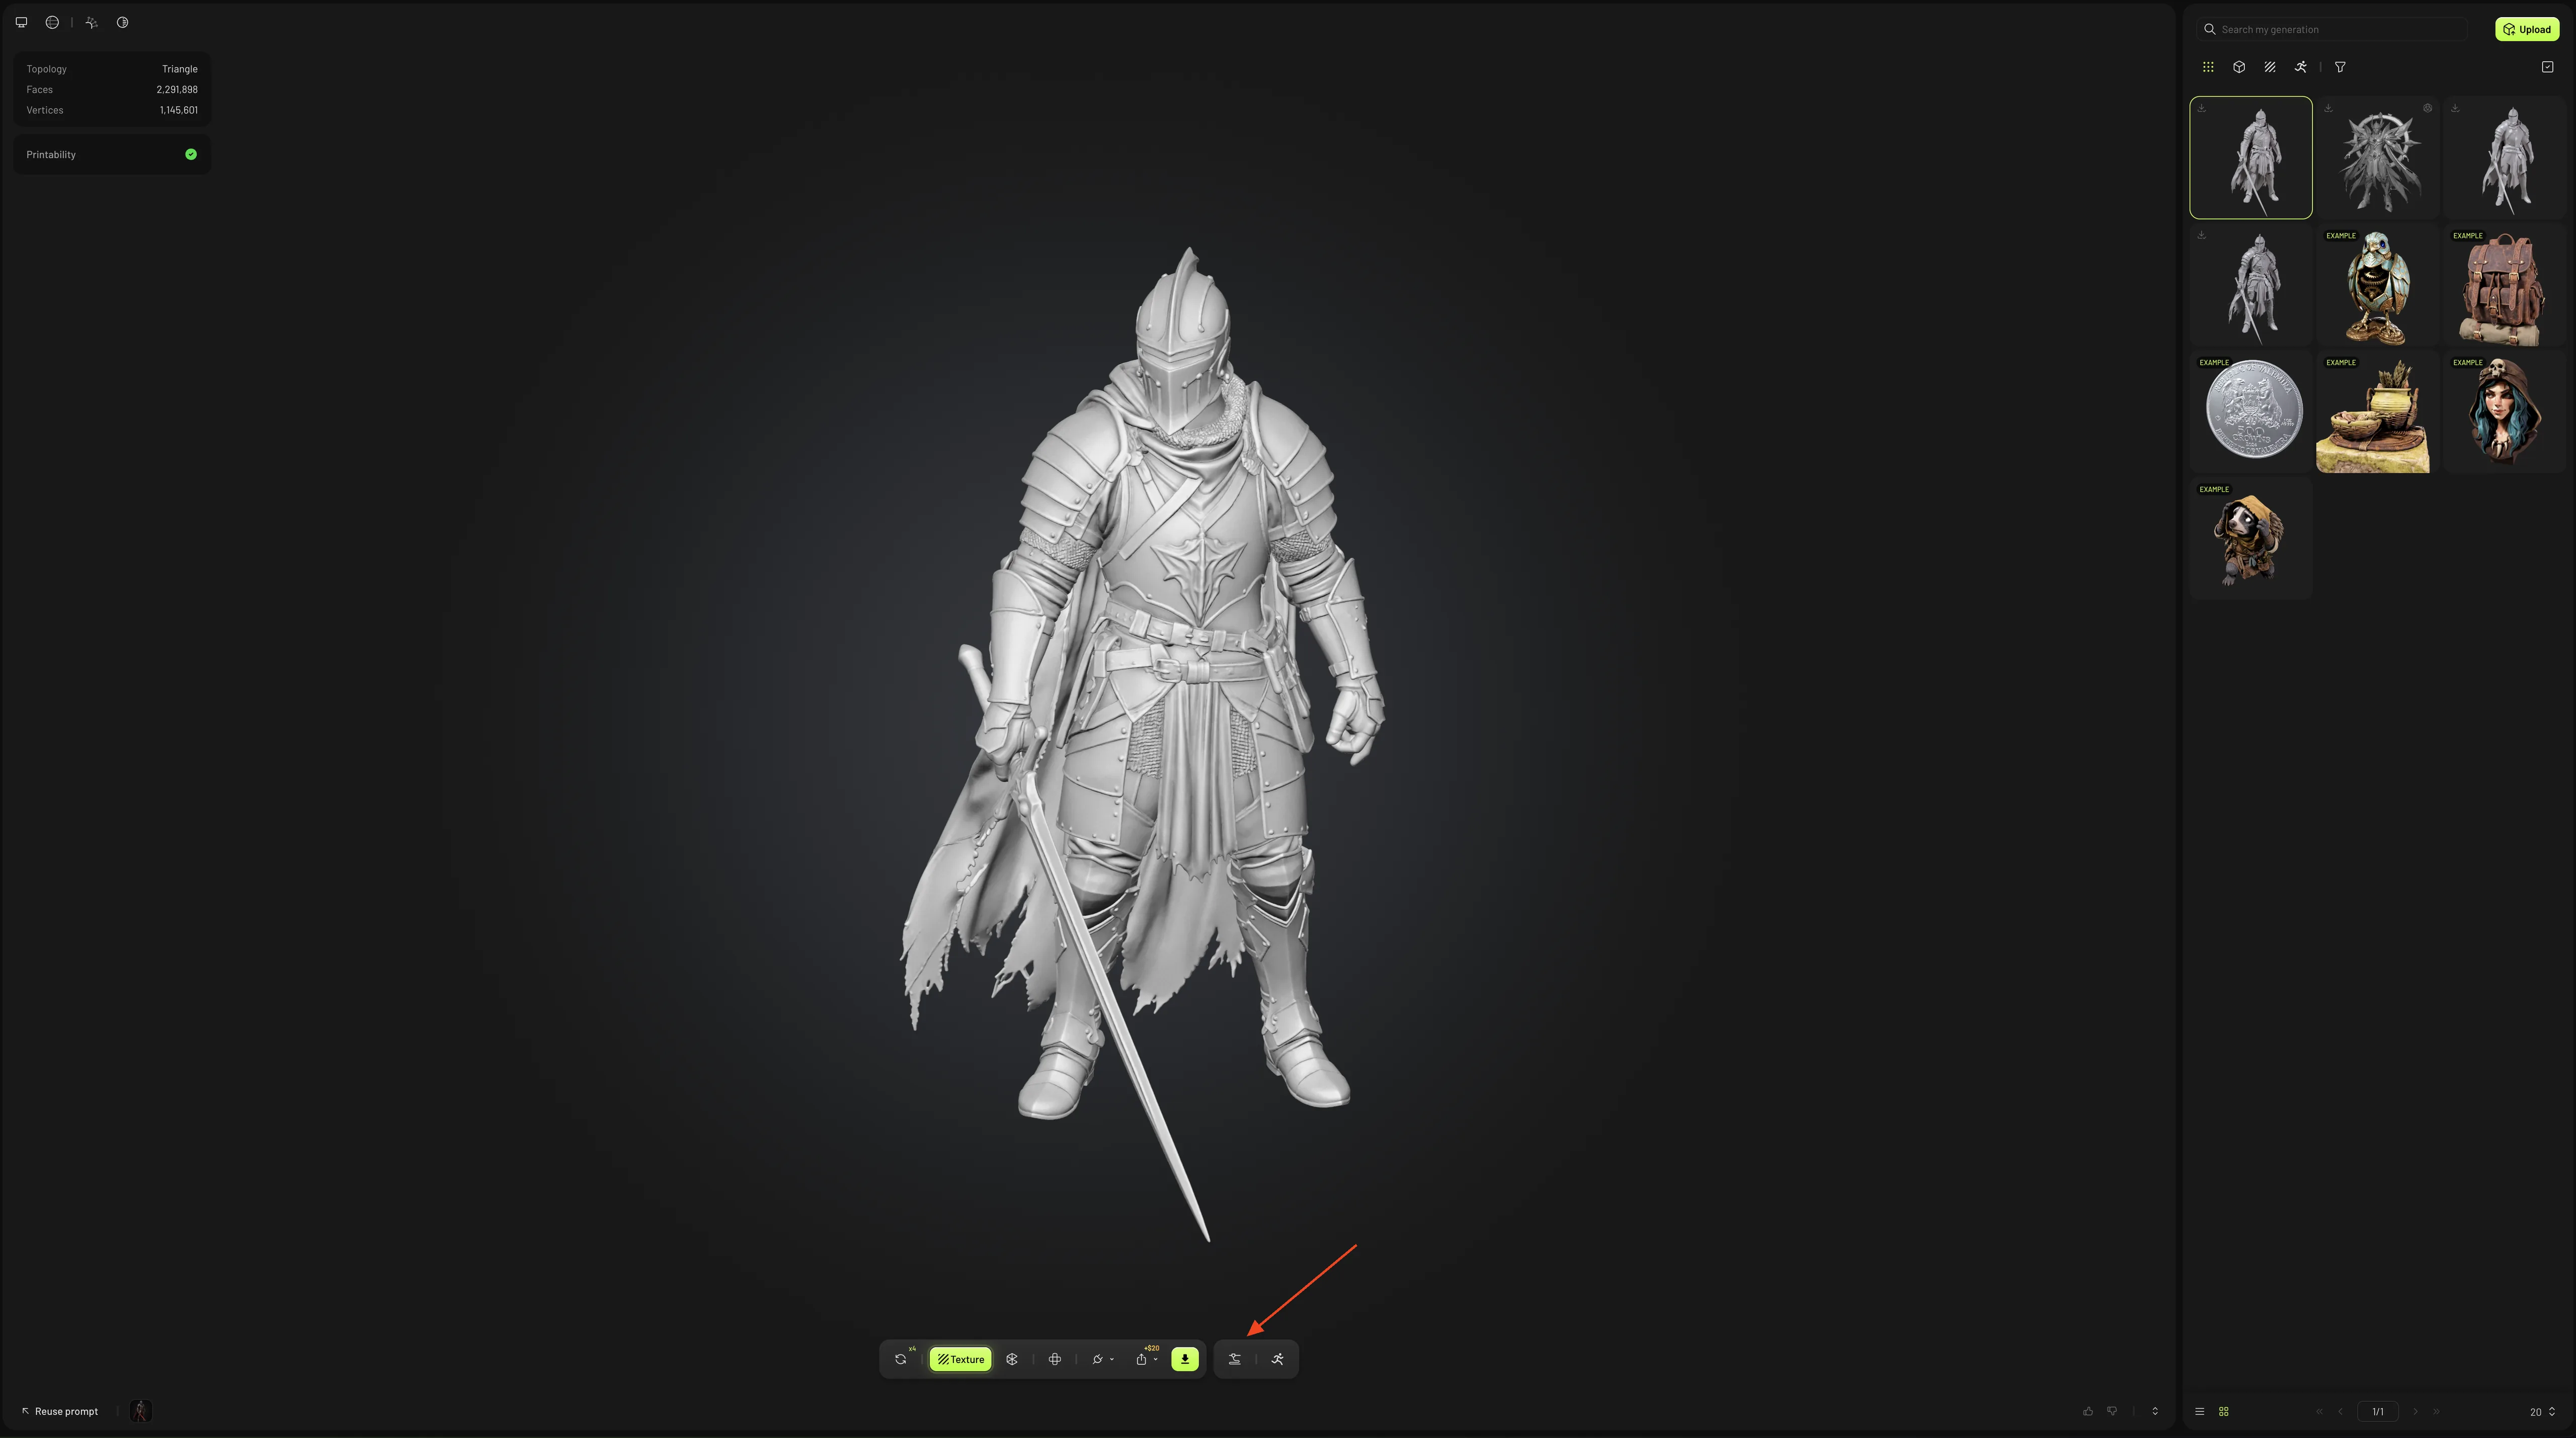
-
From the model's dedicated Print panel, pick xTool Studio in the printer grid.
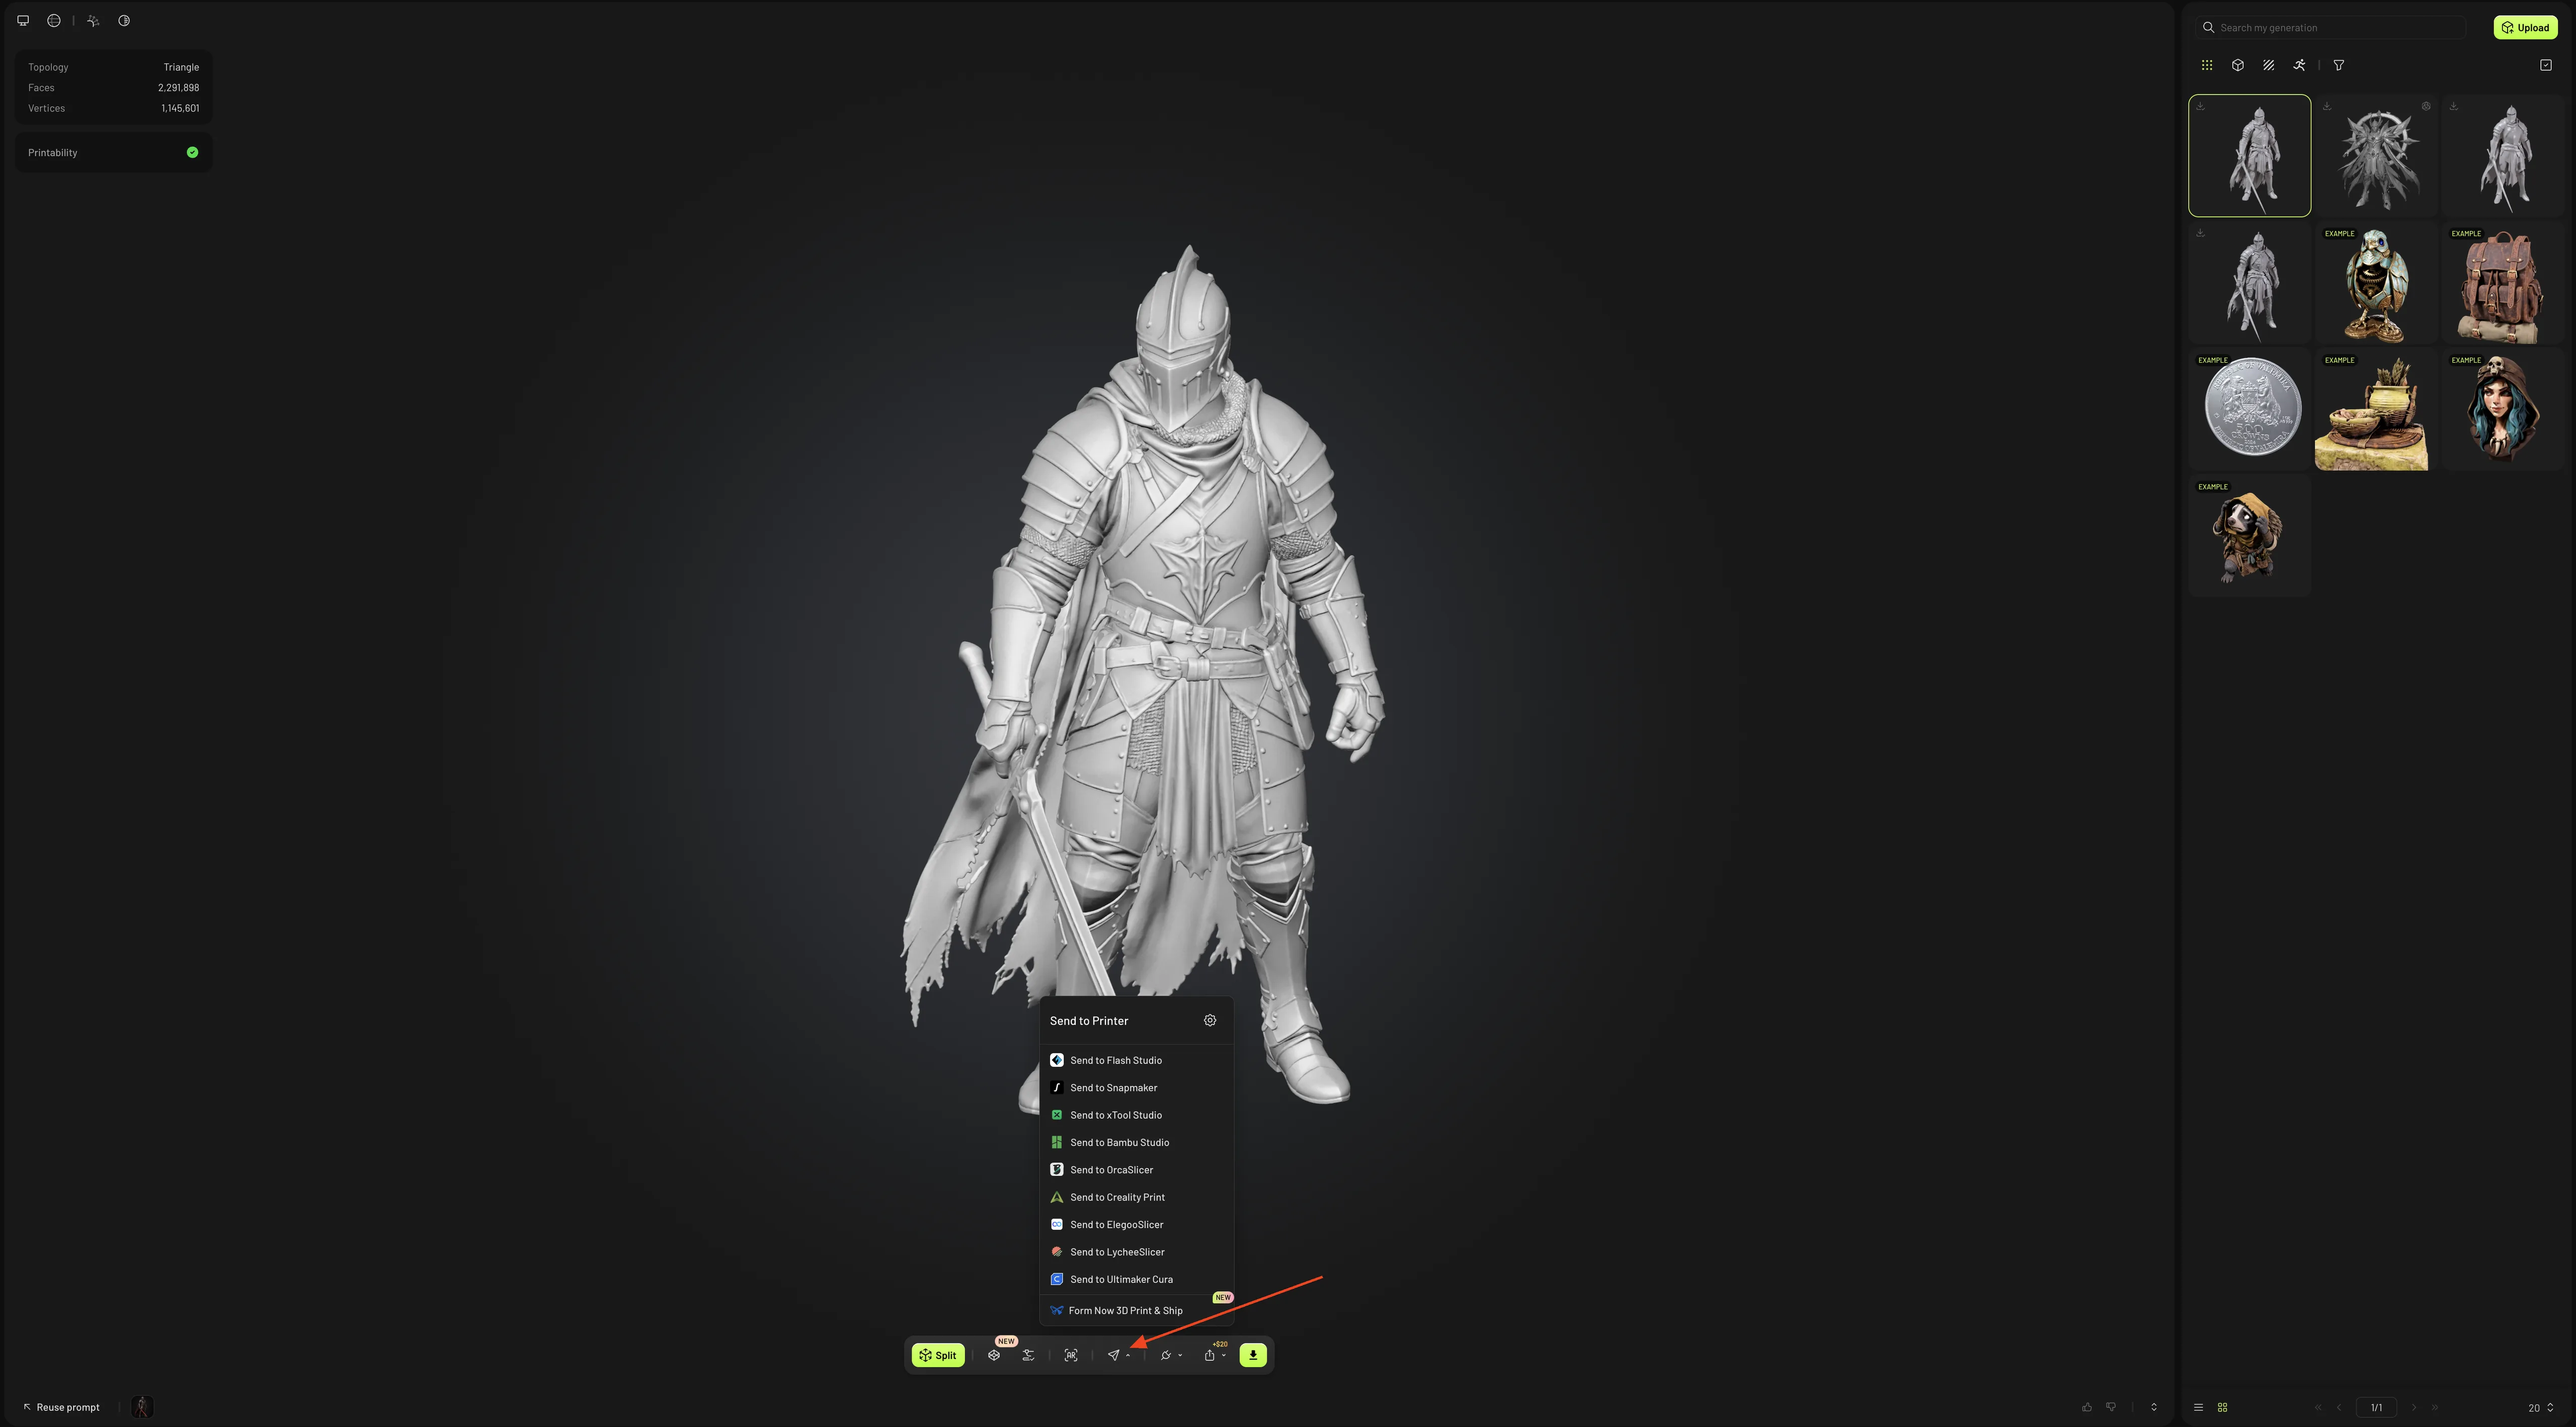
Likewise, models published by other users in the MeshyAI community are fully supported and can also be seamlessly sent to xTool Studio.