Bridge to Unity
Learn how to use the DCC Bridge to seamlessly import Meshy 3D models directly into your Unity scenes.
Meshy now supports Unity bridging directly from the workspace. Pro members and above can send models to Unity following the steps below.
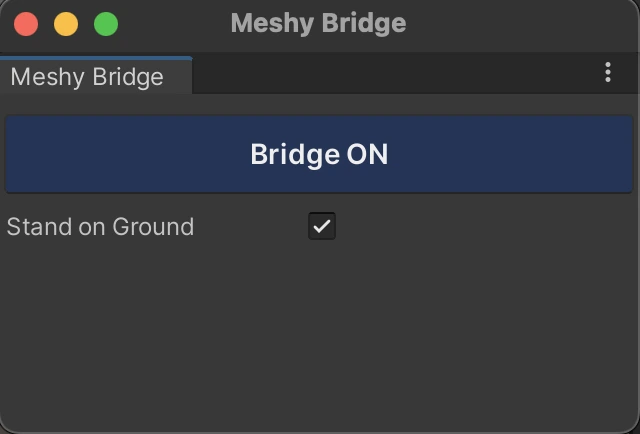
Run Bridge in Meshy-Unity Plugin
Click bridge on the Meshy drop-down menu to open the Meshy Bridge window. Click Run Bridge to initialize and start the bridge connection.
Sending Models to Unity
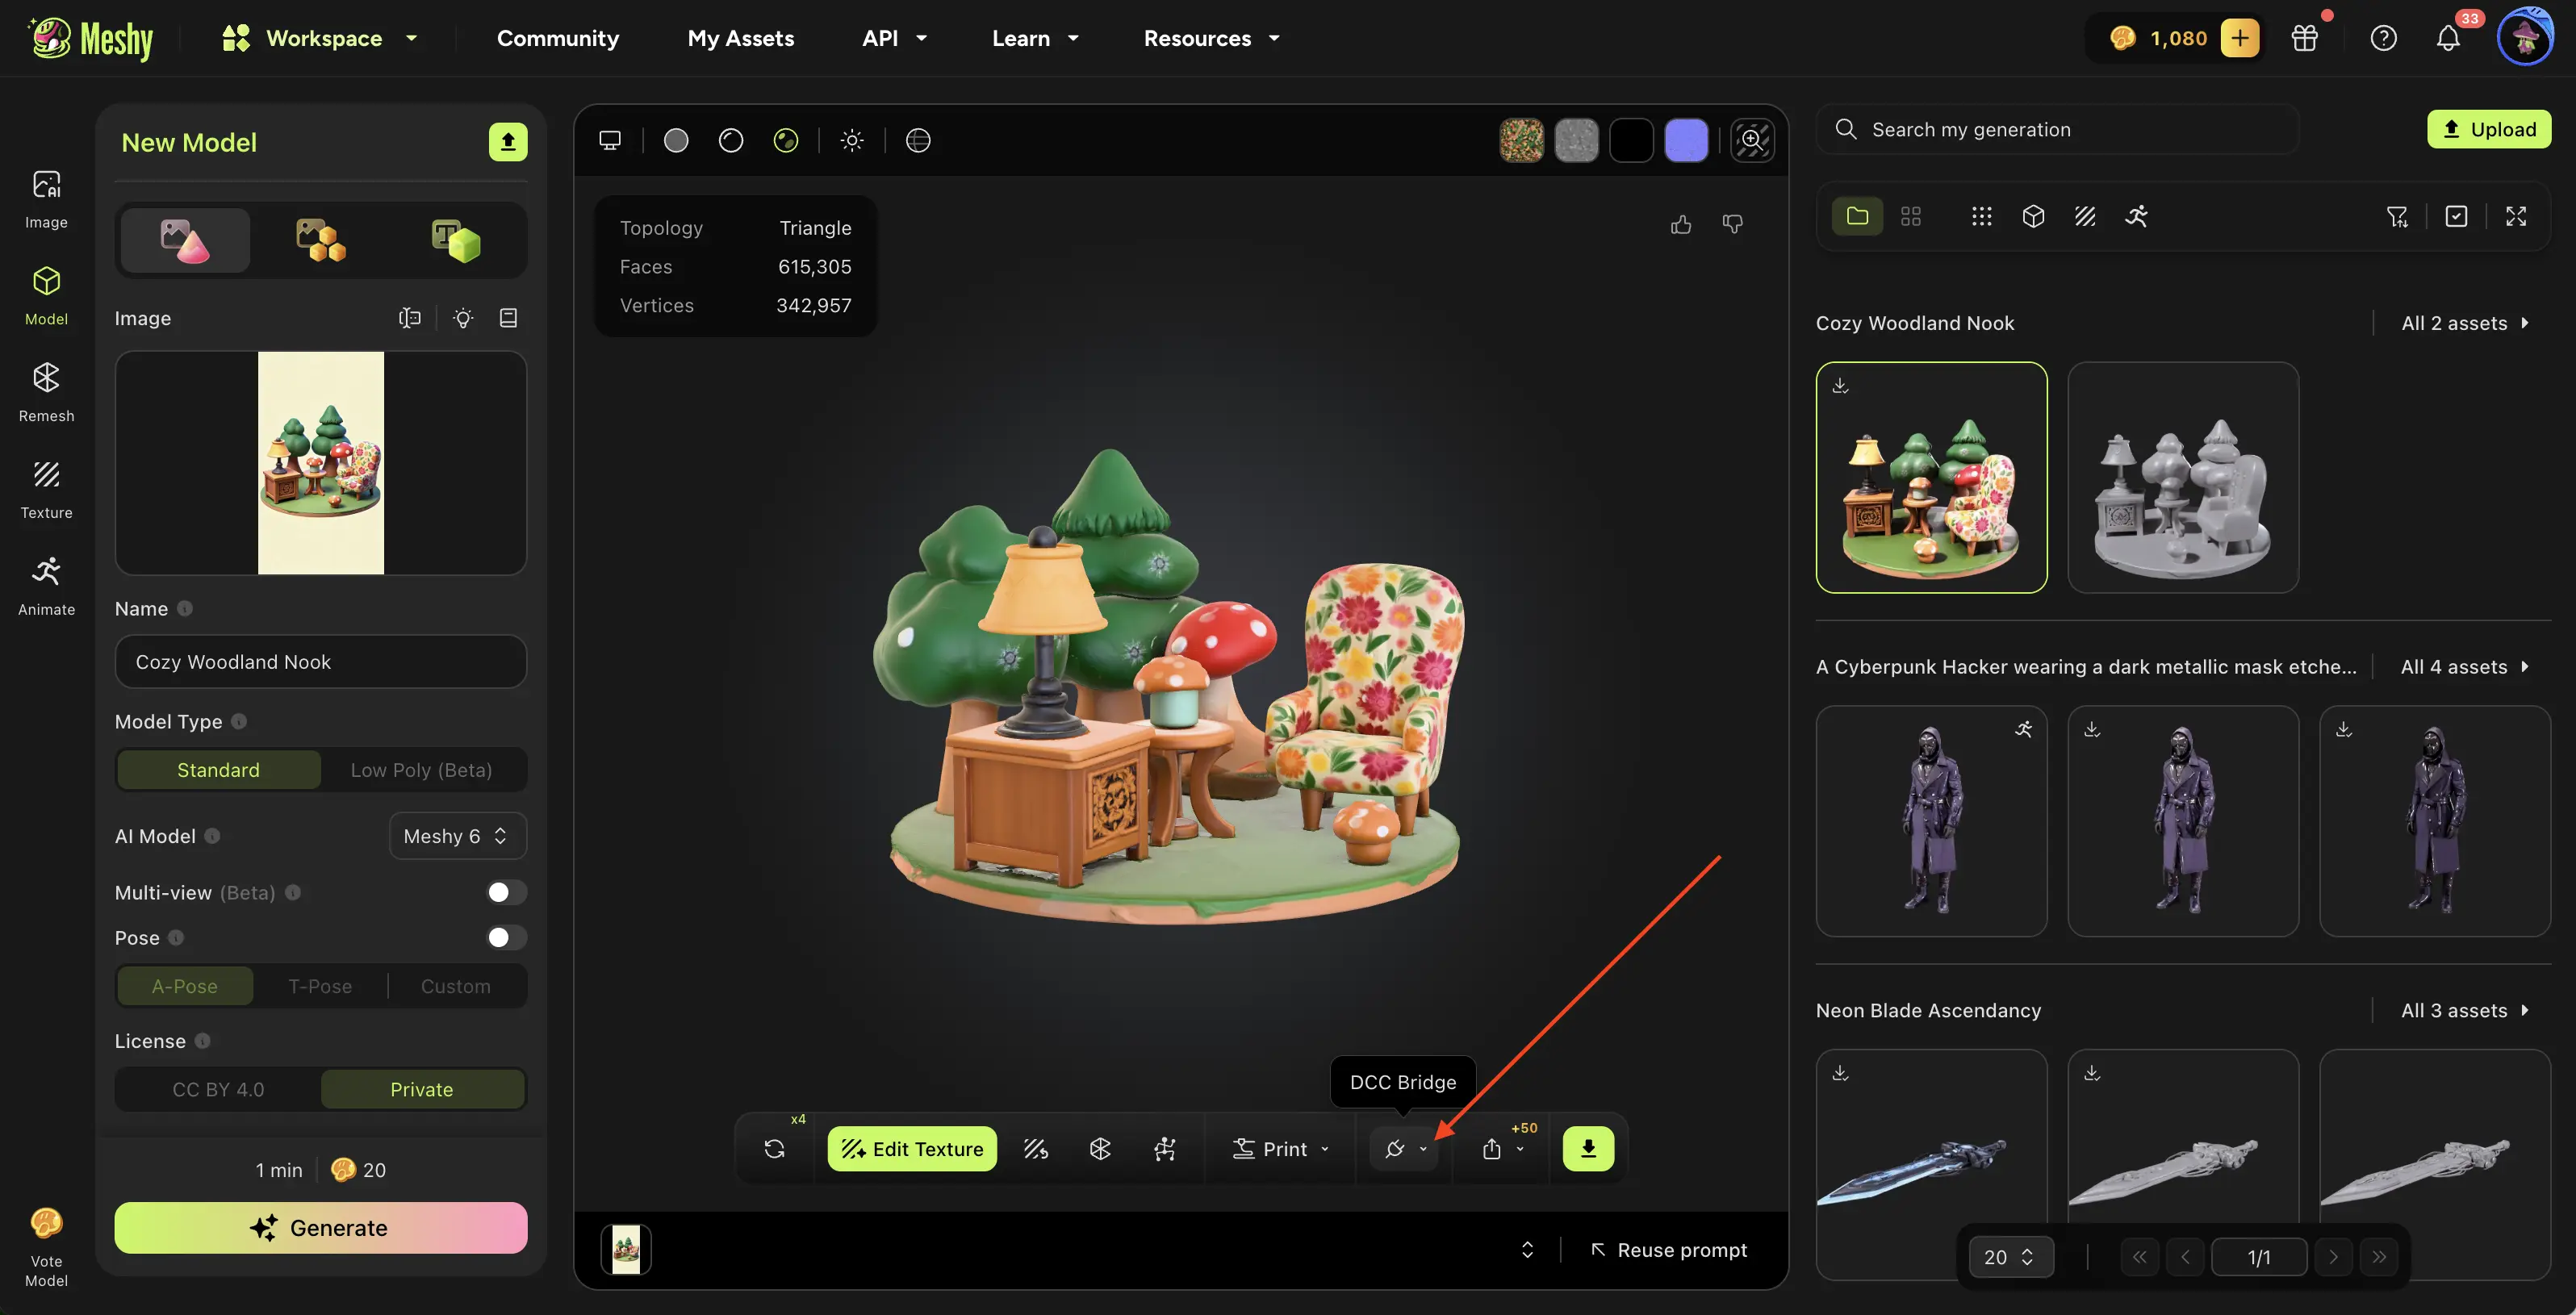
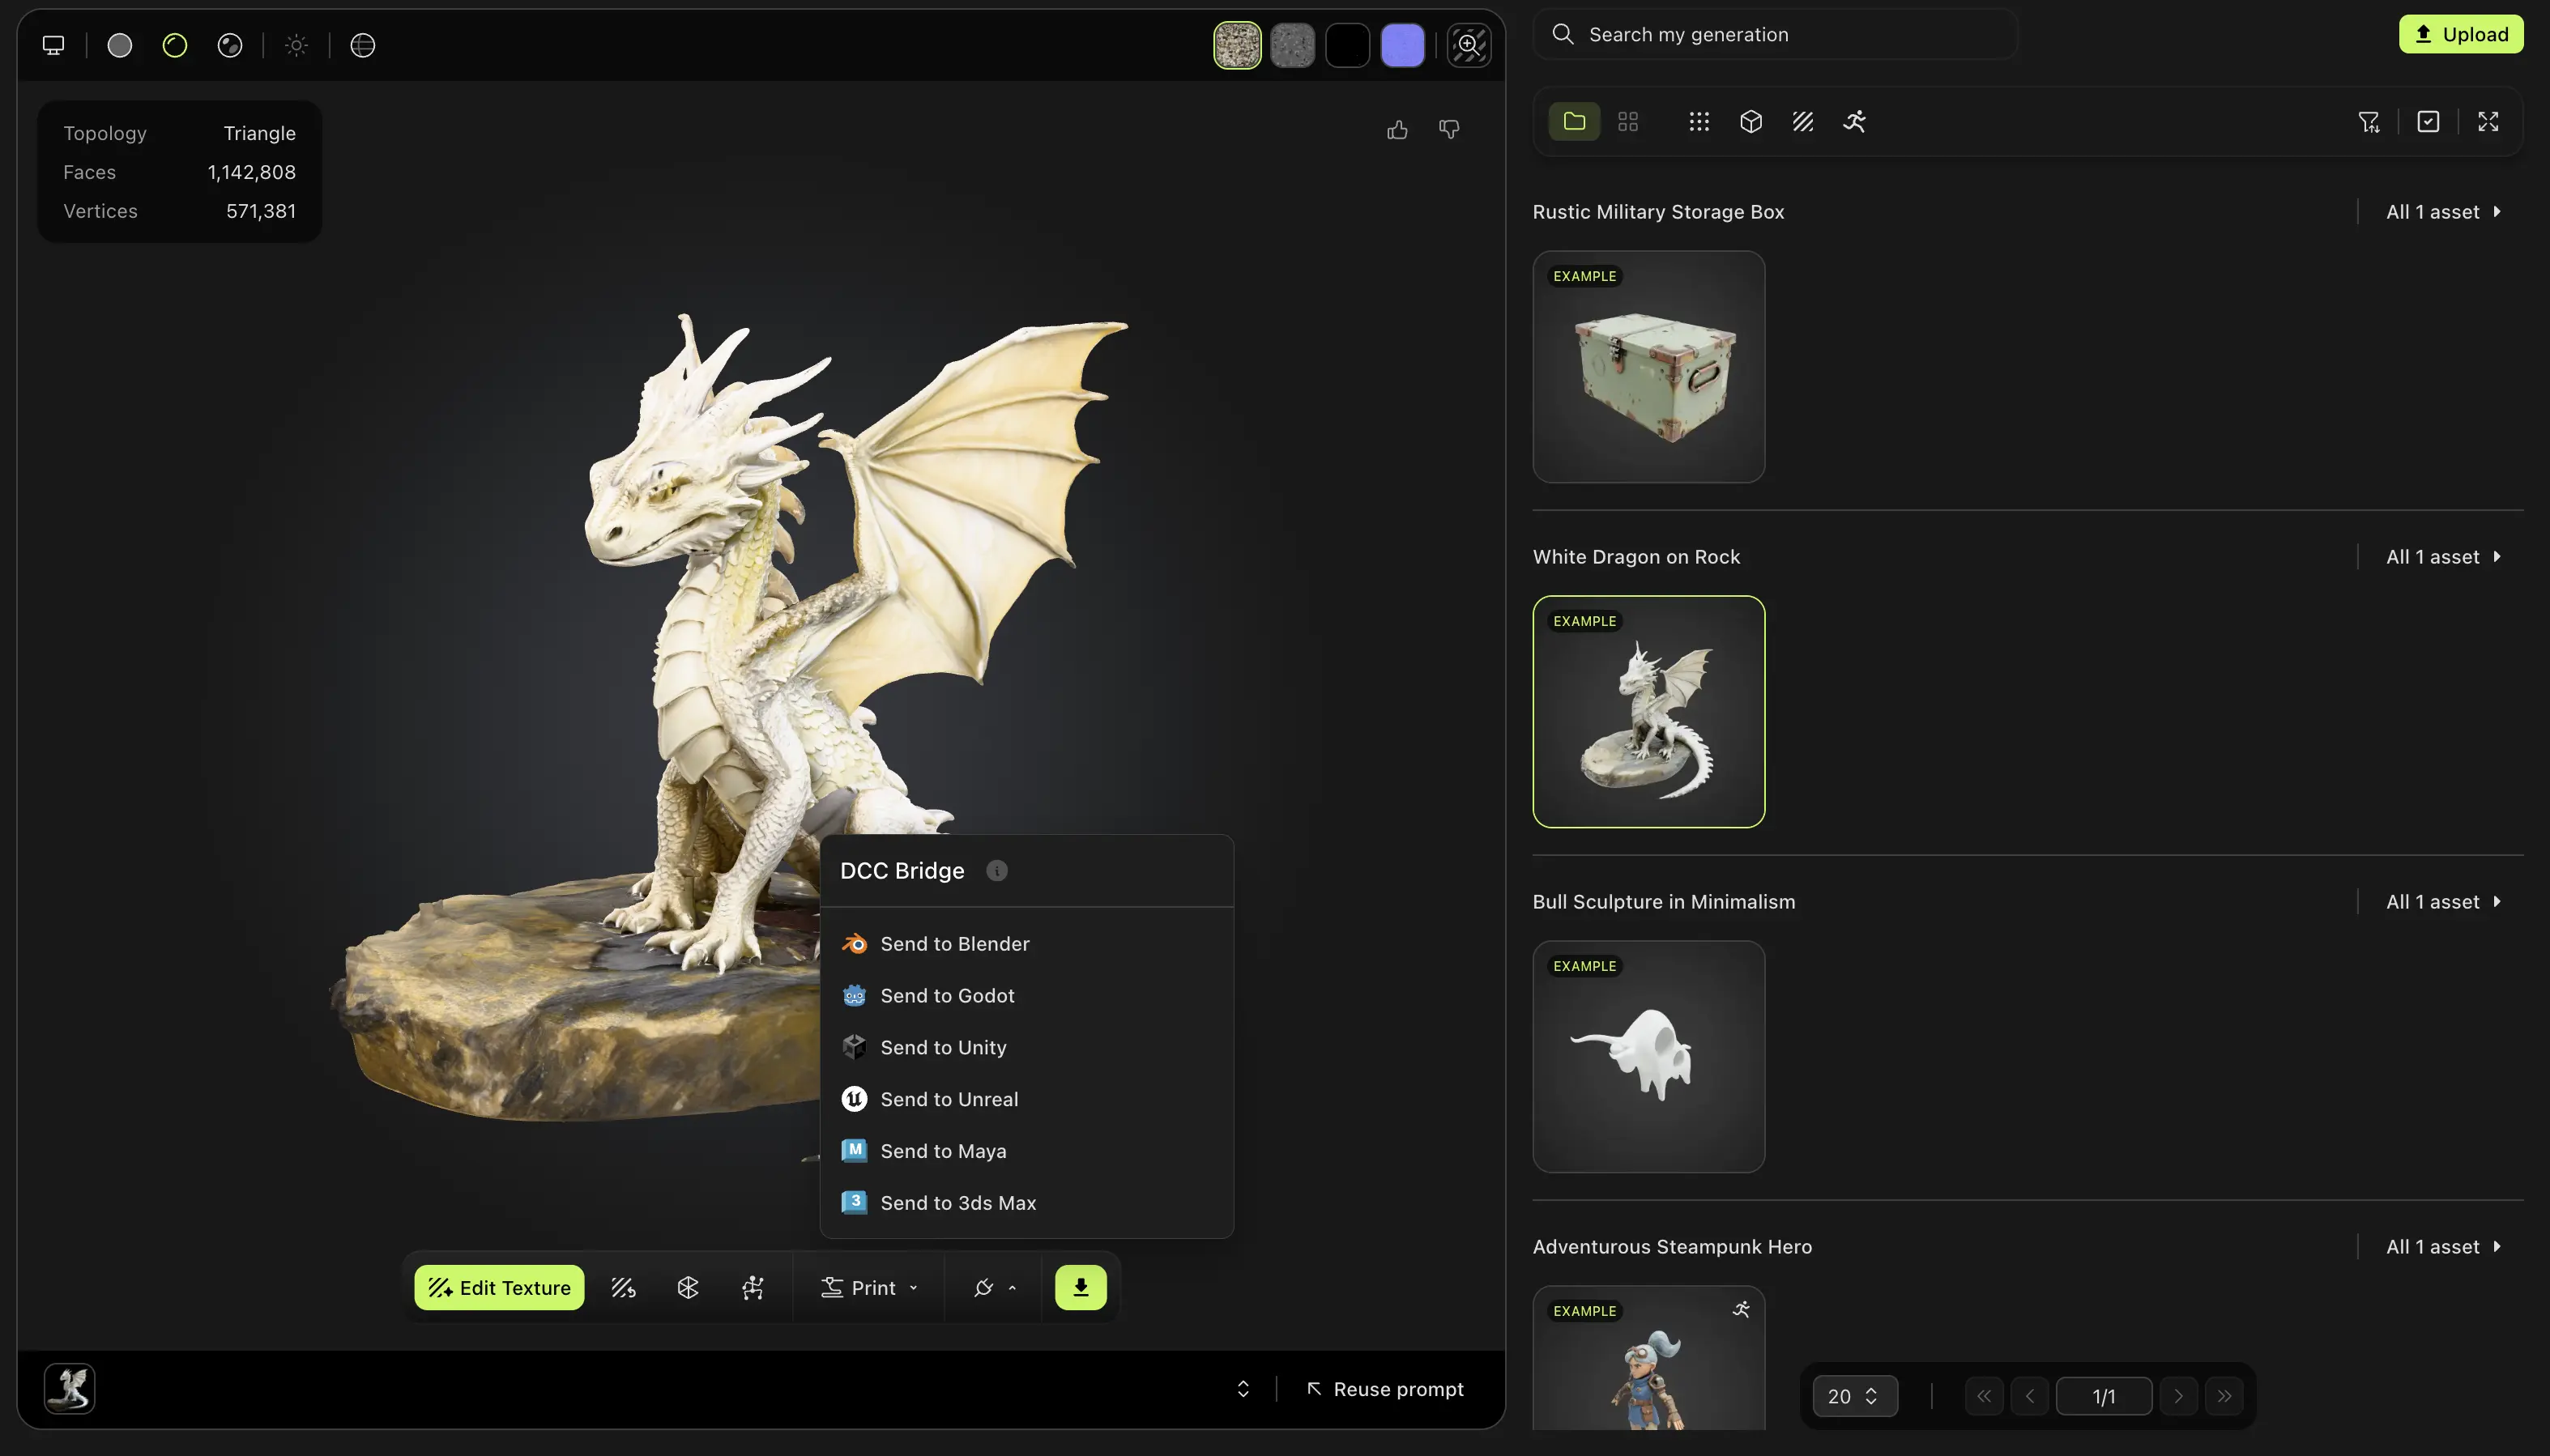
Navigate to the model you want in your MeshyAI workspace, click the DCC Bridge menu, and select Send to Unity.
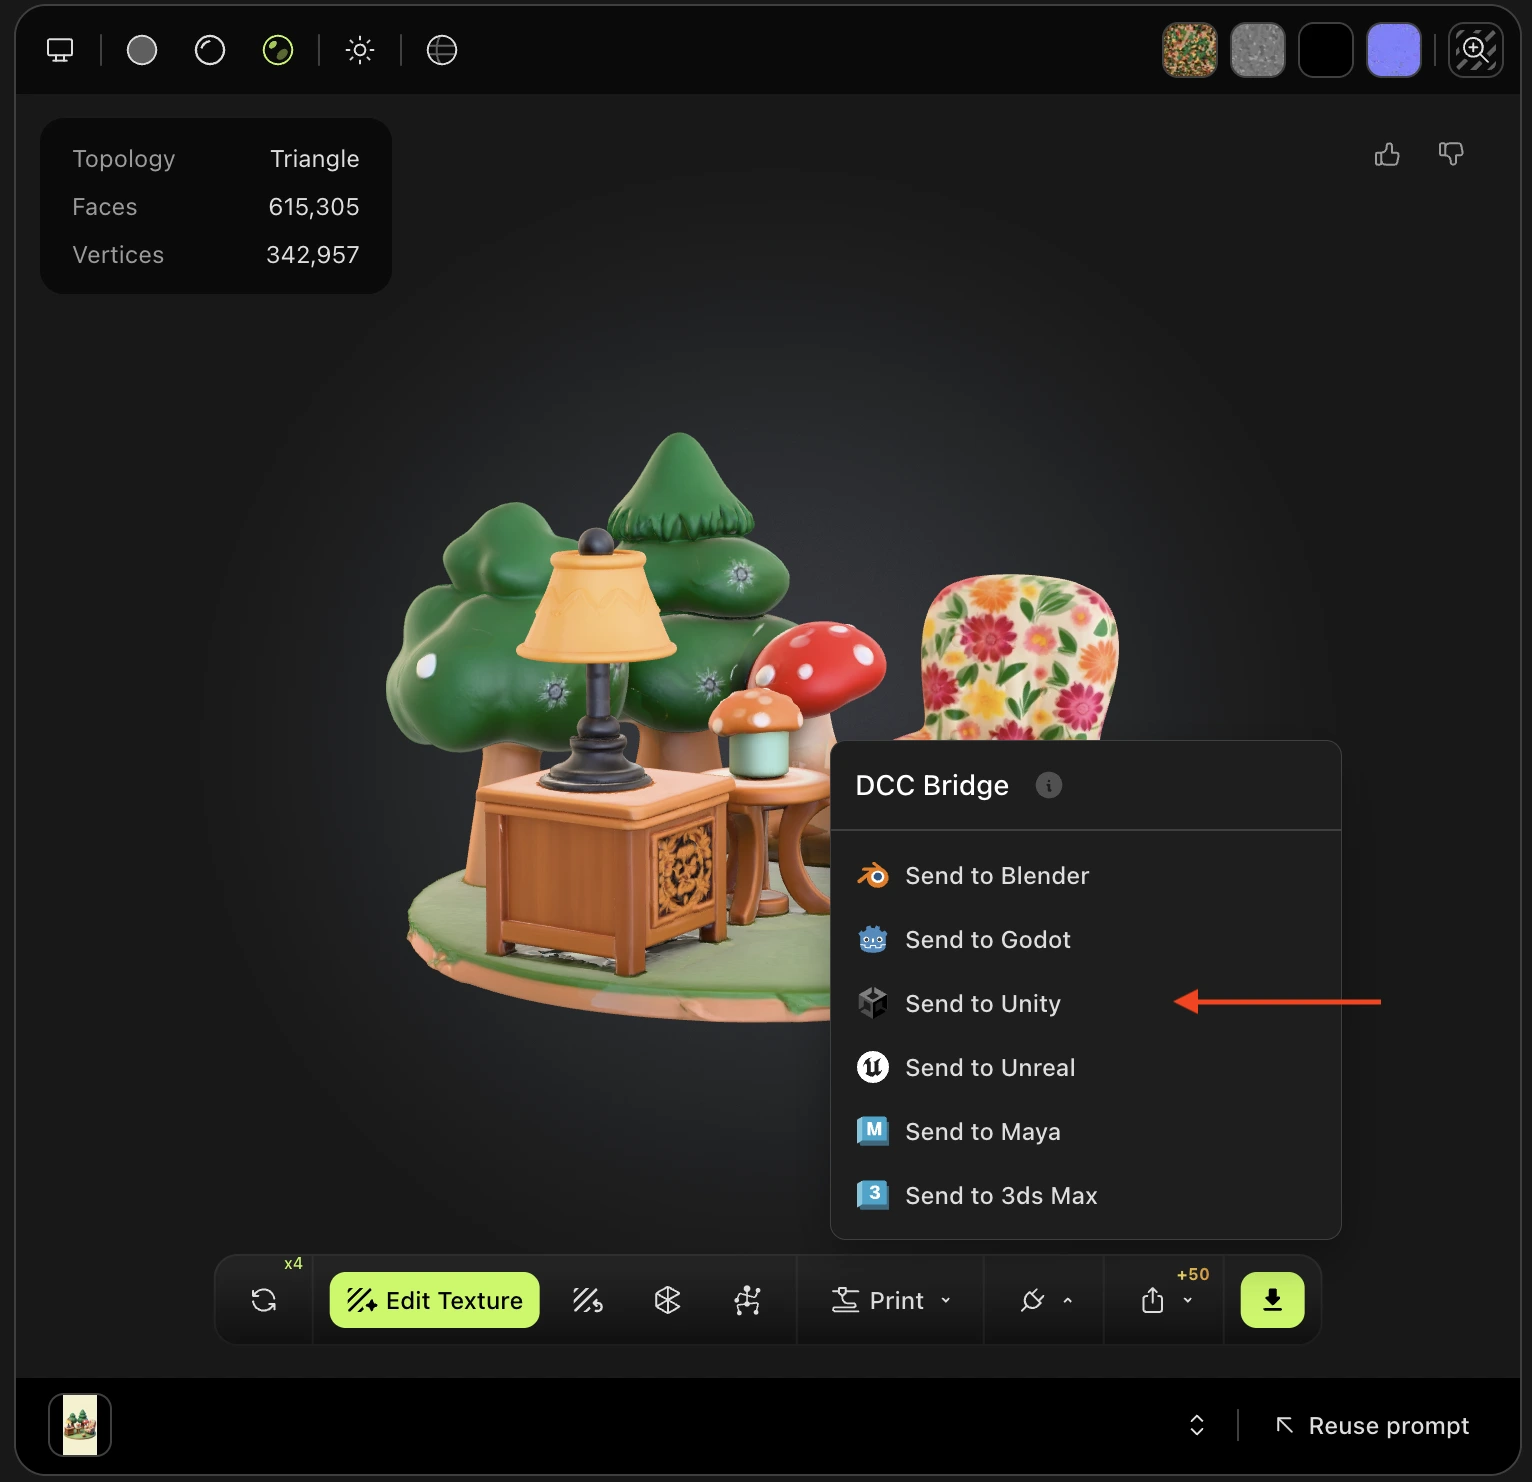
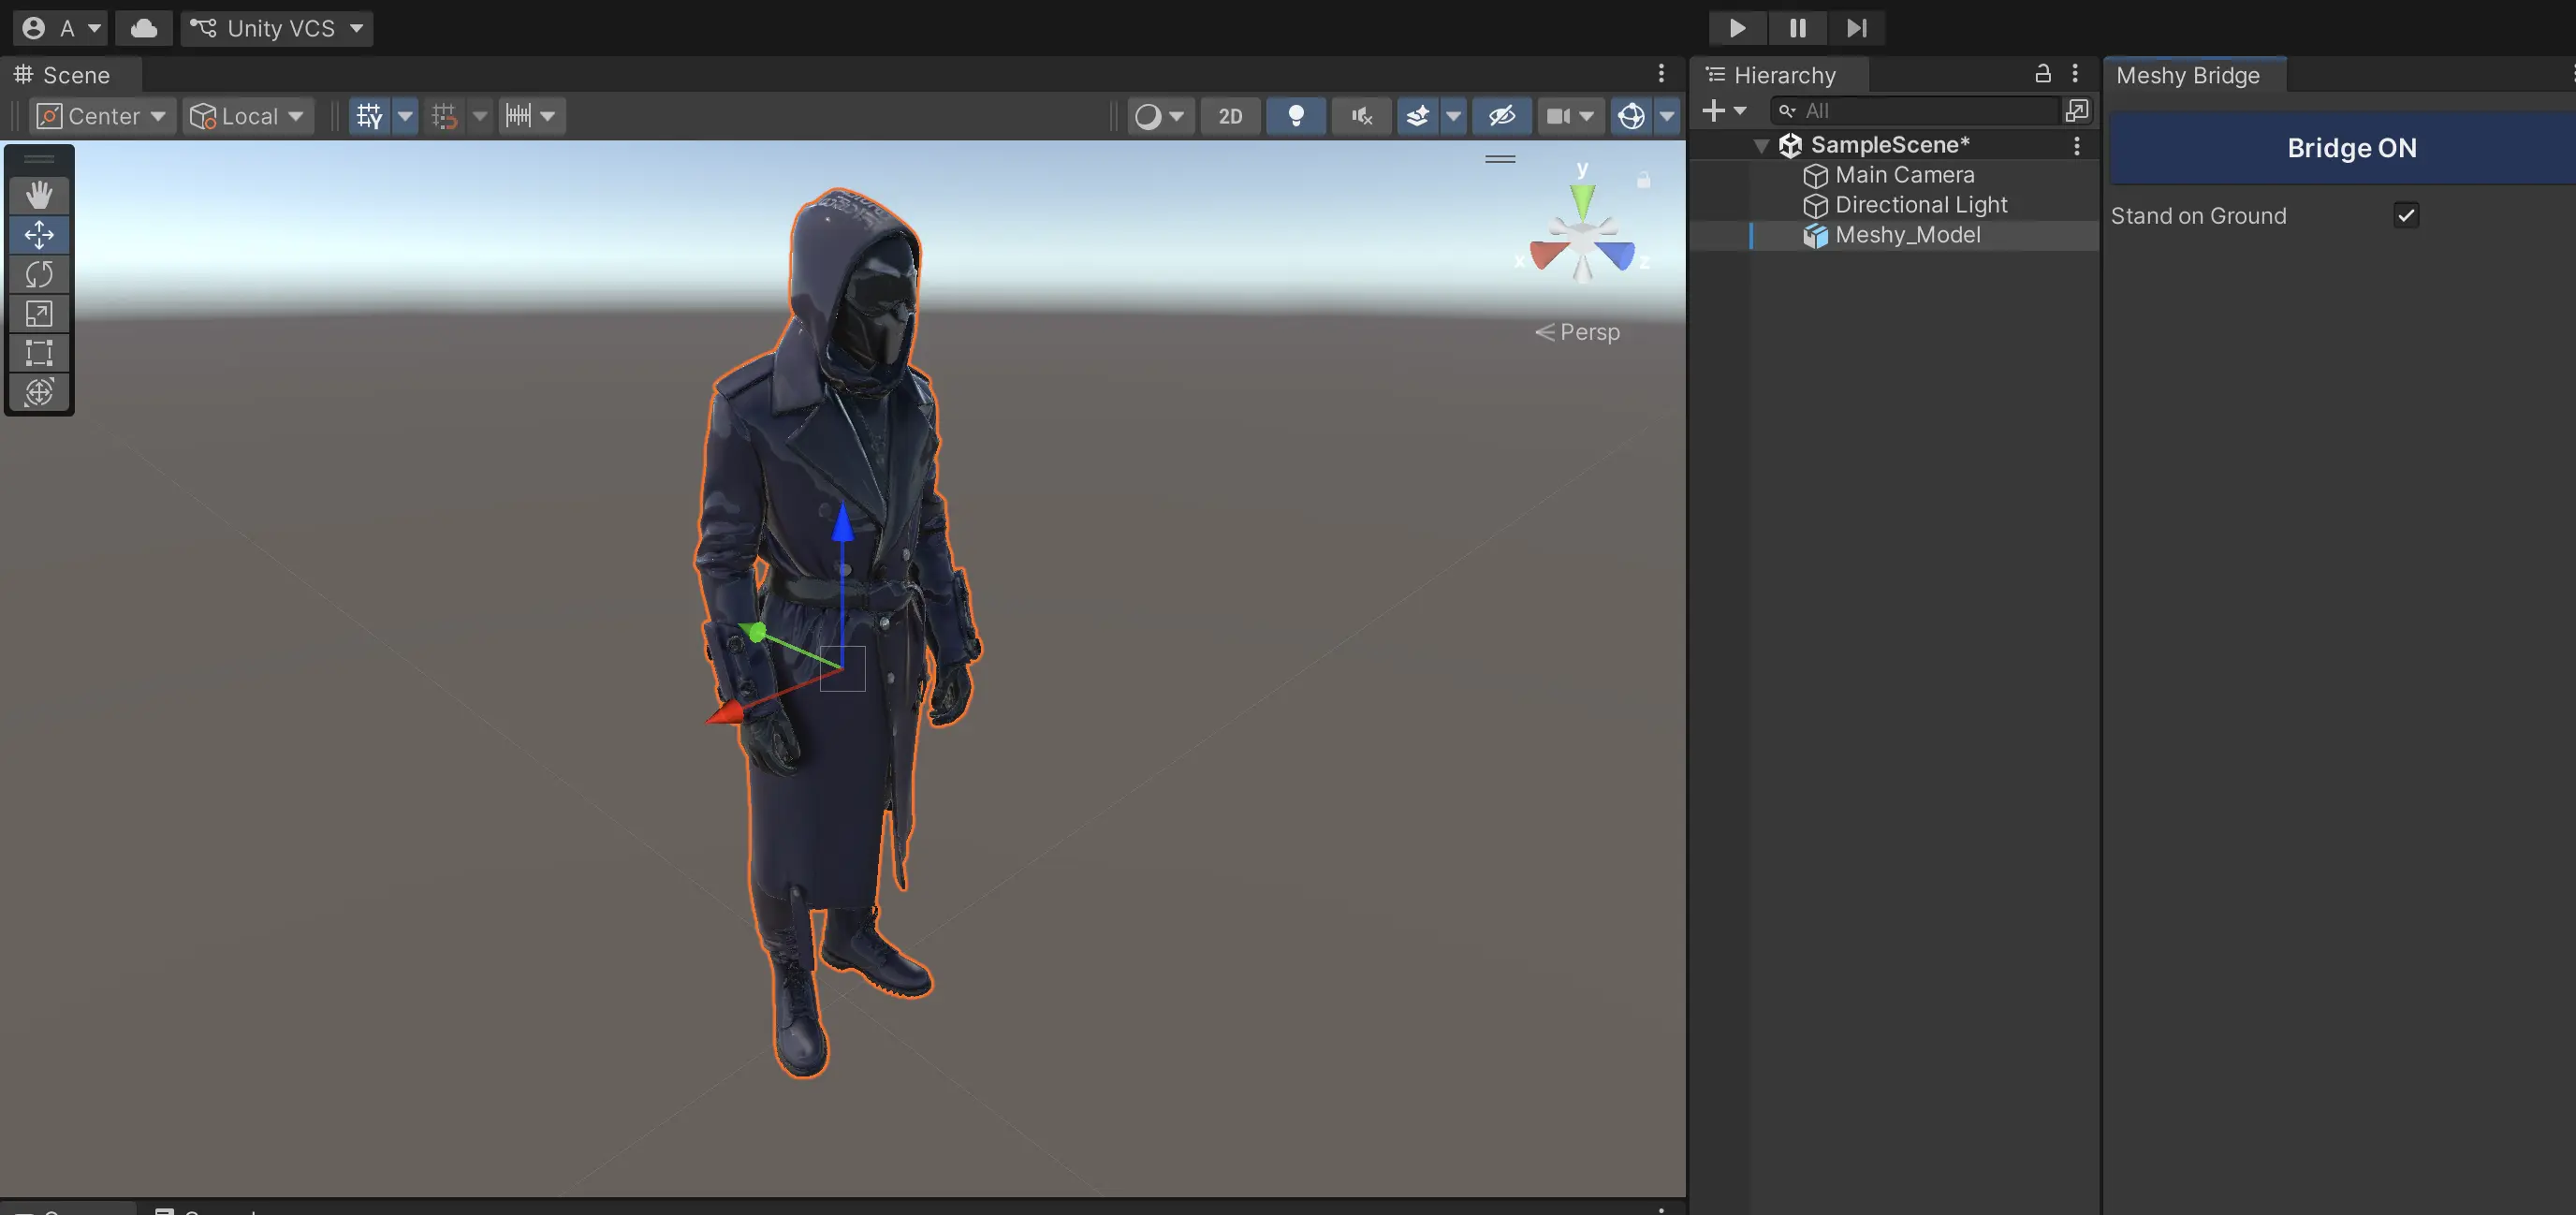
The model will be automatically downloaded and imported directly into your Unity scene.
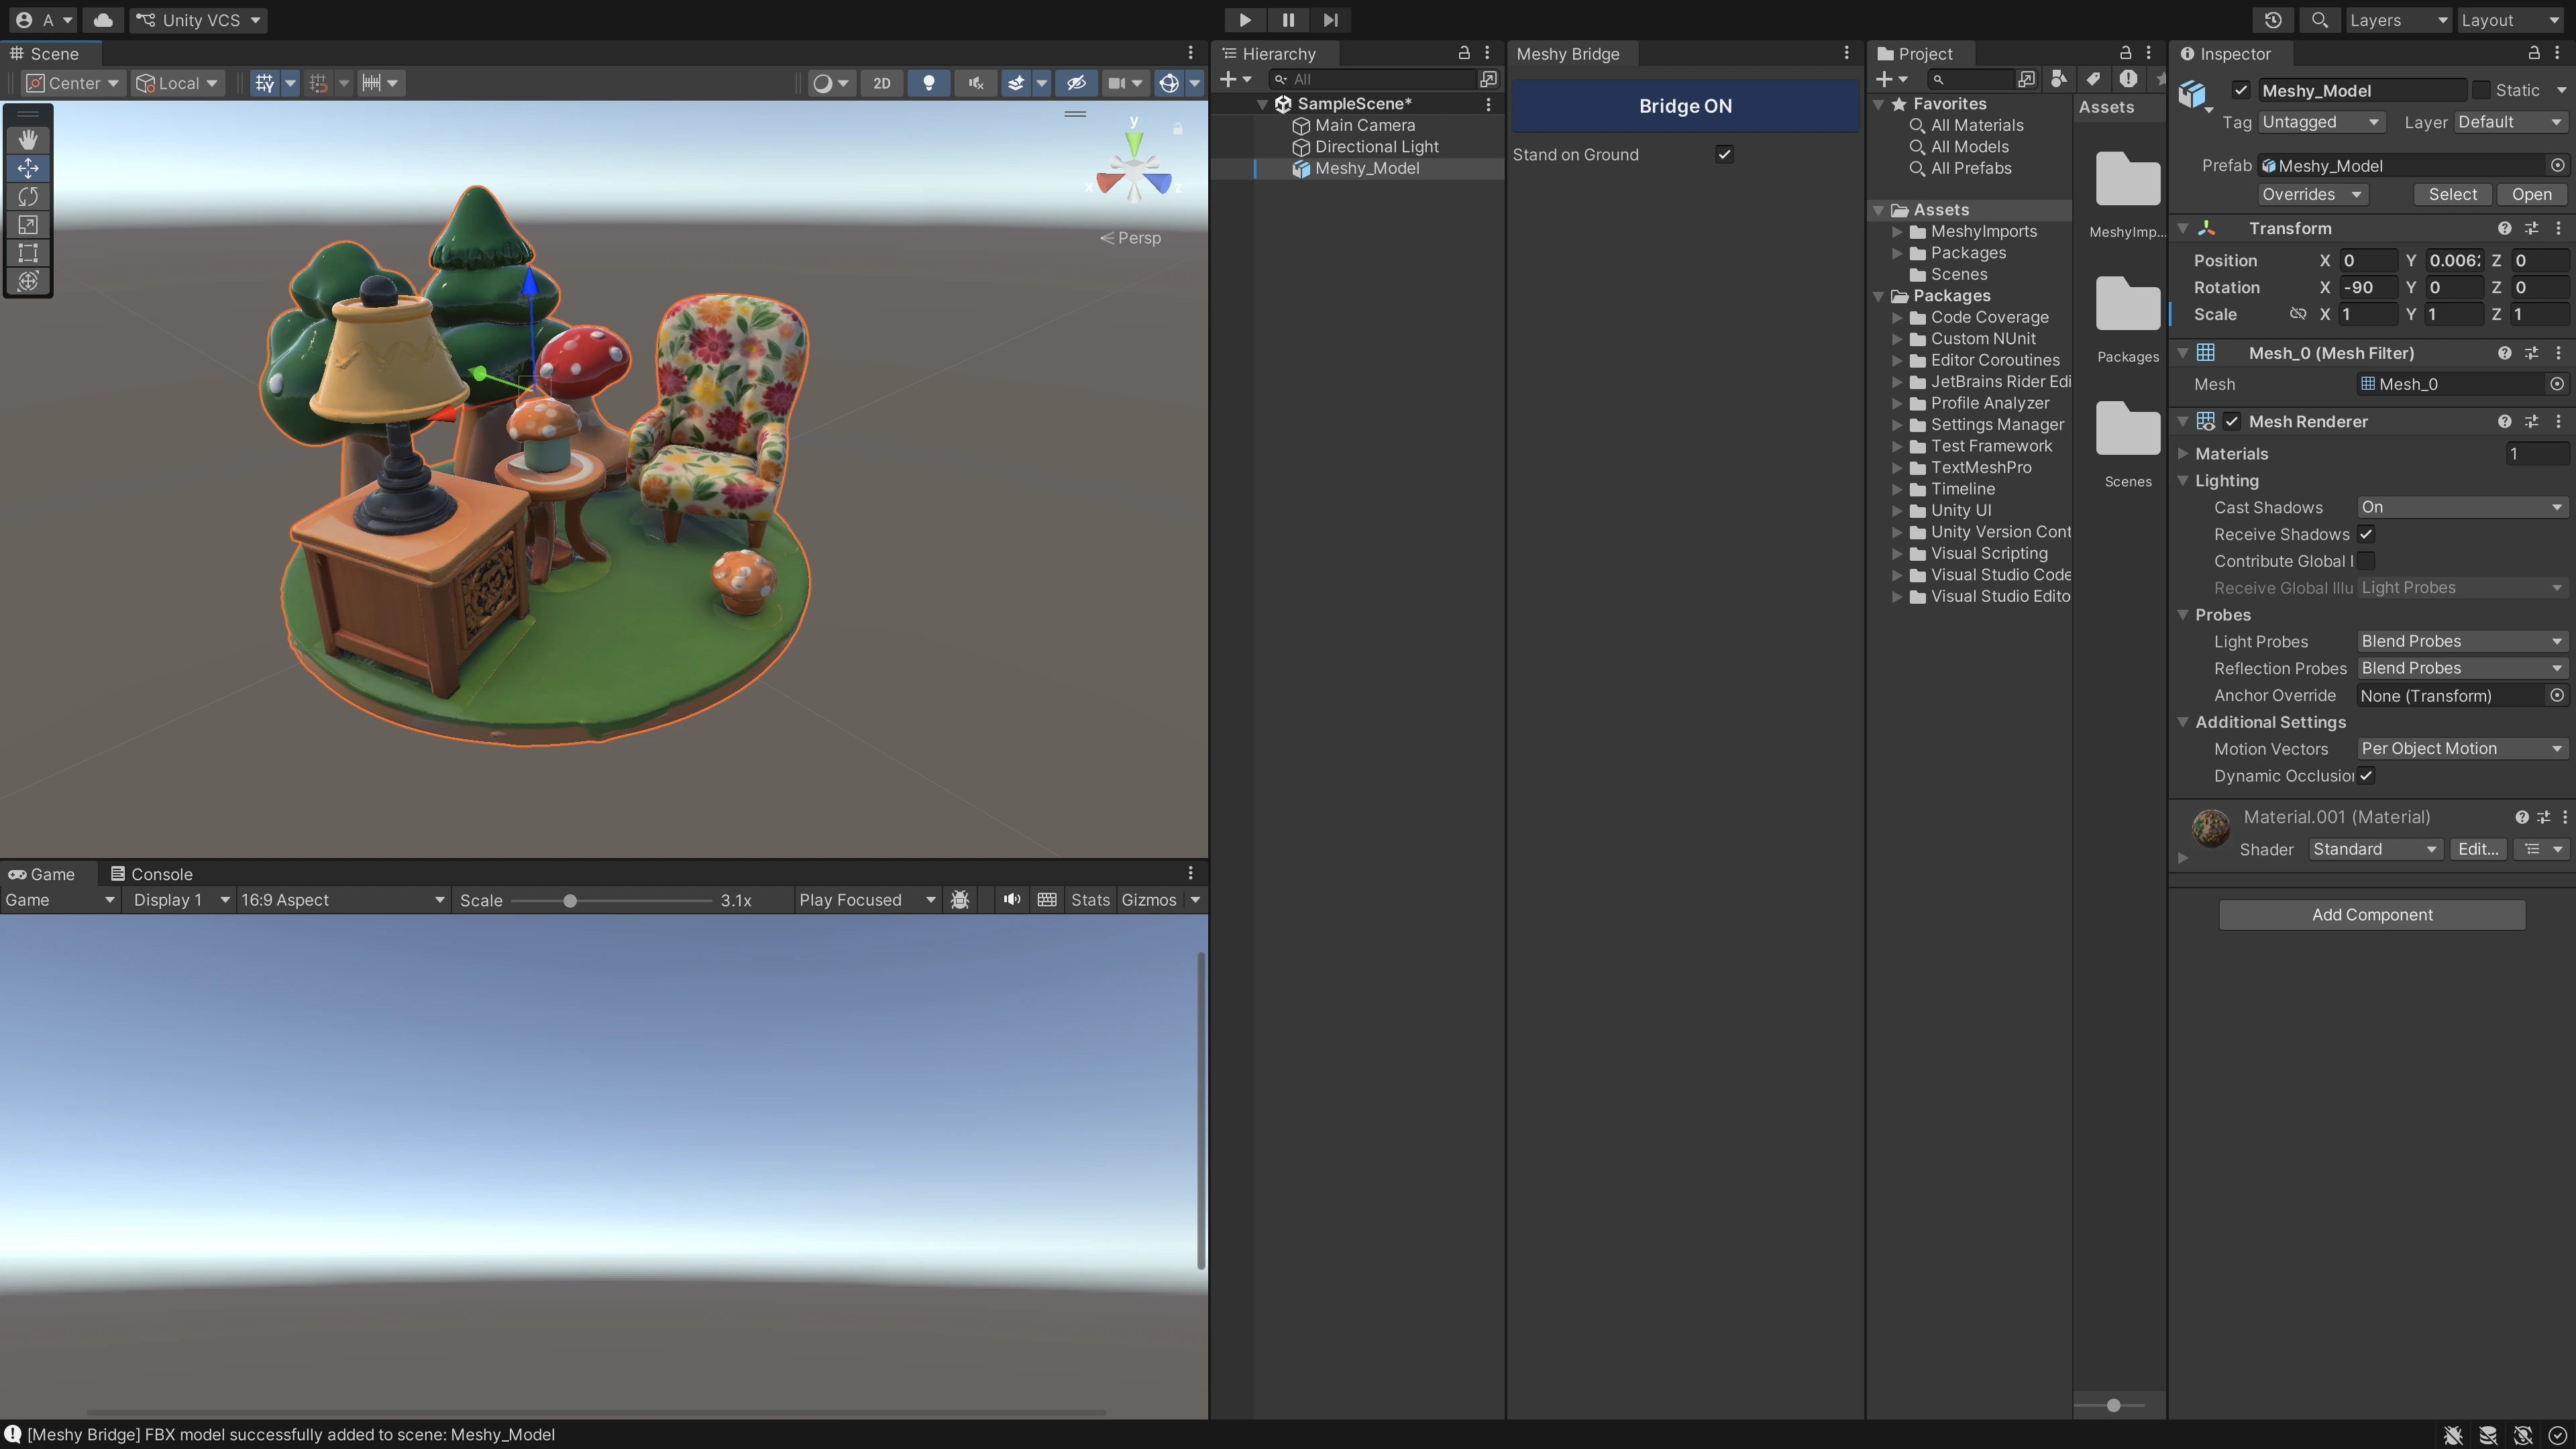
The plugin now supports the "Stand on Ground" feature, which automatically positions humanoid models in a standing pose.
Any 3D model you generate in your workspace can be effortlessly imported into Unity via the DCC Bridge.
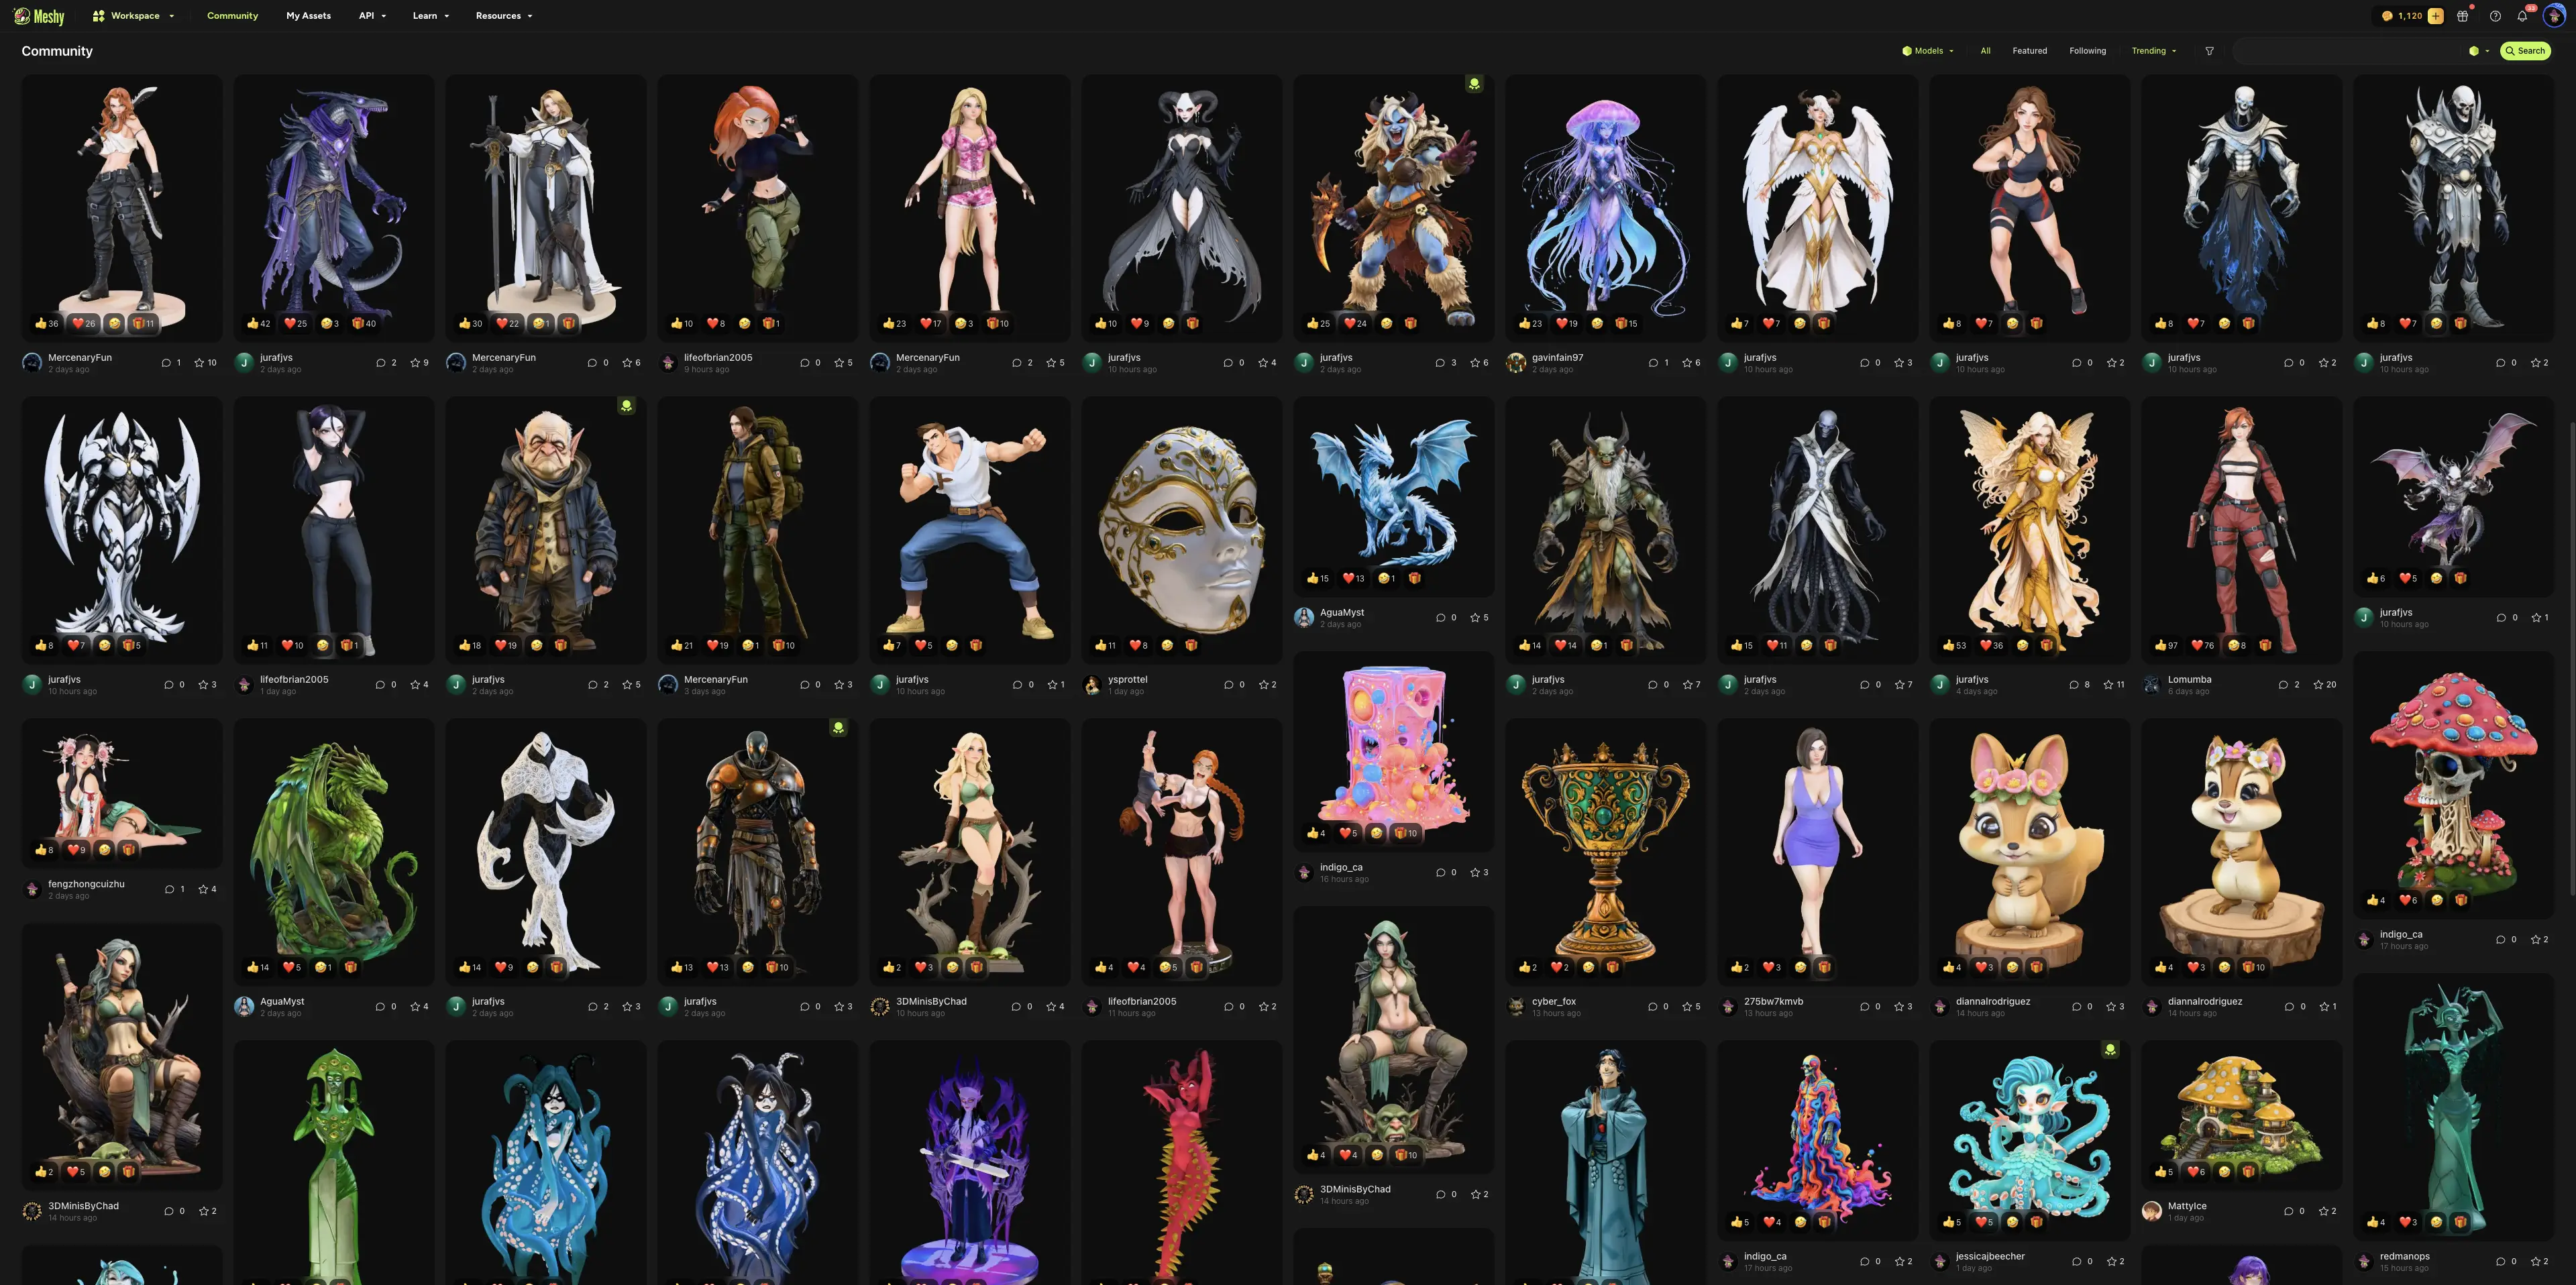
Likewise, models published by other users in the MeshyAI community are fully supported and can also be seamlessly imported into Unity using the DCC Bridge integration.